Our plugin, Servebolt Optimizer, enables you to:
- Add our best practice database optimizations for WordPress and WooCommerce
- Read the ErrorLog directly from the WordPress Admin dashboard
- Enable Full-Page Caching (HTML cache)
- Exclude caching from WordPress posts/pages
- Enable Cloudflare cache purging
- Enable Accelerated Domains and purging
- Enable Accelerated Domains prefetching
- Enable server-side cron using WP-CLI
WordPress backend
Servebolt Optimizer is configurable either through WordPress Admin or through WP-CLI, which is covered beneath.
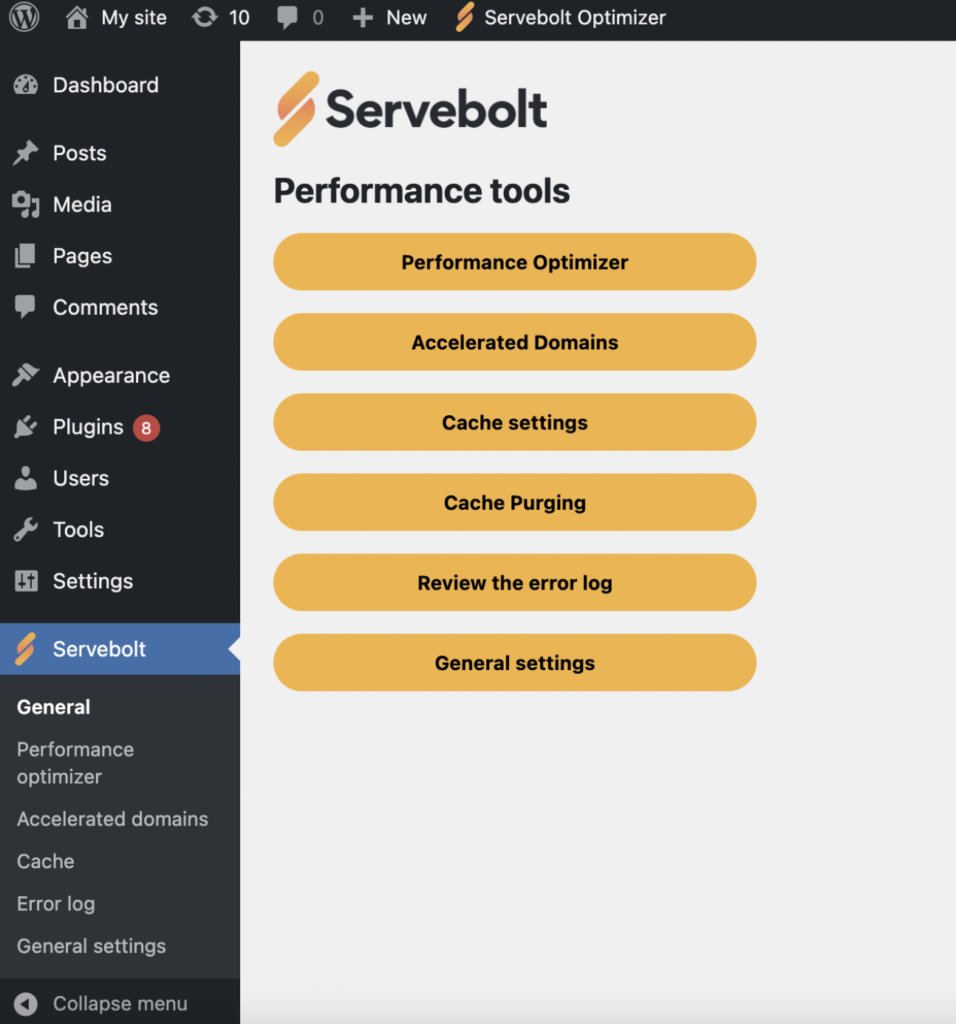
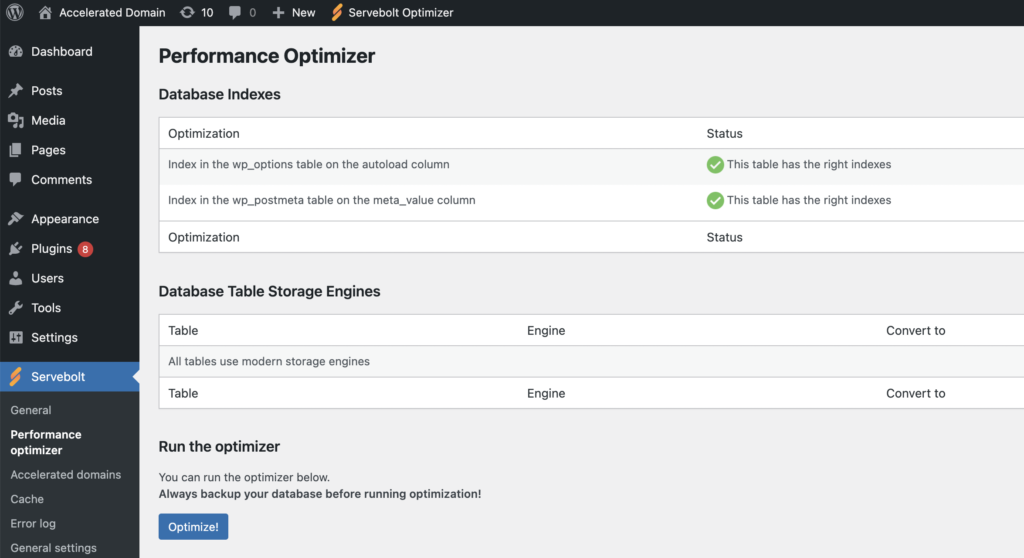
Performance Optimizer
Allows you to optimize your database and set the right table indexes. Optimizing will add any missing indexes and convert all tables to use modern storage engines.
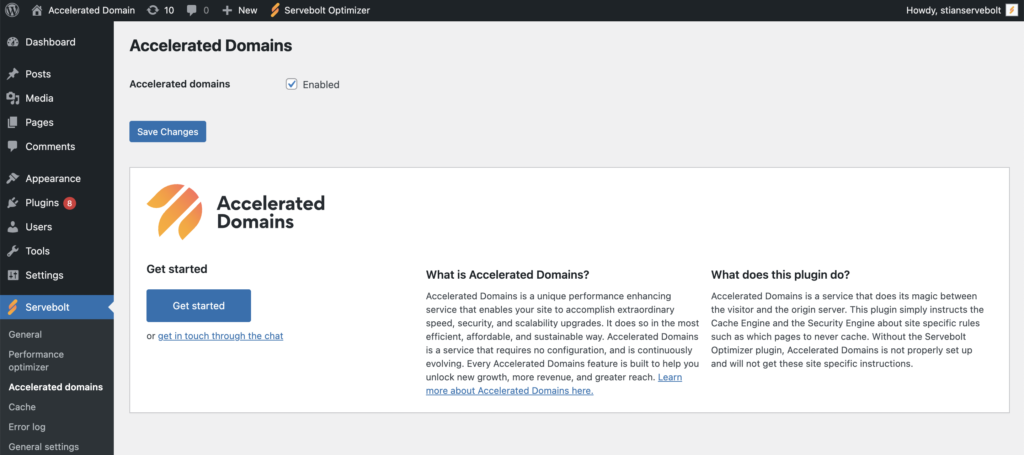
Accelerated Domains
Allows you to enable Accelerated Domains. Cache purging for Accelerated Domains is covered in the “Cache Purging” section.
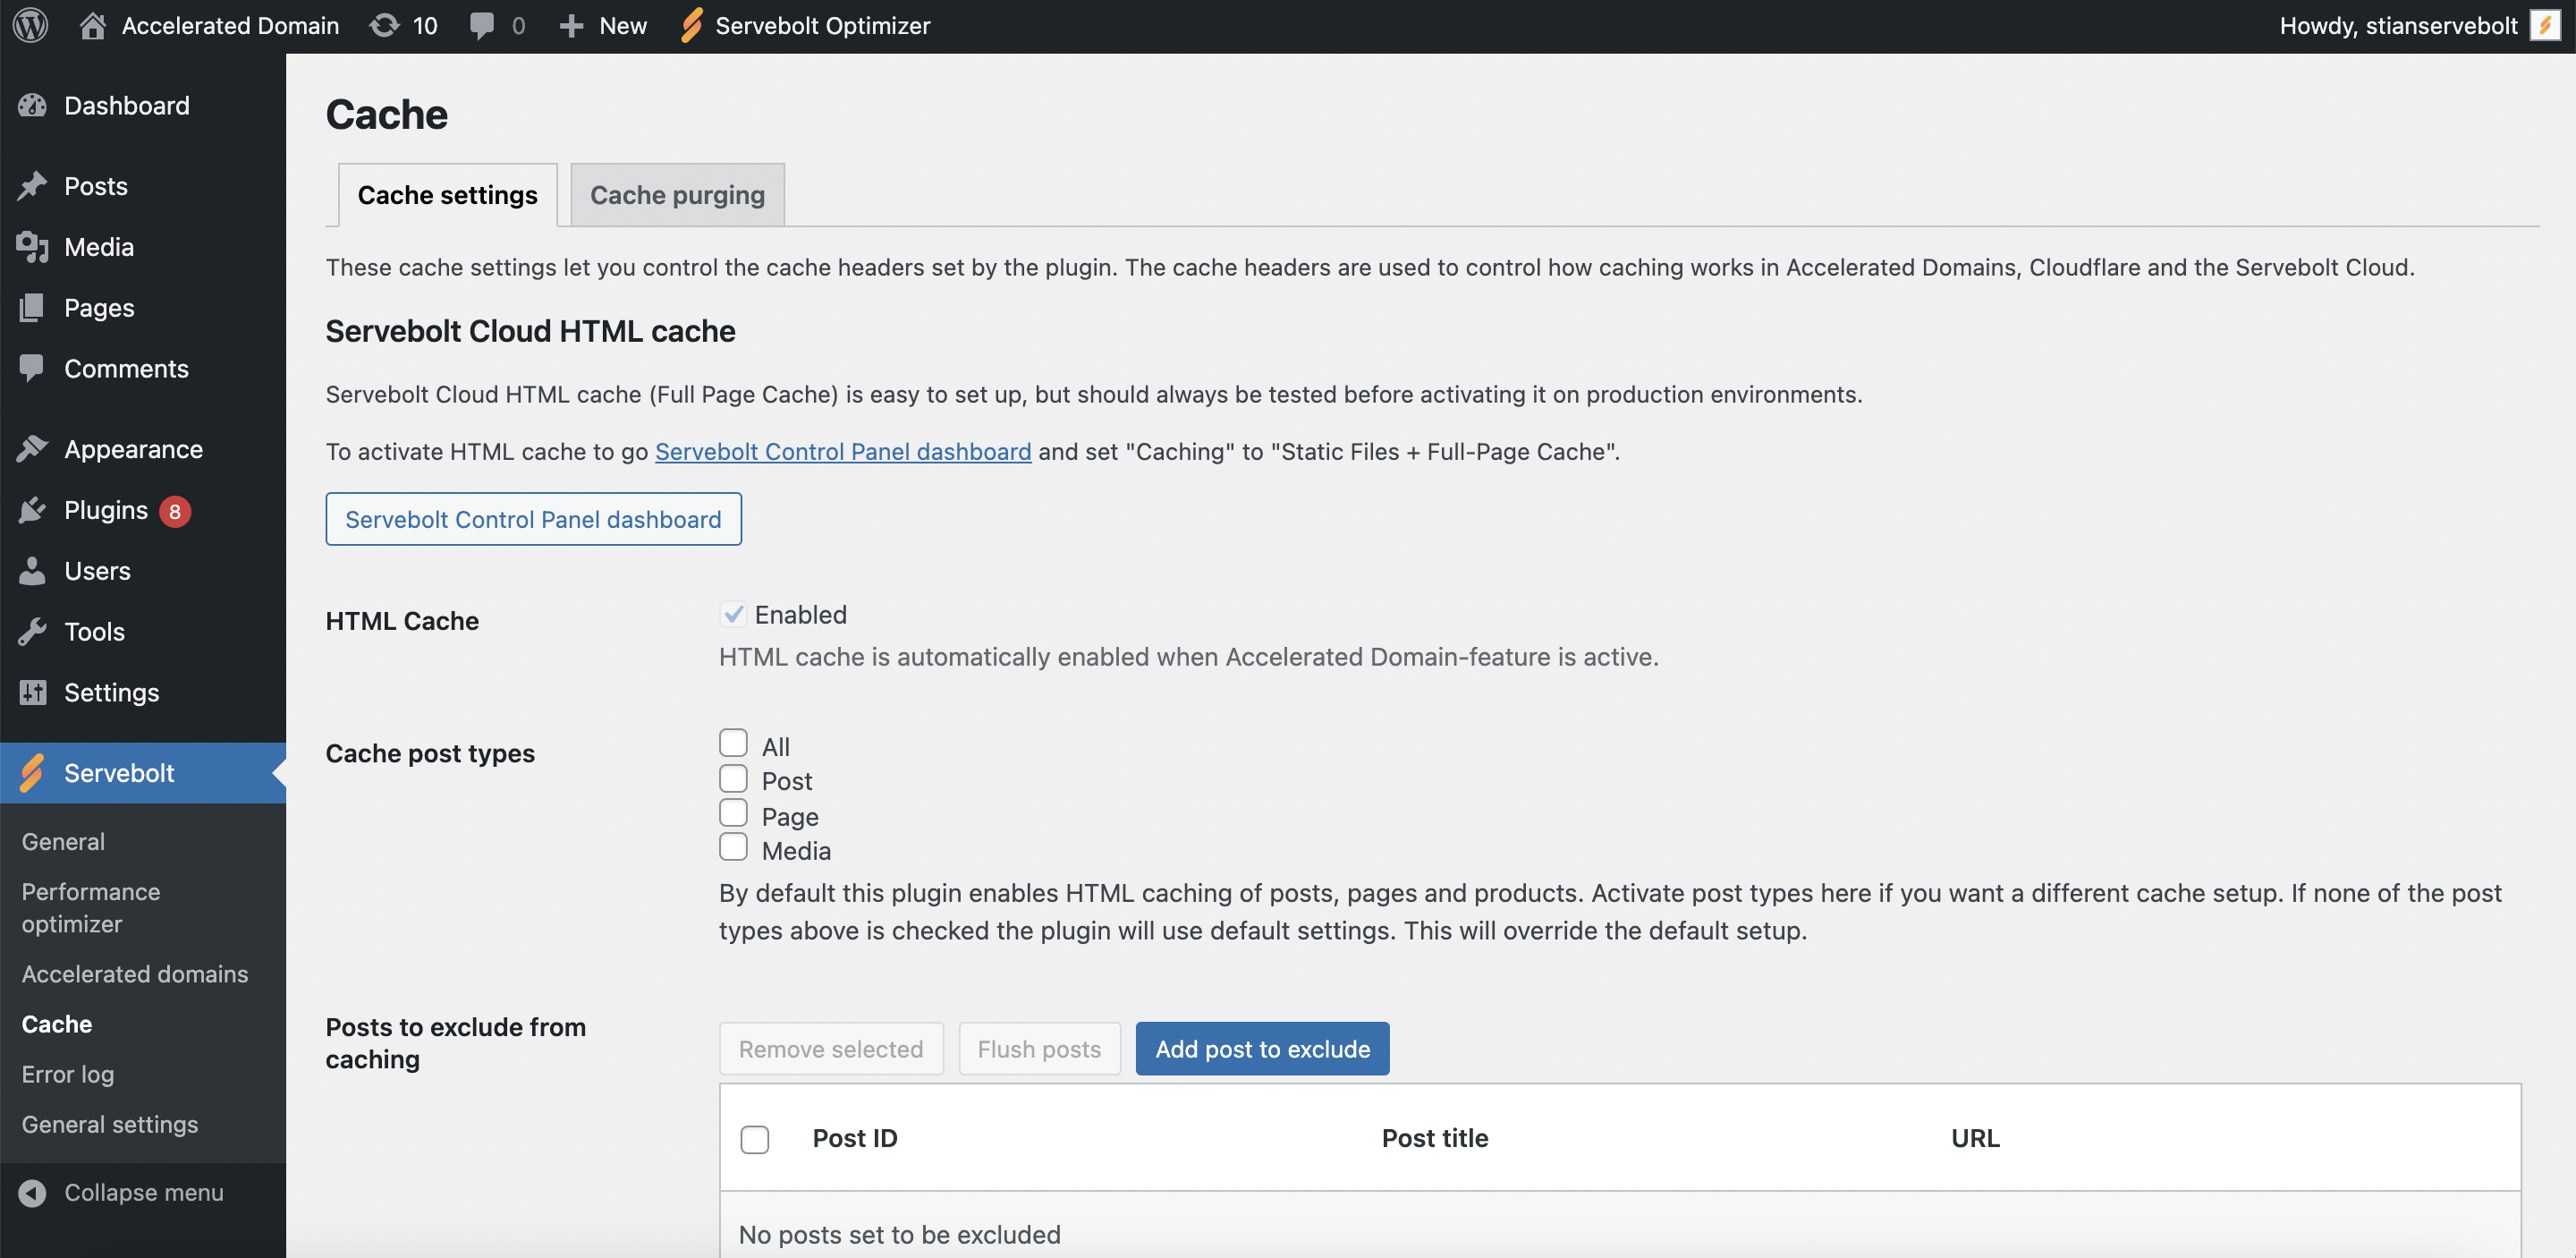
Cache settings
This is where you can enable HTML caching (Full-Page Cache) through our plugin. You can also set WordPress posts to exclude caching from. Keep in mind that if you enable HTML caching through our plugin, you will also need to enable “Static Files + Full-Page Cache” in the settings of your site in our Control Panel.
Cache Purging
Our cache purging section allows you to purge cache for either Cloudflare or Accelerated Domains if that is set up.
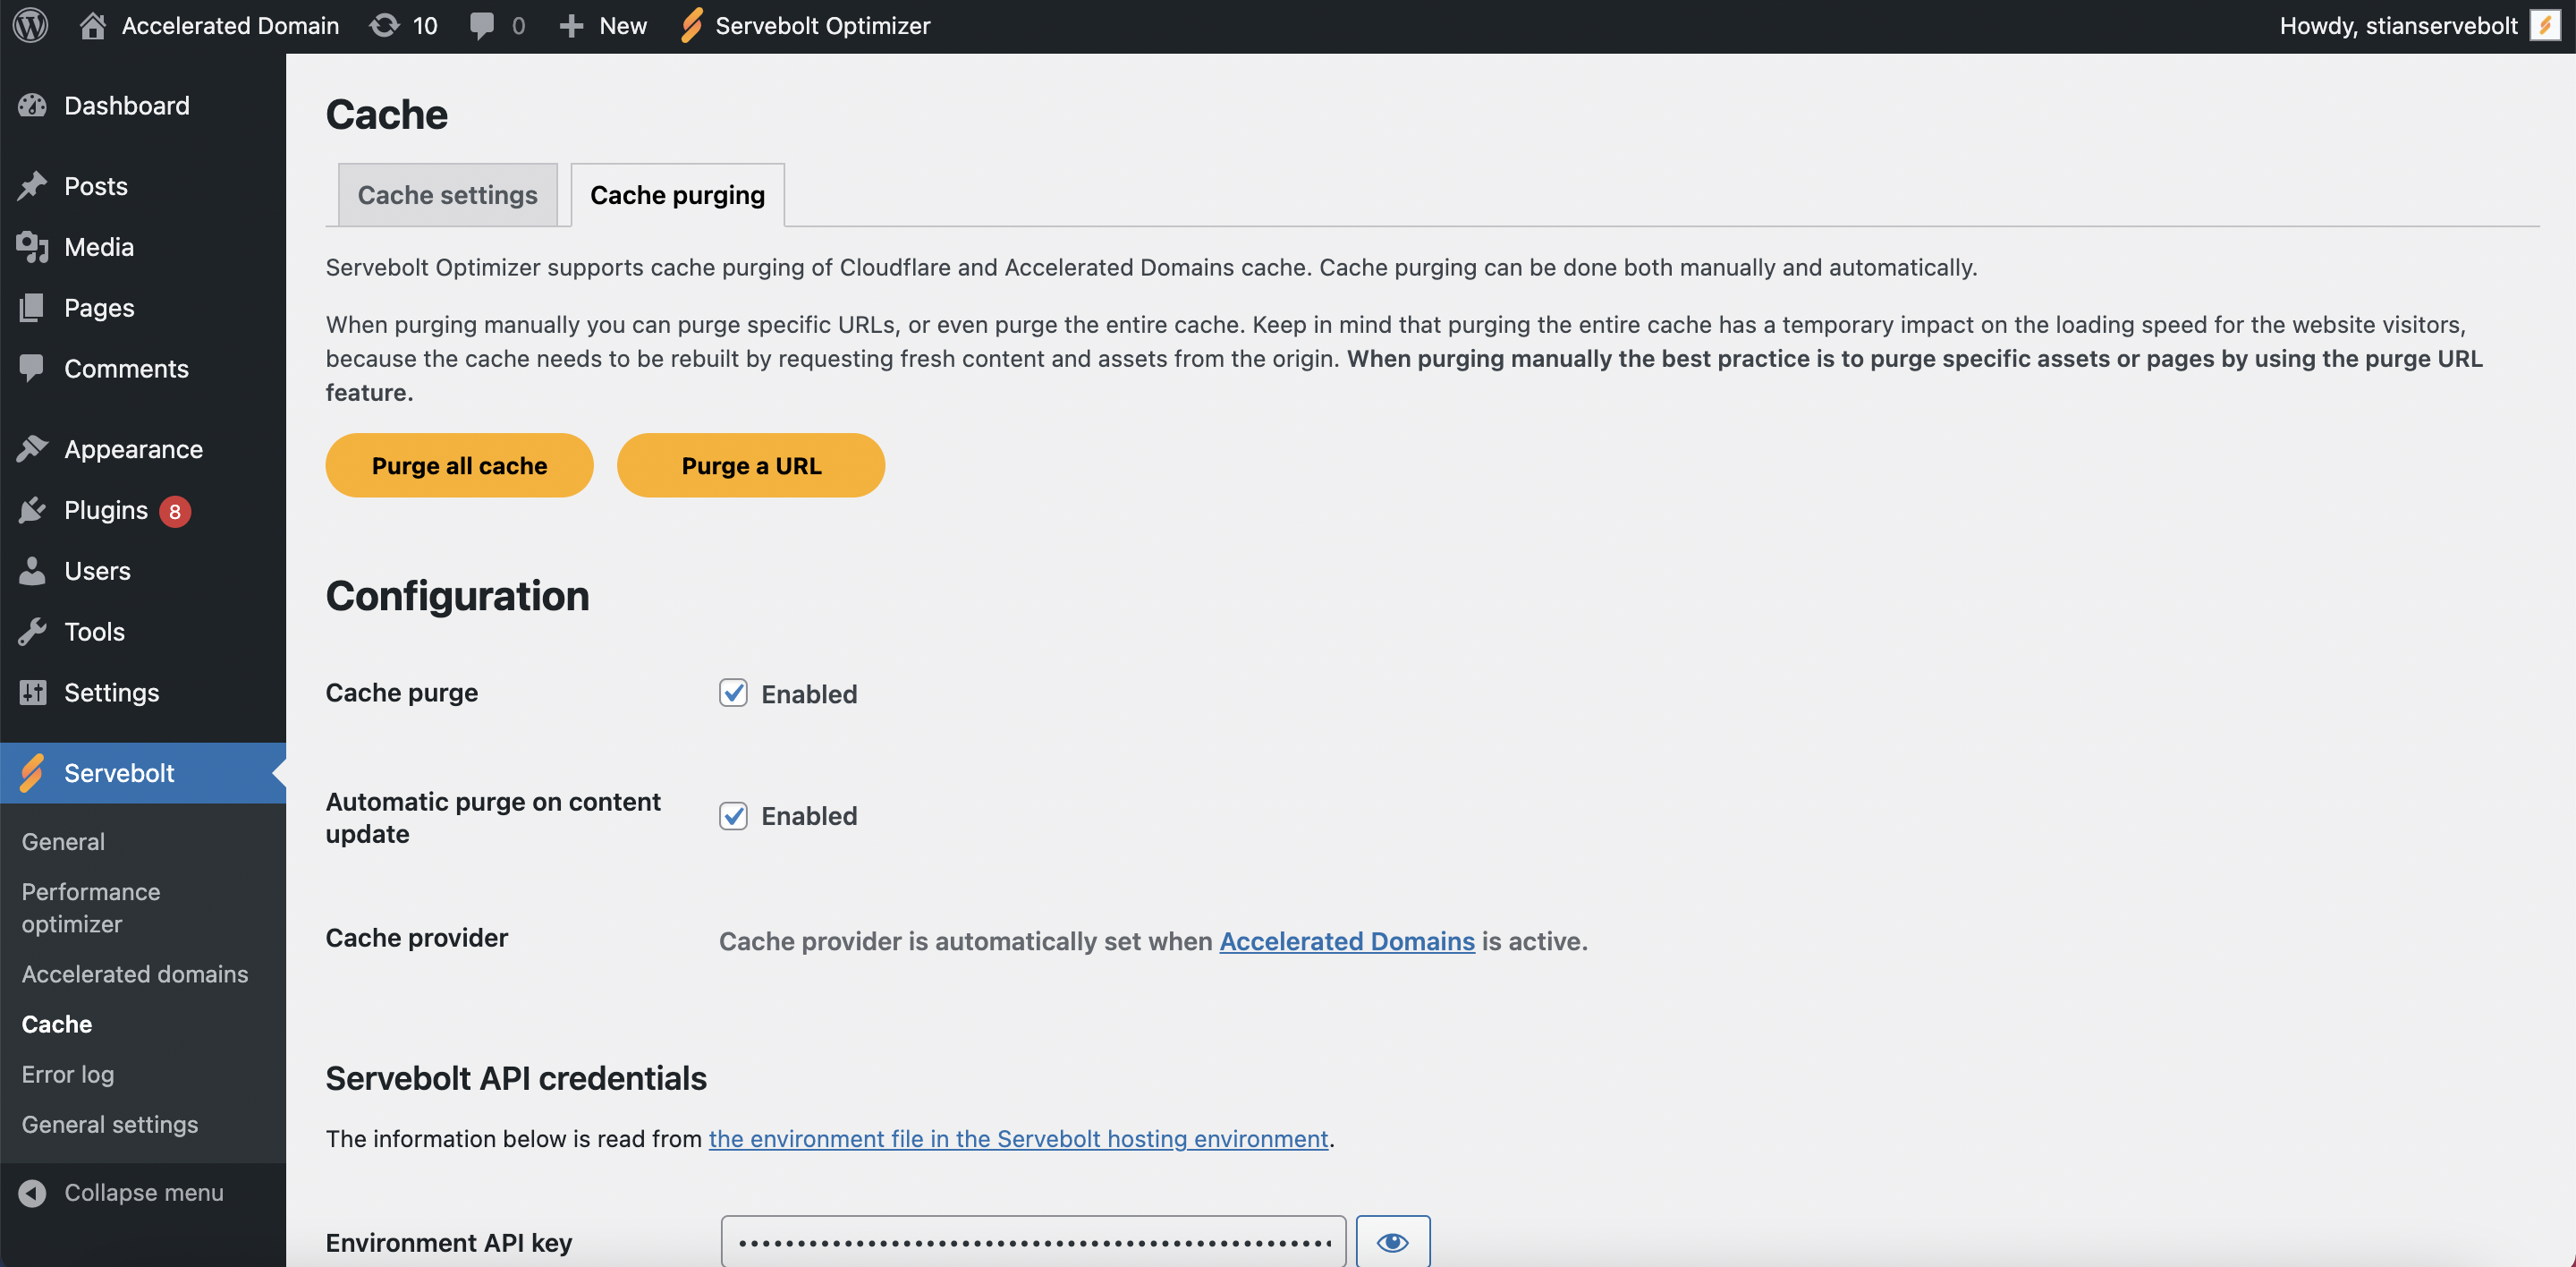
Cache Purging with Servebolt CDN
Servebolt Optimizer supports purging the cache of sites running on Servebolt CDN directly in WP Admin. Make sure that Servebolt CDN is selected as the cache provider in Cache → Cache Purging.

You can purge all cache either from the Cache Purging page, the WP Admin top bar, or from within the post page if you’re using the Block Editor. You can do so by selecting Purge all cache. After purging the cache you should see the results immediately on your live website.


Purging the full cache has a temporary impact on the performance of your site because the cache needs to be rebuilt afterward. For users, this means a temporary slower experience.
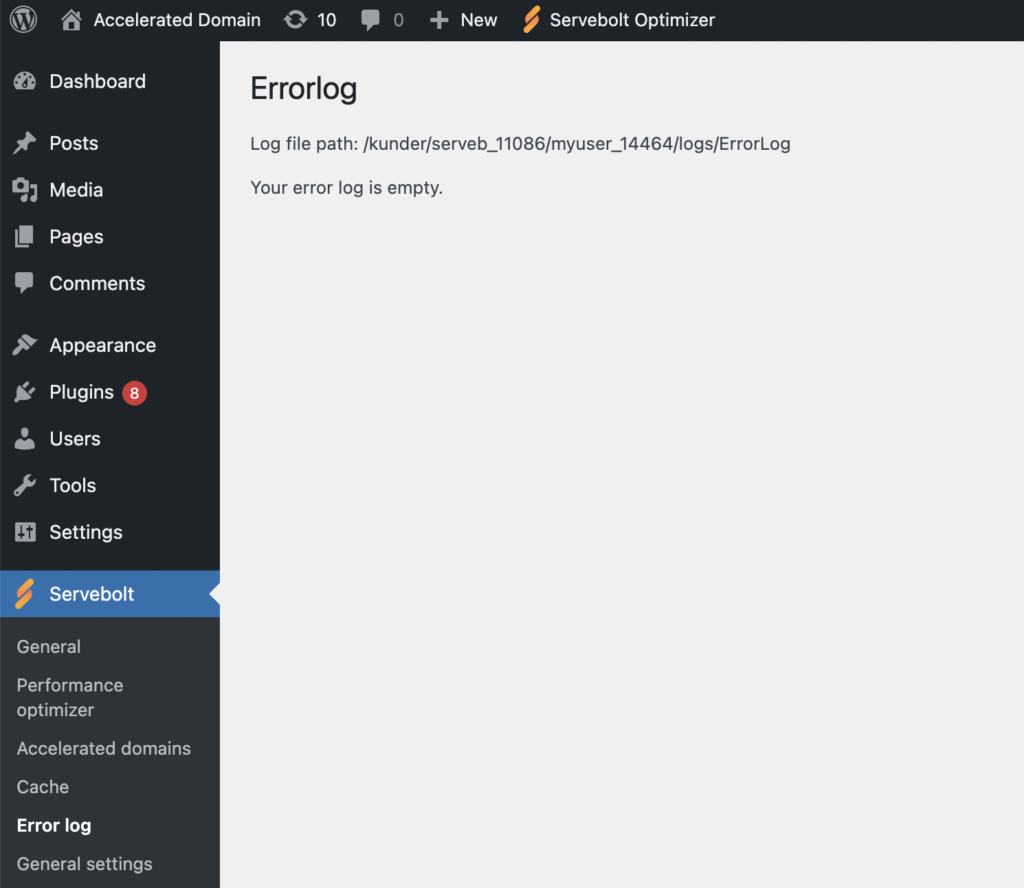
Review the error log
Allows you to check the ErrorLog of your site through our plugin.
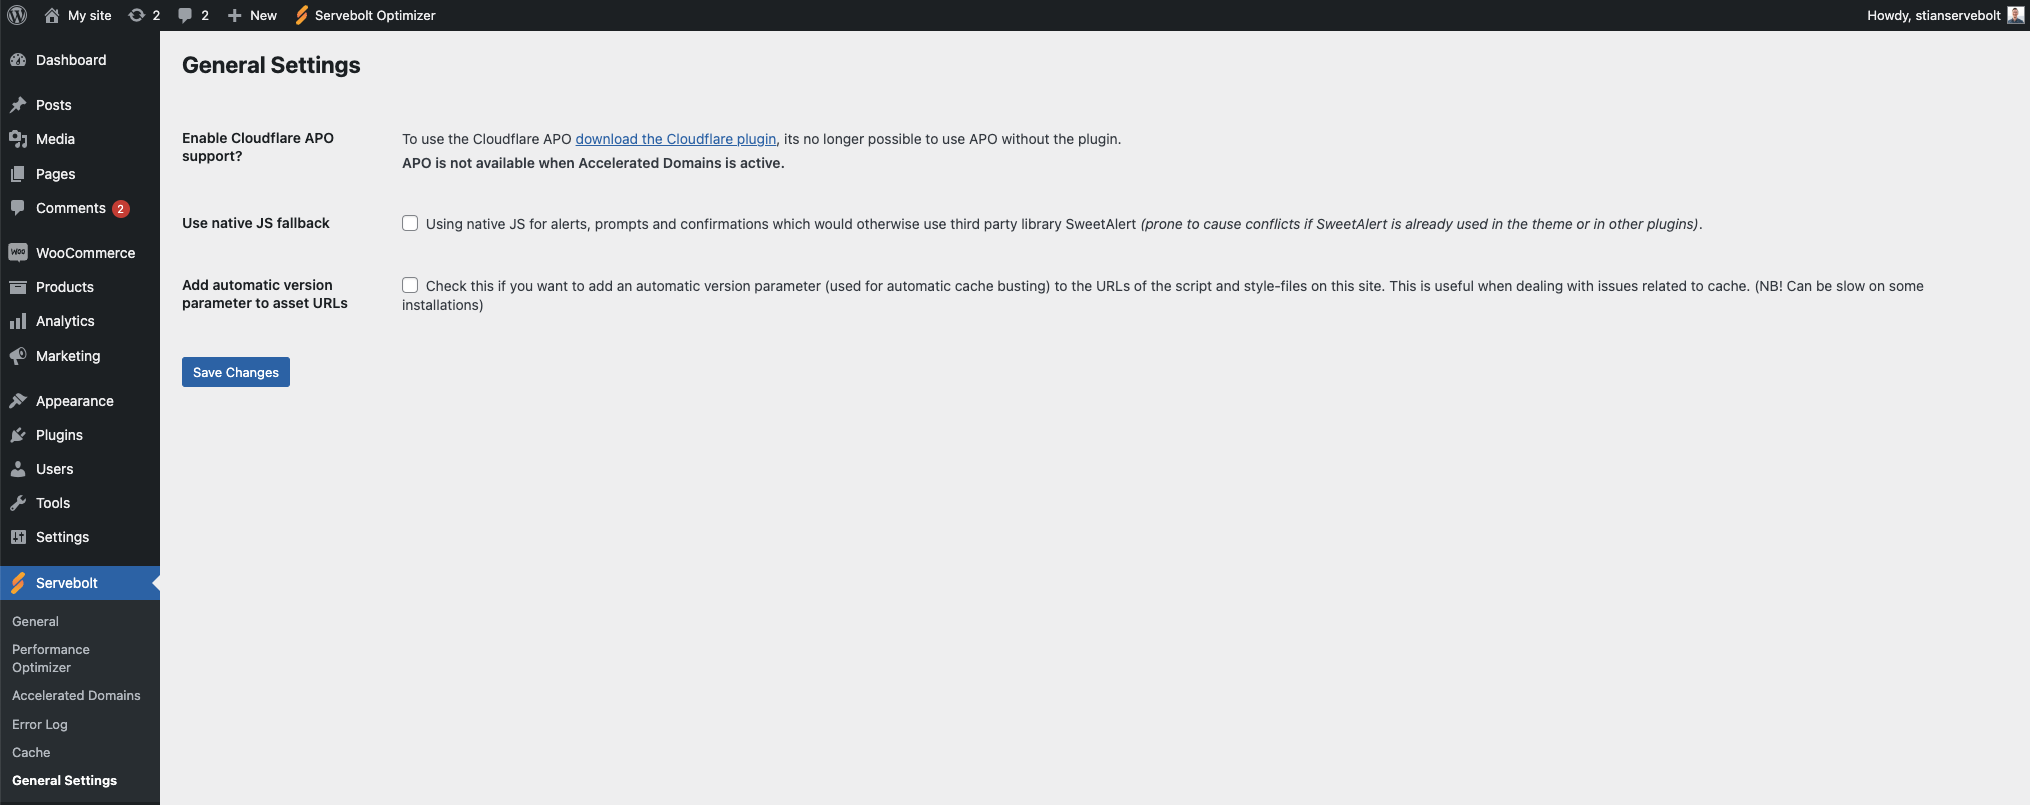
General settings
General settings are where you can enable automatic version parameter to asset URLs or Use native JS fallback.
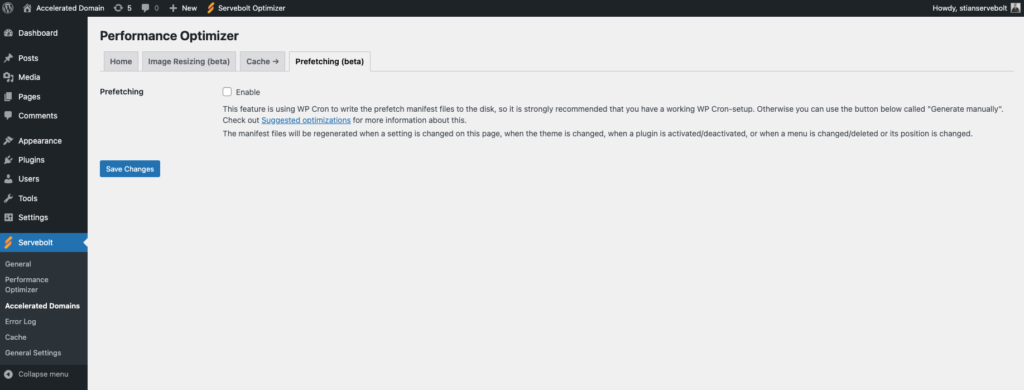
Accelerated Domains prefetching
The Accelerated Domains prefetching feature pre-populates the cache with content a site visitor is likely to request next. This guarantees a higher cache hit rate and thus a faster experience for the user. The Accelerated Domains prefetching feature can be activated on the Accelerated Domains –> Prefetching (beta) page within the Servebolt Optimizer plugin.
How to use Servebolt Optimizer with WP-CLI
Install the plugin
Manage WP-CLI using the following commands:
wp plugin install servebolt-optimizer --activate [--network]
Update Servebolt Optimizer to a later version
wp plugin update servebolt-optimizer
You are now able to run wp servebolt and get this response
usage: wp servebolt acd <command>
   or: wp servebolt cache <command>
   or: wp servebolt cf <command>
   or: wp servebolt cf-image-resize <command>
   or: wp servebolt db <command>
   or: wp servebolt delete-all-settings [--all] [--format=<format>]
   or: wp servebolt html-cache <command>
   or: wp servebolt general-settings <command>
See ‘wp help servebolt <command>‘ for more information on a specific command.
Control Accelerated Domains
Main commands for Accelerated Domains where you can activate, deactivate, or check the status of Accelerated Domains:
wp servebolt acd activate // Activates the feature in Servebolt Optimizer
wp servebolt acd deactivate // Deactivates the feature in Servebolt Optimizer
wp servebolt acd status // Checking the status of Accelerated Domains in Servebolt Optimizer
You can flush the Accelerated Domains cache from the command line. Either the cache for a specific URL or the whole site. Keep in mind that flushing the entire site is not recommended, as it will make the load on the site higher. Always try to flush out what’s needed:
wp servebolt cache purge all // Purges the whole site
wp servebolt cache purge url <URL> // Purges the specific URL in the <URL> parameter
A parameter can be useful if you have a multisite and you are just running Accelerated Domains on one of your domains in your network. Here’s an example of where you would purge the whole site from a specific domain in your network:
wp servebolt cache purge all --url=https://acd-sub.domain.comControl the Full-Page Cache
All Full-Page Cache commands are subcommands of wp servebolt html-cache
Activate/Deactivate the Full-Page Cache
wp servebolt html-cache activate|deactivate [--post_types] [--url] [--all]
activate
Activates the main Full-Page Cache switch
deactivate
Deactivates the main Full-Page Cache switch
Optional parameters
--post_types
Send a comma-separated list of the post types you want to activate/deactivate Full-Page Cache for.wp servebolt html-cache activate|deactivate --post_types=post,product
--url
Control the cache of one or multiple sites in a multisite. Works just like the --url global parameter in WP-CLI core.
--all
Activate/Deactivate Full-Page Cache for all sites in a multisite
Display the status of the Full-Page Cache
wp servebolt html-cache status [--url] [--all]
Optional parameters
--url
See the cache status of one or multiple sites in a multisite. Works just like the --url global parameter in WP-CLI core.
--all
See Full-Page Cache status for all sites in a multisite
Setting up WordPress Cron jobs to run from the UNIX cron
When you go to the settings of the Servebolt Optimizer plugin and click on Performance Optimizer → General. You can see the “Disable WP Cron and run it from server cron” option and a guide on how to activate it; Simply log on to your site using SSH, and there you can run this WP-CLI command from your webroot:
wp servebolt cron enable
This enables cron jobs to run from the server level and automatically disables cron from running directly in WordPress by adding this line of code in your wp-config.php file: define( 'DISABLE_WP_CRON', 'true' );
As well as adding the cron job to your Servebolt Control Panel’s cron job overview, as such:
flock -n ~/.wp_cron.lock wp cron event run --due-now --path=/kunder/group/user/public --quietThere will also be a randomized cron schedule expression, which makes the cron job run every 5 minutes, looking like this (these will differ as they are randomized):
4,9,14,19,24,29,34,39,44,49,54,59 * * * *Please note that if you currently have this cron job:
wp cron event run --due-now --path=/kunder/group/user/public/ --quiet active in the cron settings of your Control Panel, this should be disabled, as they do the same thing, but with a different method and syntax.
wp servebolt cron disable
Disables cron jobs to run from server level, and removes define( 'DISABLE_WP_CRON', 'true' ); from your config’s php-file. This will not remove or disable the cron job from your Control Panel Cron job overview, so that has to be done manually.
Control cache time
You can control the cache time for both the server-side Full-Page Cache and the browser cache.
The default cache time for both Full-Page Cache and browser cache is 600 seconds (10 minutes), which is the Servebolt best practice. The recommended cache time ensures that dynamic content will refresh within 10 minutes help with scale when you need it, and is generally safe for all website configurations.
Control the server-side Full-Page cache time
Be aware, the Full-page cache cannot be purged, so adjust these settings with care. In a default setup, you can change the cache timer in your wp-config.php file. Consult with Servebolt Support if you are in doubt.
define('SERVEBOLT_FPC_CACHE_TIME', 600); // Default is 600 seconds (10 minutes)Control the browser cache time
define('SERVEBOLT_BROWSER_CACHE_TIME', 600); // Default is 600 seconds (10 minutes)