WordPress Multisite is a feature that allows you to create and manage multiple websites using a single WordPress installation. This can be useful if you want to run a network of sites with different purposes, such as blogs, e-commerce, portfolios, etc.
This guide will show you how to set up a WordPress Multisite using subdomains or subdirectories, depending on your preference. We will also cover some basic steps to configure and manage your multisite network. Lastly, we’ll provide some performance-enhancing tips using Servebolt Optimizer.
How to install and activate a WordPress Multisite
To install and activate a WordPress Multisite, you need to follow these steps:
- Make sure you have a fresh WordPress installation with no plugins or themes activated. If you already have an existing WordPress site, you need to back up your database and files before proceeding.
- Log into your site via SSH or SFTP. Edit your wp-config.php file located in the /public directory, and add the following line above the
/* That's all, stop editing! Happy publishing. */comment:
define( 'WP_ALLOW_MULTISITE', true );

- Save and close the file, then log in to your WordPress dashboard. You should see a new menu item called Network Setup under the Tools menu. Click on it to start the multisite setup.
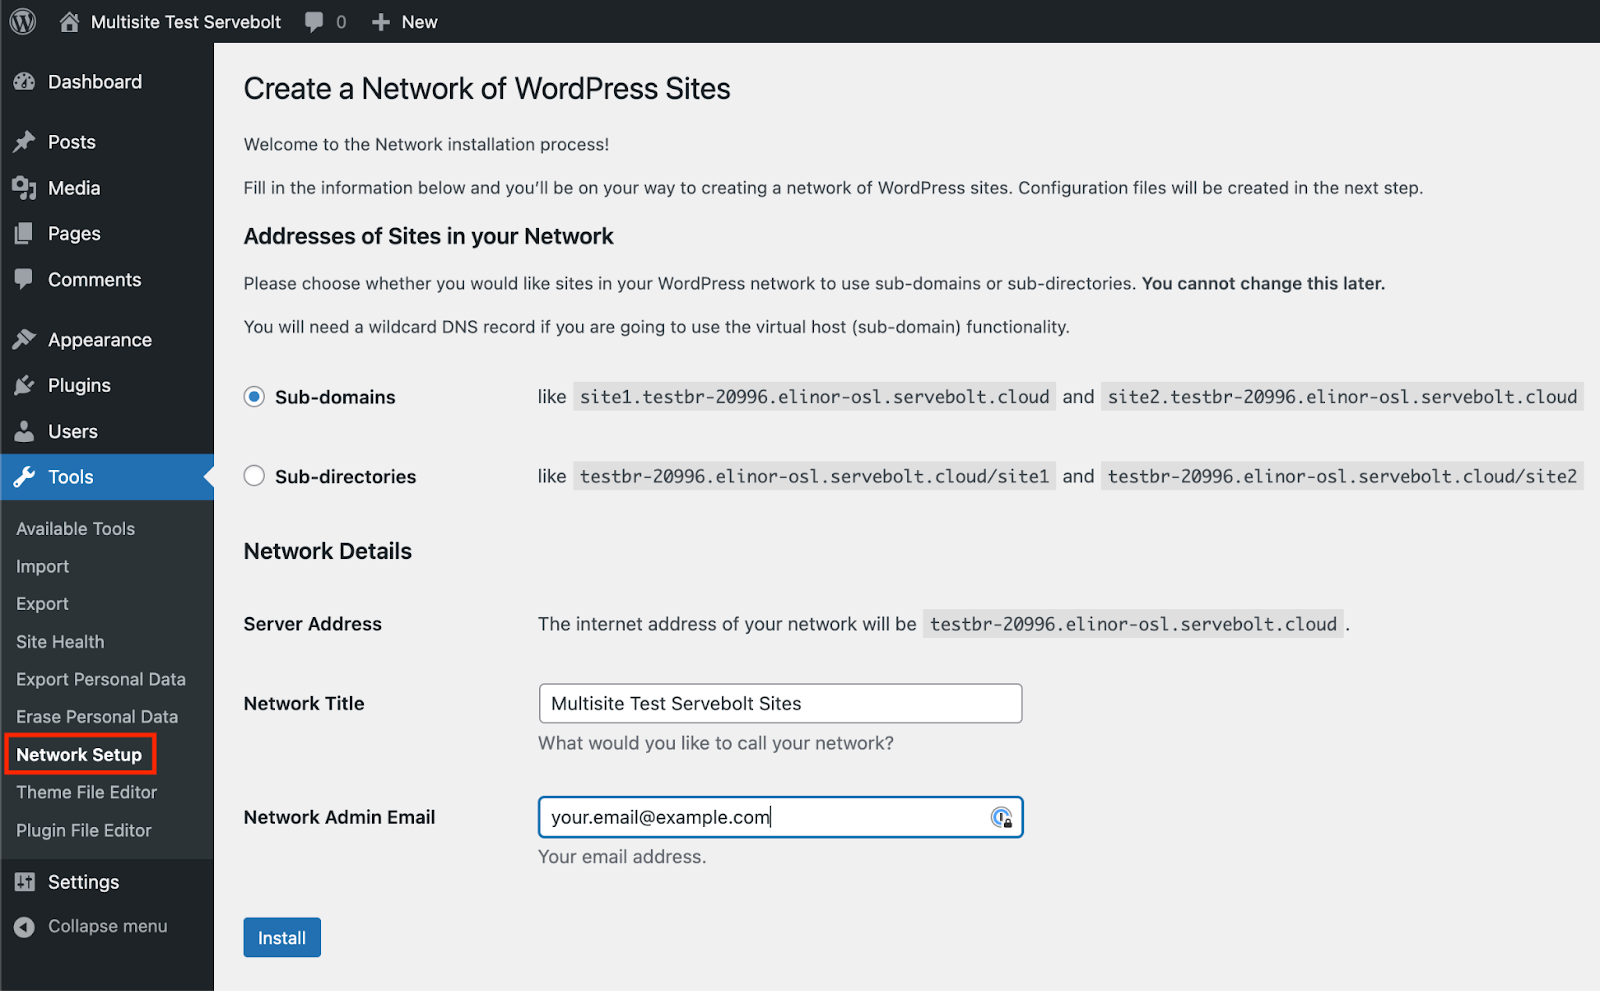
- Choose whether you want to use subdomains or subdirectories for your multisite network. Subdomains require you to have your specific subdomains pointing to the same server as your main domain, while subdirectories are easier to set up. For example, if your main site is
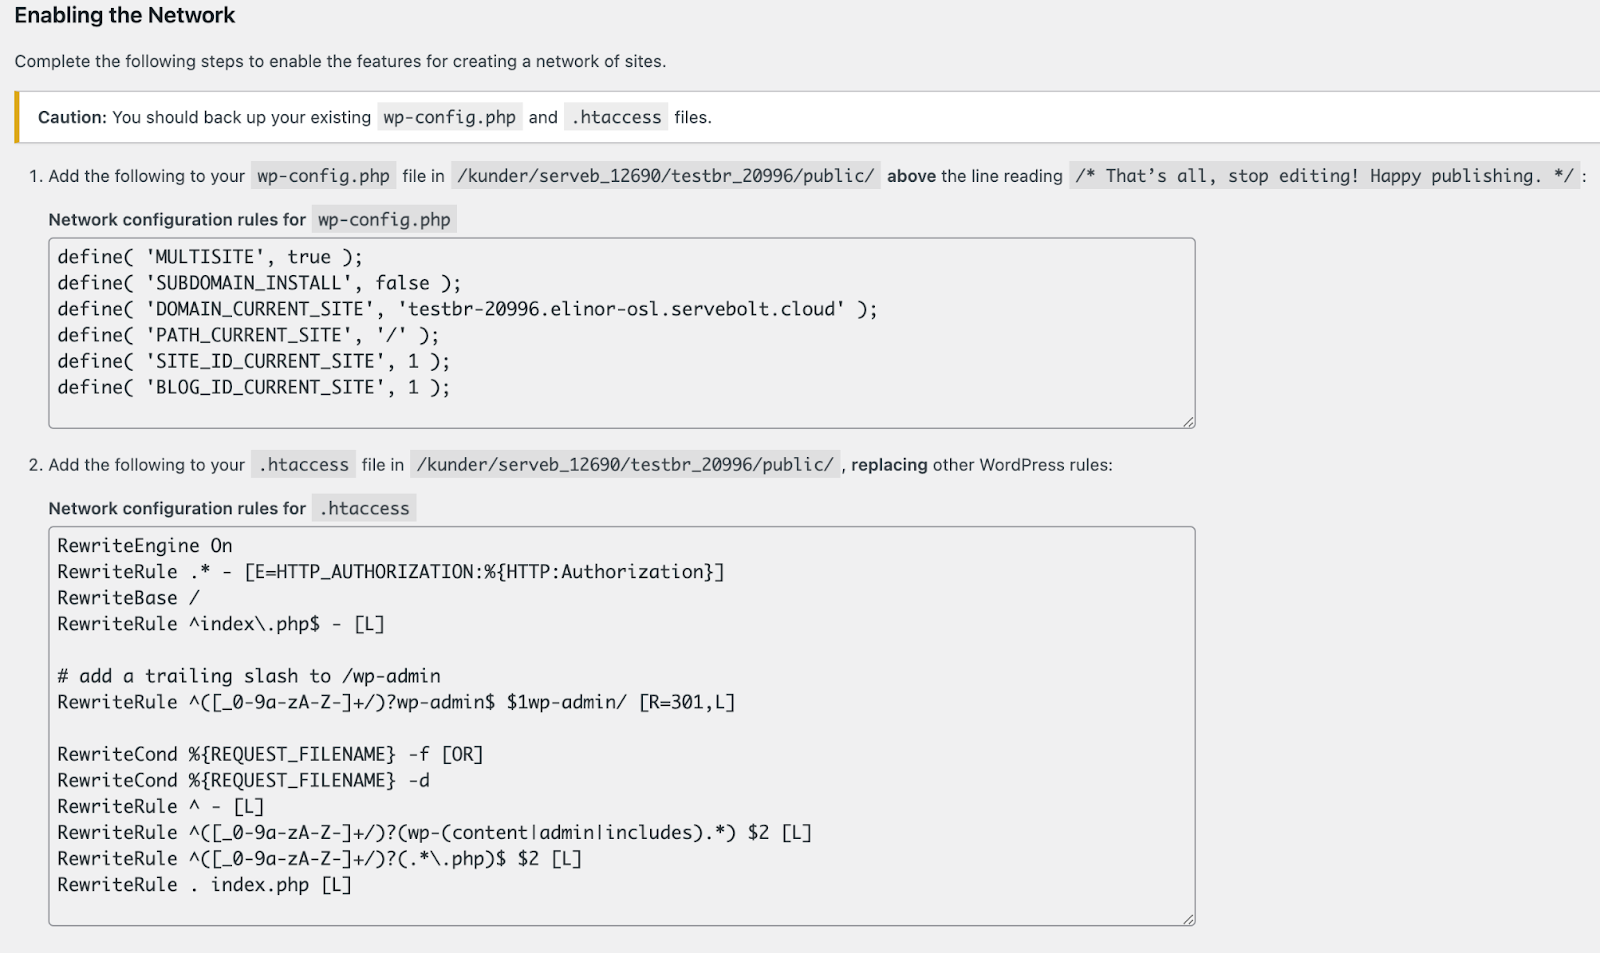
example.com, using subdomains will create sites likesite1.example.com,site2.example.com, etc. while using subdirectories will create sites likeexample.com/site1,example.com/site2, etc. - Enter a Network Title and an Admin Email for your multisite network, then click on the Install button. WordPress will generate some code snippets that you need to copy and paste into your
wp-config.phpand.htaccessfiles. Follow the instructions on the screen to complete the multisite activation.
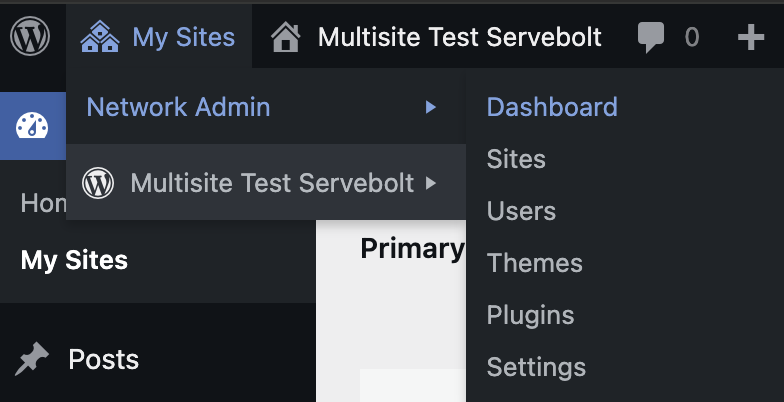
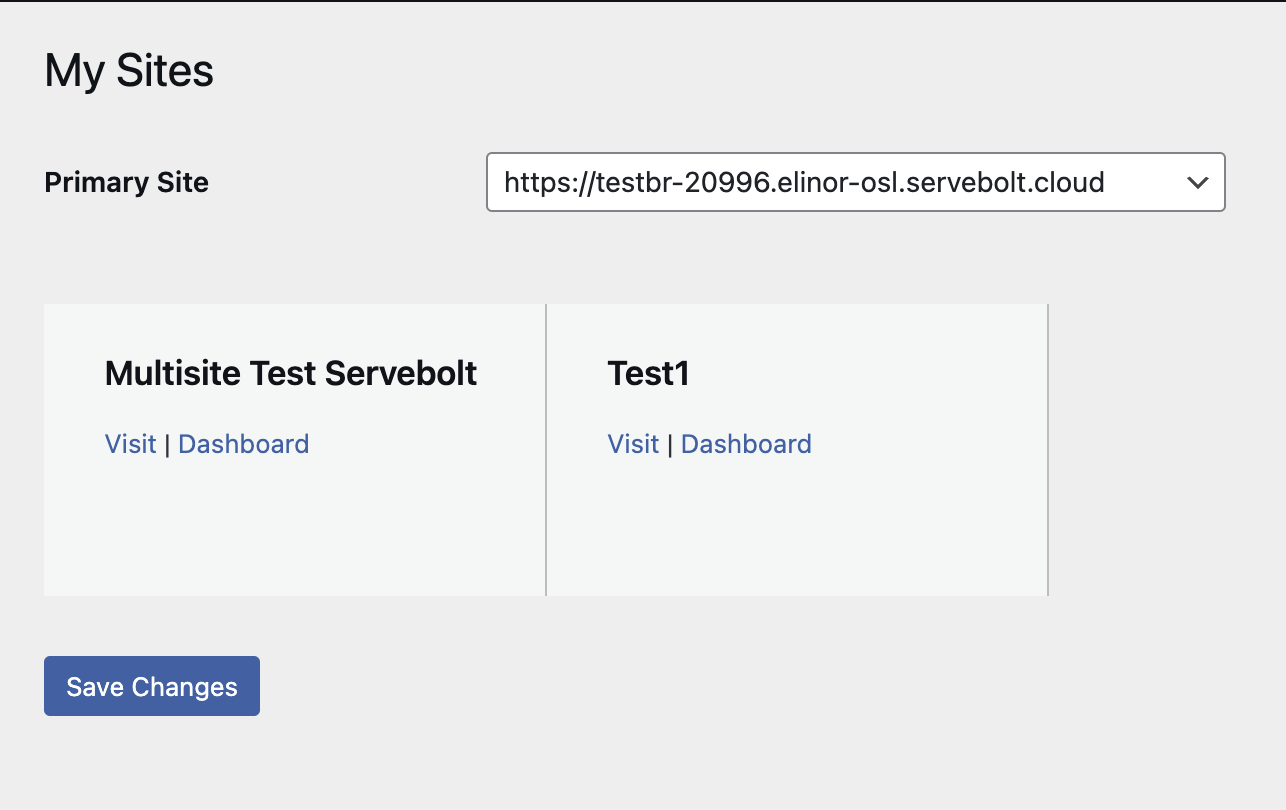
- Log out and log back into your WordPress dashboard. You should see a new menu item called My Sites in the top left corner, which allows you to access the Network Admin dashboard and manage your multisite network.
You have now successfully installed WordPress multisite. In the next step, we will guide you through the process of adding new sites to your multisite network.
How to add new sites to your multisite network
To add new sites to your WordPress Multisite network, you need to follow these steps:
- Log in to your WordPress dashboard and click on the “Sites” menu. You should see a list of all the sites in your network, including the main site.
- Click on the “Add New” button at the top of the page to create a new site. You need to enter the following information for the new site:
- Site Address: The subdomain or subdirectory for the new site, depending on your multisite configuration. For example, if your main site is
example.comand you use subdomains, you can entersite3to create a new site with the addresssite3.example.com. - Site Title: The name of the new site, which will appear in the browser tab and the site header.
- Admin Email: The email address of the user who will be the administrator of the new site.
- Site Address: The subdomain or subdirectory for the new site, depending on your multisite configuration. For example, if your main site is
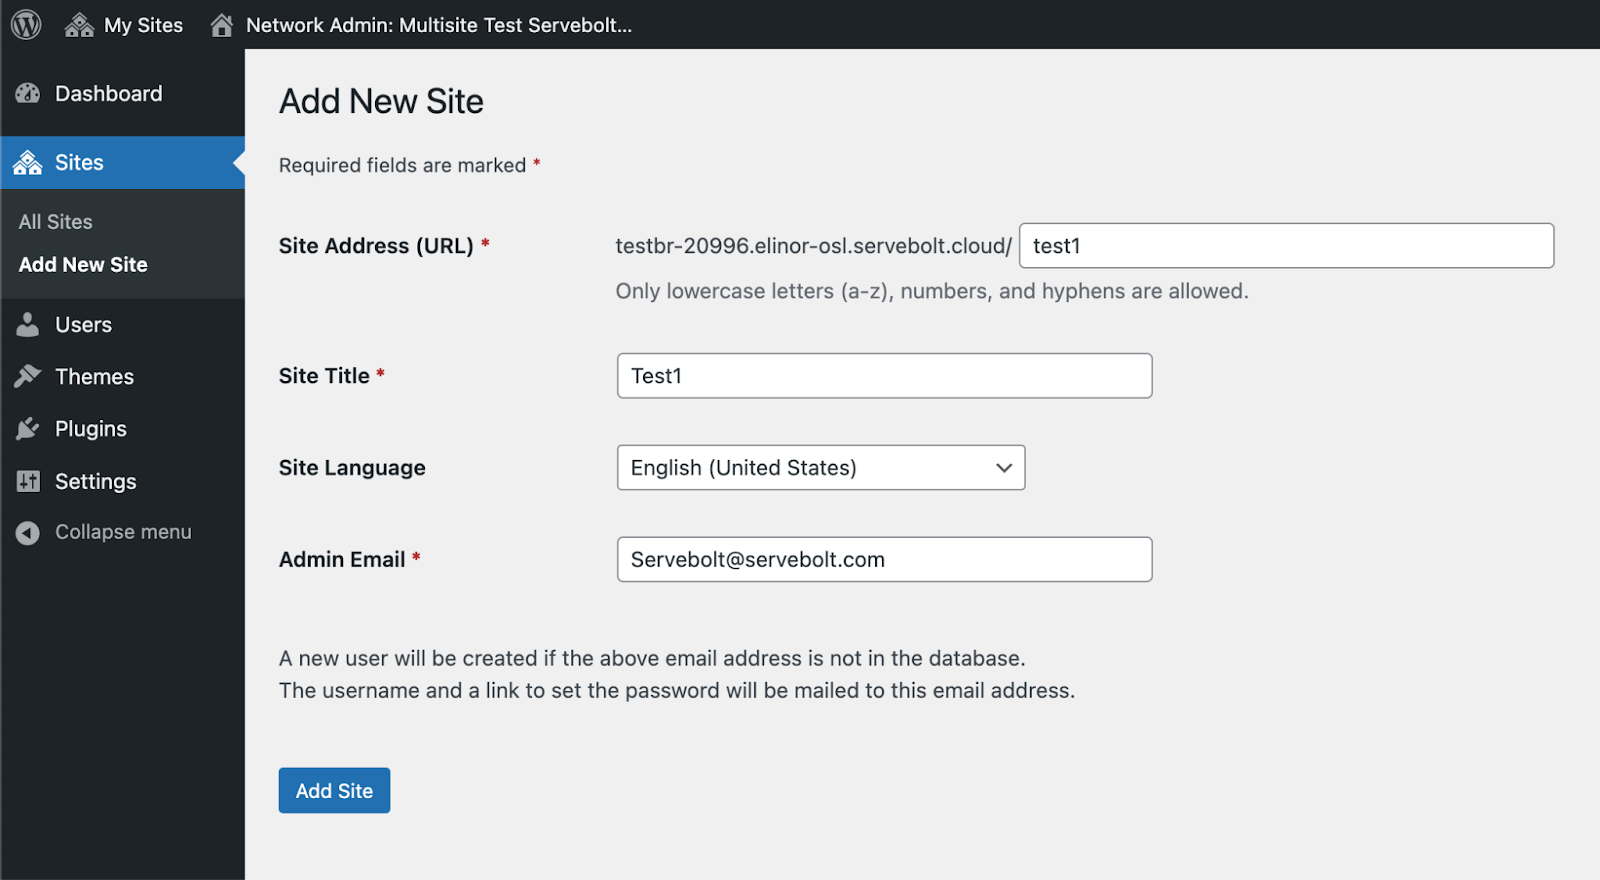
- Click on the “Add Site” button to create the new site. You should see a confirmation message with a link to the new site’s dashboard, where you can customize the site’s appearance, settings, plugins, and themes. You can also access the new site’s dashboard from the My Sites menu in the top left corner.
How to improve your WordPress multisite with Servebolt Optimizer
Servebolt Optimizer supports multisites and improves their performance and reliability. It offers features such as database optimizations, automatic cache purging, image optimization, Accelerated Domains integration, server-side cron, HTML caching, and more.
With Servebolt Optimizer, you can easily set up server-side cron for your multisite network, ensuring that your sites run smoothly and efficiently. You can also enable HTML caching, which reduces the load on your server and improves the speed and responsiveness of your sites. Servebolt Optimizer is the ultimate solution for optimizing your WordPress multisite and delivering a fast and reliable user experience along with Accelerated Domains.