When you open FileZilla for the first time, you’re met by an empty window without any connection. On the bottom left, you can see your home directory. FileZilla is a drop-and-drag application that allows you to drag files from your local directory onto the remote server.
Firstly you need to establish a connection with your host. Do this by filling in the information received in your email when creating the Bolt or environment. If you have altered the SFTP password and can’t find it anymore, here is a guide on how to change it.
After you set up a new Bolt or environment, we include the following SFTP information in our email. You can also find it in the Admin Panel under “Server Login Information“. All this information is relevant for connecting through FileZilla.
Host: username@servername
Port: 22
Username: SFTP username
Password: SFTP password
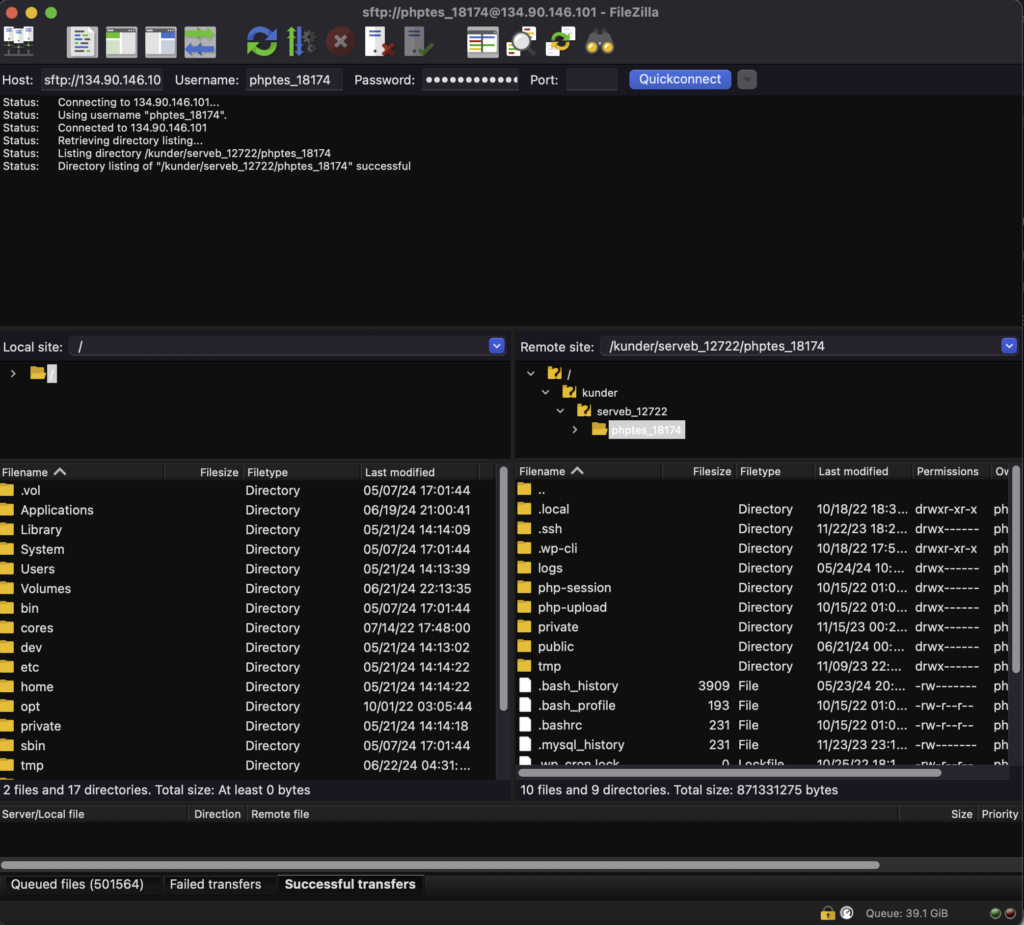
NB! Since Servebolt does not allow FTP transfer for numerous reasons, you must insert an SFTP extension before the host in FileZilla. Here is the proper way:
sftp://username.servernameAfter you have filled in the proper host, you can enter your username, password and port (22). You can start the connection by clicking Quickconnect when all information is filled in.
Note! On the right side of the Quickconnect button, you have an arrow. By clicking this arrow, you get a list of earlier connections. This makes connecting later much easier because all the information is stored, so you won’t have to re-enter it.
After connecting, you will see your server directory at the bottom right. Now you are ready to start transferring files.