In 2018, Erlend and I discussed that we should take our experience and thoughts about performance-focused development and make it into a method and workflow for others to follow.
WordCamp Nordic would be the perfect opportunity to present the early start of a workflow that anyone can follow. So with WordCamp Nordic as the deadline, I started working on what is now The Performance First workflow.
Why do we need a new way of working with performance?
When we look at the average page speed numbers, it is clear that we are making websites that are in no way near any best practice of three seconds. To me, that tells me that we need to start doing website development differently.

Our theory is that most developers don’t even know how much faster and better code can be. We also think most developers think that cache is the best way of speeding up a site.
I tested this theory by doing a poll in the Advanced WordPress group on Facebook.
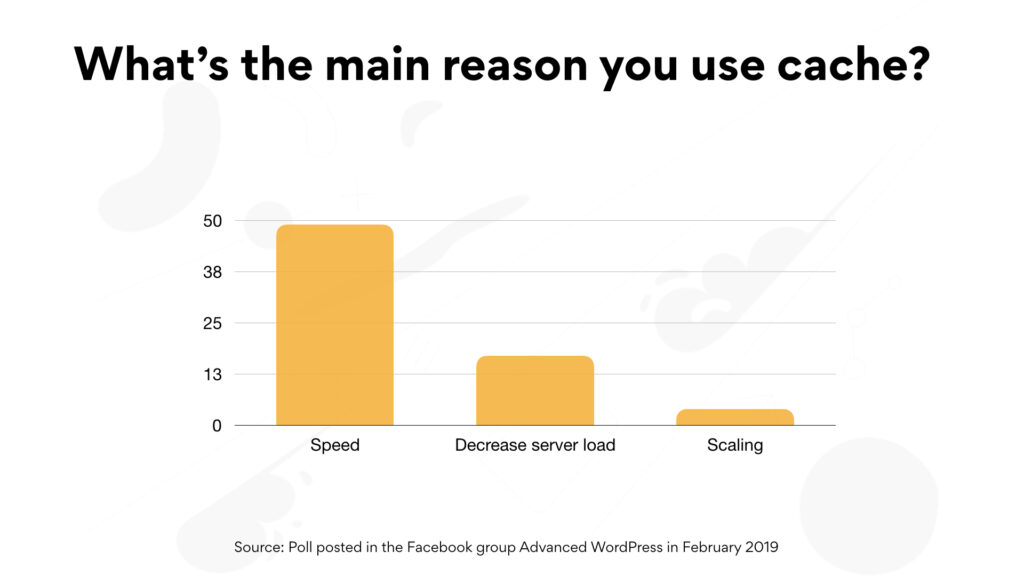
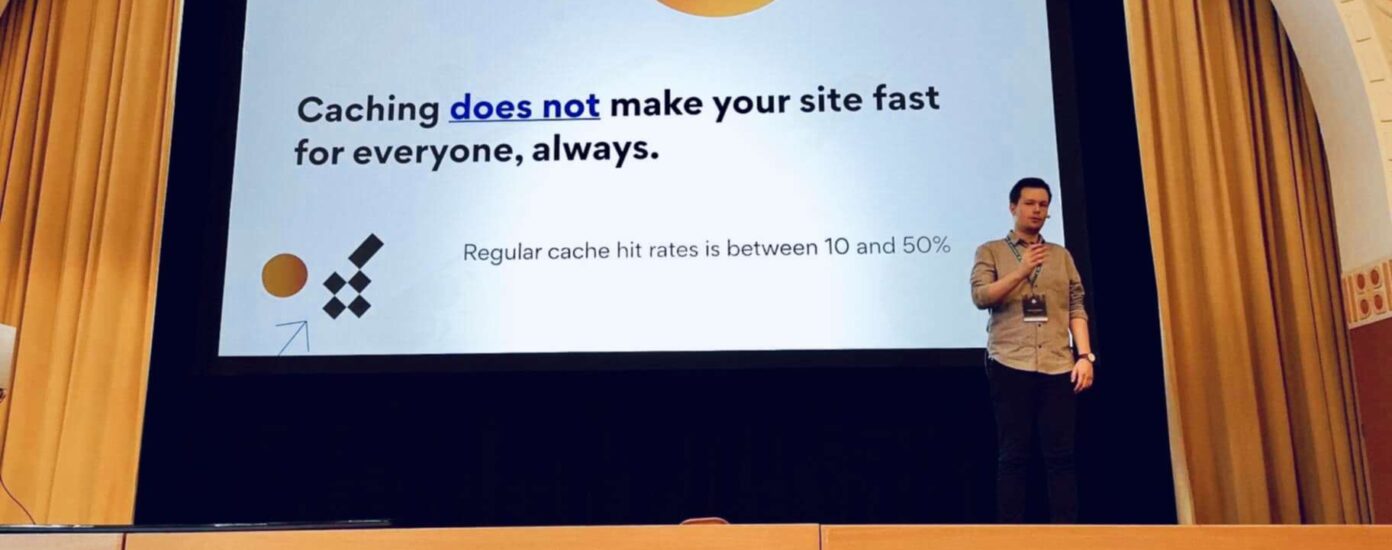
The large majority of respondents answered that speed was their reason for using full-page caching. Caching is in no way a magic bullet when it comes to performance.
The nature of caching is that no page is magically in the cache, and usually, a visitor is needed for the page to be cached for the next visitor – so she’s able to get the same page faster from the cache.
There are only two hard things in Computer Science: cache invalidation and naming things.
PHIL KARLTON
We also see from data in full-site performance tests we often do, that only a small fraction of the pages on a site are in the cache and that usually only between 5% and 20% of the page requests are delivered from the full-page cache. We do know of sites that can have up to a 50% cache hit rate, but they are very rare, and they are almost always static (e.g., not eCommerce).
Important clarification: With cache, I am referring to full-page caching, also known as HTML caching. I am not talking about static asset caching, object caching, CPU cache, micro-caching, and other types of caching in the hosting stack.
Confusing information
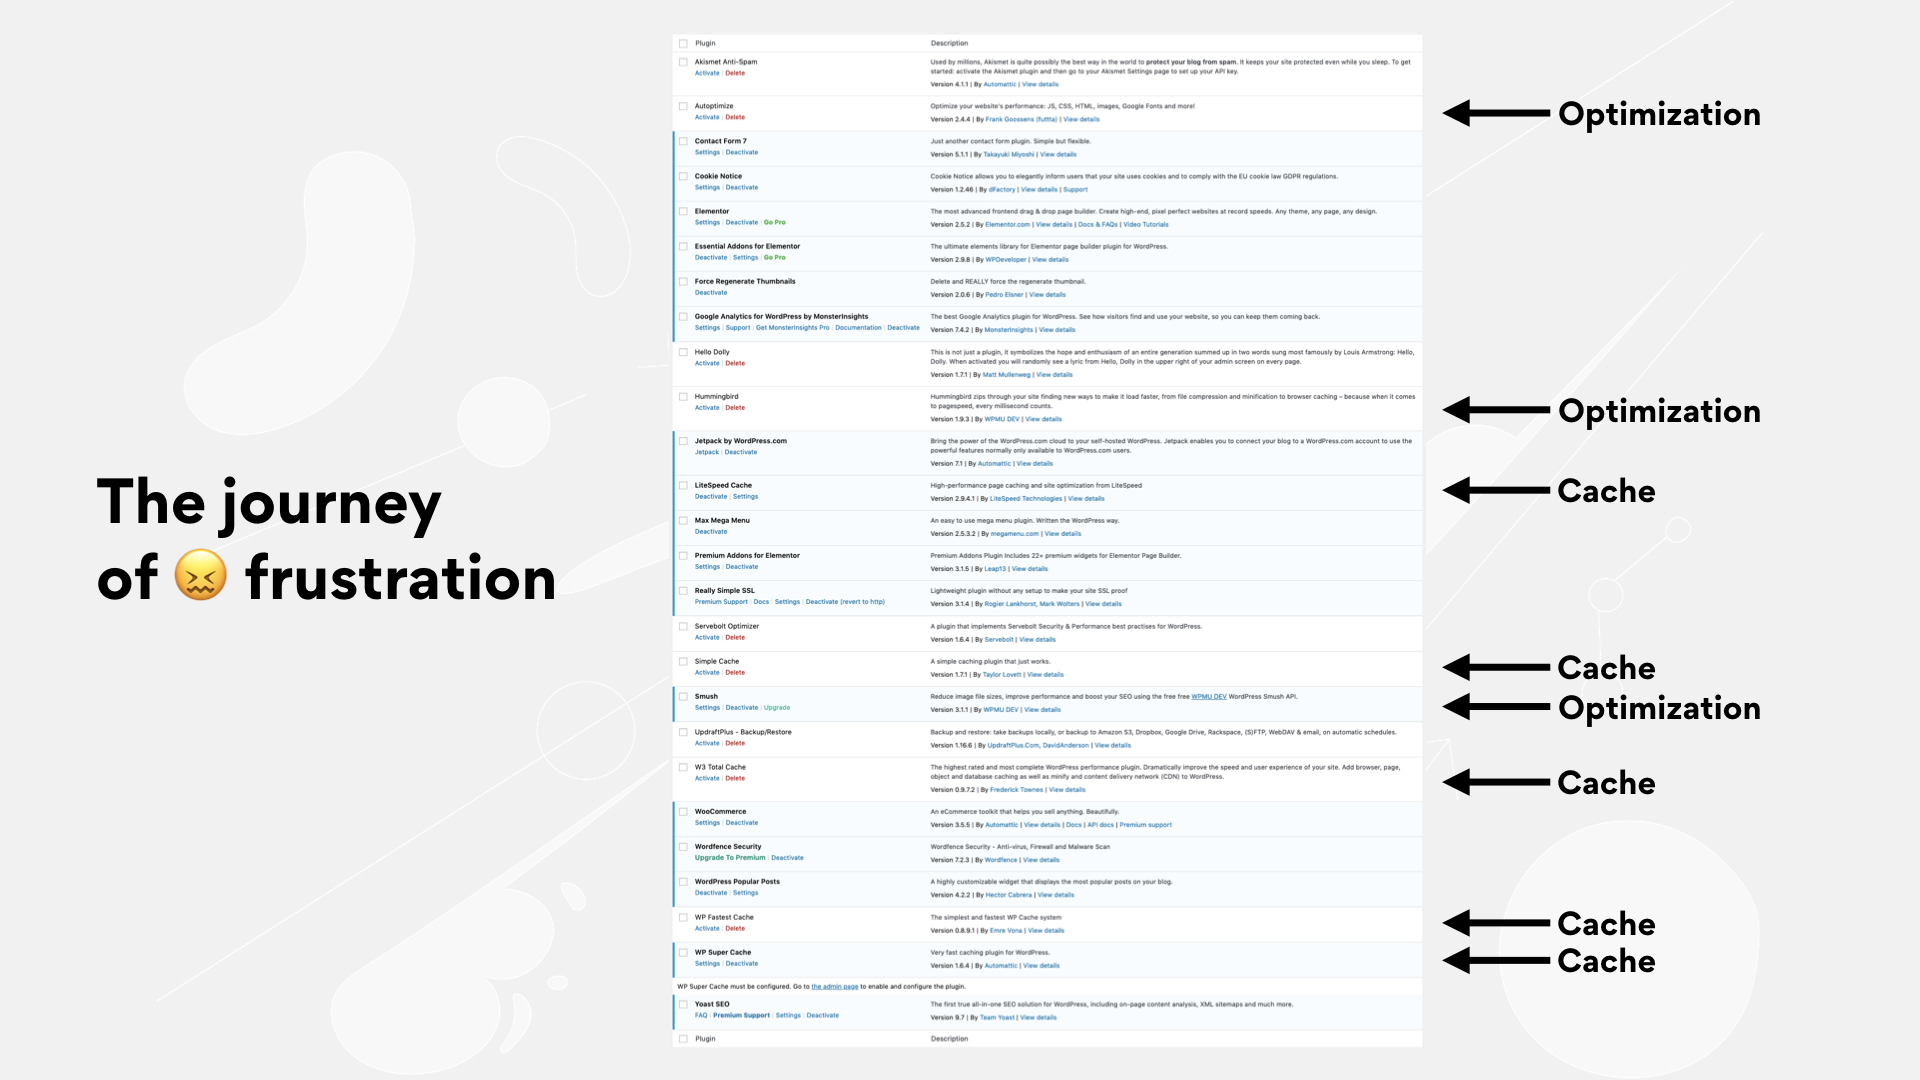
Even though so many developers think that cache is the solution, many of the sites that try Servebolt hosting usually tell the same story. They have tried multiple cache solutions and a variety of optimizations but don’t feel that the site is actually faster.
Cognitive dissonance is created through all types of channels. Online articles, Stack Exchange, ads, Facebook groups, blogs, help documents, and marketing sites. We are surrounded by information that tells us that caching is the remedy for slow performance and that it will make your site faster. But when tested, you don’t experience that yourself.
And they are right. It’s not faster. Some pages are faster if you hit the cache, but as you won’t be able to cache everything always, you won’t be able to deliver a fast experience to all visitors with cache as the main performance improvement technique either.
Forgetting about the full page cache in your development workflow will result in better code that runs faster. You will easily see, feel, and know when something you have done has slowed down your site.
Want to know more about how caching works? Read my article on how caching works in WordPress.
The Performance First Workflow
It doesn’t matter if you build a site with plugins, off-the-shelf themes, and a few CSS tweaks or if you build the site completely from scratch with custom code. The Performance First workflow is designed to help you and works no matter how you build your website.
Oh no, another something first


In design, we have mobile-first, accessibility first, and content first, among others. In frontend code, we have mobile-first and accessibility first. All these are trends in web development because they make sure that the websites and online stores you build have the user and the way the website will be used in focus. But, when doing backend code, you don’t have anything like it. You have coding standards, unit testing, etc, to make sure your code is easy to read and understand, that it doesn’t break functionality, and so on.
But in the backend code, we don’t have that many “firsts.” I could come up with one, and it’s called “Shortcuts first, because of project deadlines”. And the lack of a method and main focus is one of the reasons I believe we need the Performance First method and workflow. Developers, agencies, and clients need to know the importance of performance and commit to making websites faster and with better code.
How the Performance First workflow works
The Performance First workflow has two main parts:
- The performance budget
- The performance test
Between those two main parts, there are “rules” and a workflow to follow. Rules and a workflow is there to ensure that you, as a developer, don’t introduce code that slows down the site you are working on.
The main rule in the Performance First workflow is that the performance budget is absolute. Like with your money, you cannot exceed the budget at any point.
Join the performance conversation on Twitter using hashtag #perffirst
Step 1 – Make a performance budget
The first step, regardless if you build a new site or start working on an existing one. You need a performance budget. The Performance First budget consists of two main factors, time and size.
- How many seconds do you have to spend?
- How many kb can you transfer during that time?
To make it even easier, we can break those two into four KPIs.
- Download of HTML (first request)
- Page size
- DOM content loaded
- Fully loaded
You can add as many performance KPIs as you wish, the more KPIs you have, the better. But, the more KPIs you add, the more complicated you make the next steps too. And you should have a good understanding of any KPI you add because, behind any KPI, there are hints of where a possible performance problem is. More on that later.
Step 2 – Do your code/change
The second step is to build whatever you want to build or change on the site.
The more times you have worked through the steps in this workflow, the more performant code you will be producing. If you build websites using page builders, you will likely already have changed your standard setup to a more performant one when you have worked through the Performance First workflow a few times.
Step 3 – Test performance
After you have made your changes, it’s time to test the performance of what you have introduced or changed.
What should be the scope of your test?
You can test performance with different scopes:
- Function/fraction of code
- Single page
- Full site
Testing a function or fraction of code
Testing the performance of a function or fraction of code is usually done during your continuous integration (CI) process. For many normal websites, this is unnecessarily complicated and time-consuming.
Single page testing
Most people test single pages using single-page test tools like WebPageTest.org (or tools.pingcom.com, GTMetrix). These are easy-to-use tools and good enough for most. However, the problem is the fact that they are only single-page testing tools.
Single-page testing is for most websites to narrow their scope. A single-page performance test is not enough unless you have added code that only impacts a single page.
In most cases, any code you add will impact more than one page. If you add a plugin or module, it will impact more than one page, guaranteed.
Full site testing
Full site testing is what most developers should do more of. Full site testing is done either by testing a preset selection of pages or by crawling the site in full.
With full site testing, you can see the impact of your change across multiple pages and hence identify performance issues on pages with different scenarios.
Full site testing can be implemented into your CI process or be done manually with tools like Sitebulb and Screaming Frog. The important thing, regardless of what tool you use, is that you are able to get the KPIs you have in your performance budget for each page.
Personally, I recommend Sitebulb. I really like the possibilities it provides and that it gives me a lot more than just performance information. At its core, SiteBulb is an SEO tool that gives you a lot of information about possible SEO improvements.
The main reason for me to recommend SiteBulb is that you can run the tests locally, from your own computer, on a site you run locally. This gives you a controllable environment and makes it easy to run regardless of where you are, and the test will not be impacted by network latency and so on. The important thing to remember, if you run this locally, is that you then have relative numbers to your budget. Relative to how much slower your local environment is to whatever environment you will be running in production.
Step 4 – Did it affect performance?
After you have done the performance test, you have to determine if what you did affect the performance of the site. After you have determined that, you enter the final stage.
Step 5 – The decision map
The decision map, or the dance as I like to call it, is part of the workflow that is most strict. If you do not follow this part, the rest is close to useless. You start out on the tile that answers the question – Did it affect performance? A simple question, either yes – or no.
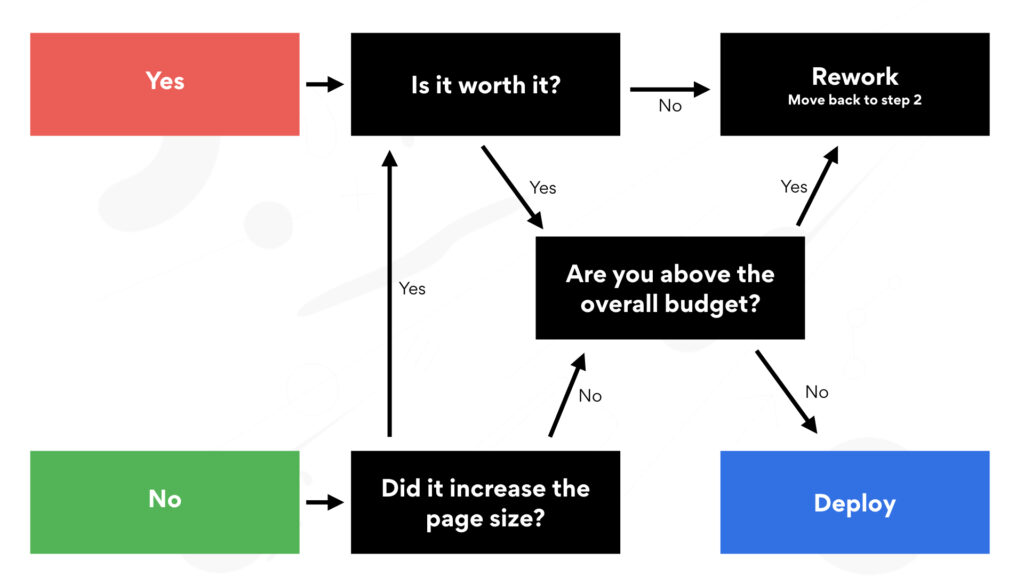
No. My change did not affect performance
The flow, when a change does not affect performance, is quite simple:
- Did it affect performance?
- Did it increase the page size?
- Are you above the overall budget?
If it did affect performance, the flow is a bit more complicated, and you may eventually have to head back to step 2 and improve your code.
To be forced back to step 2, to improve, rework, or rewrite your change – is a good thing. That leads to you learning new things, thinking differently, and learning new ways to write better and faster code.
Yes. My change affected performance
If your change or added code affects performance, the workflow becomes a bit more of a dance.
The first thing you will need to figure out is if the degraded performance is worth it. This decision is totally up to you. If it’s not worth it, head back to step 2, and find a better and faster solution to whatever problem you have tried to solve.
Yes, it is worth it
Ok, so the degraded performance is worth it. Then the Performance First workflow has a security net in case you make this decision too many times. The overall performance budget is absolute and can never at any point be exceeded.
The step after determining if the degraded performance is worth it is to check if the change has exceeded the performance budget. If it has, then you have to go back to step 2 and rework your code or, in some other way, find a better and faster solution.
Help! I have exceeded my performance budget
If you have exceeded to average performance budget, you will need to rework your code. An important note here is that you don’t necessarily need to rework the code you have just introduced. It can be both easier and smarter to rework some other part of the code that takes up a larger part of the performance budget instead.
When you exceed the budget, you need to figure out what part of the budget. When it is the time to first byte (TTFB), you have two options. Try faster hosting, or rework your code with the help of profiling tools to figure out what made it slow. Profiling is time-consuming and often difficult, and hard to do if you don’t have an advanced and diverse skill set.
The deploy step
You have worked through the workflow and ended up in the deploy step. Good work!
Deploy the new version of your site to the internet, and make it public and viewable to the internet. But before you give yourself a pad on the back, we need to do the very last step of the Performance First workflow.
Enable cache
Enabling the cache is the last step in the workflow, always, never at any point earlier in the process.
The reason for this being the last step is that you should not, at any point, use cache (full page cache, HTML cache, etc.) as a performance improvement. If you use cache for performance, you are guaranteed to end up with, at some point, users having a bad experience since they are the unlucky ones that do not hit the cache.
When the cache is taken out of your website performance toolbox, you will need to push yourself and your work to the next level to reach the level of performance your website’s visitors require.
If you have a cache in your toolbox, however, it’s easy just to enable it and trick yourself into thinking it’s a good solution. It’s not.
Performance is a tricky thing to solve, and the above model can help you give a better perspective. However, at Servebolt, we strive to make our customers’ lives easier, and for the same reason, we developed a unique service Accelerated Domains, that not only solves performance issues of your website but also optimizes resources that help with better scalability and improves sustainability.
Now, it’s up to you
Implement the workflow, work with it, and see what happens. I’m 100% sure you will end up with faster sites, better code, and happier clients.
Please comment if you have any questions, critique, or just feedback. The Performance First workflow is going to be updated and improved, and we are also looking into making this into an open-source project with tools and tips to make working with Performance First easier.