When you’re using Accelerated Domains there are a couple of ways to purge the cache on your site, you’ll need the Servebolt Optimizer plugin installed. To get all Accelerated Domains features working, it’s recommended to use this plugin. If the plugin is not installed already, follow these steps to install Servebolt Optimizer.
The first thing would be to activate Accelerated Domains in the plugin if not already done. To do this navigate to Servebolt > Accelerated Domains, then enable and save changes.
You can now see how the cache is configured under Servebolt > Cache > Cache Purge. As default, all cache features are activated.
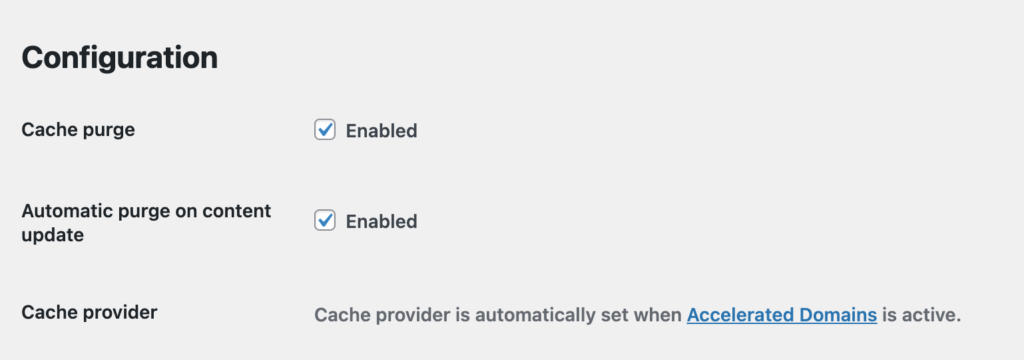
As soon as the plugin is connected to Accelerated Domains you can use multiple ways to clear the cache. By default, it will purge the cache whenever an update is made to a post in WordPress.
Manually purge all cache
You can purge all cache either from the options page, the WP Admin top bar or from within the post page if you’re using the Block Editor. You can do so by selecting Purge all cache. After purging the cache you should see the results immediately on your live website.

Purging the full cache has a temporary impact on the performance of your site, because the caches need to rebuild afterwards. For users this means a temporary slower experience. To avoid this, you should use the Purge URL feature whenever possible.
Manually purge one specific URL
If you don’t want to purge all the cache, but just one specific page/url you can do so on the same locations: from the options page, the WP Admin top bar or from within the post page if you’re using the Block Editor. This time you need to select Purge a URL to purge the selected url from the cache.
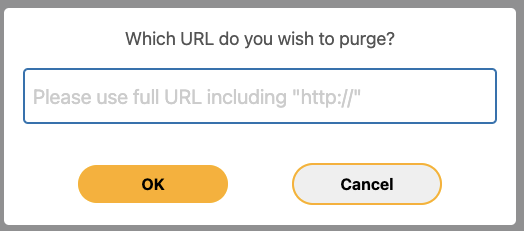
With this feature you can purge specific pages, CSS, JavaScripts, images or other static assets.