
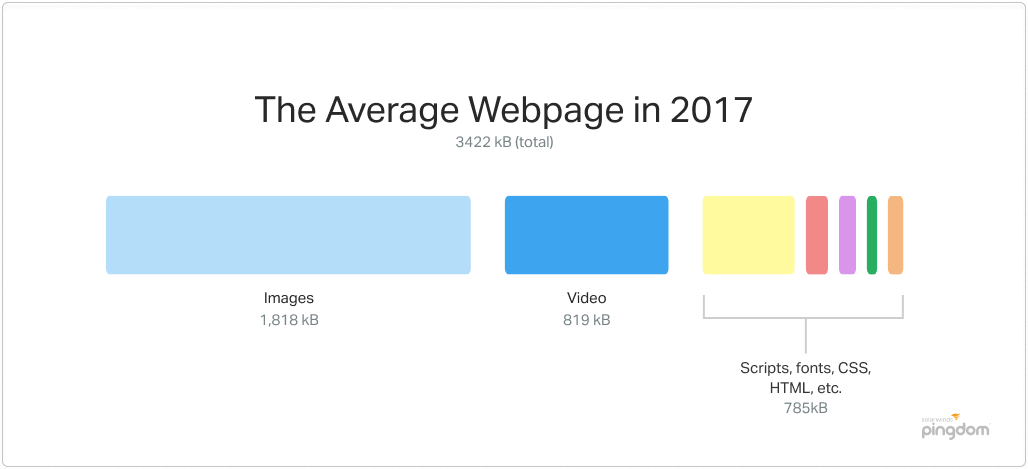
Websites are increasing in weight. The first website had an average page size of 4 KB. Today the average website page size is 4 MB, which actually is twice as much as just 5 years ago.
Approximately 50 % of the content on a website is images. In the last few years, we’ve seen an increase in scripts and style sheets, but images are still the main contributor to the weight of a website. This underpins the importance of image optimization.
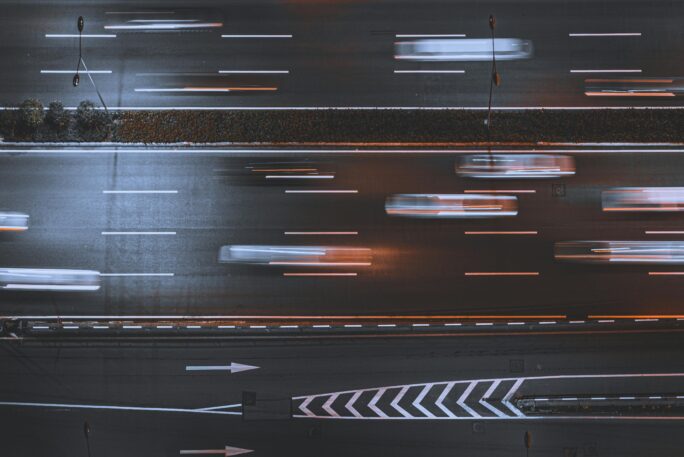
We are pushing more data through smaller connections.
Today, most of your website visitors today are mobile. And even though mobile networks are improving, the connection speeds globally are still far from what most people are utilizing with powerful computers on various landline connections.
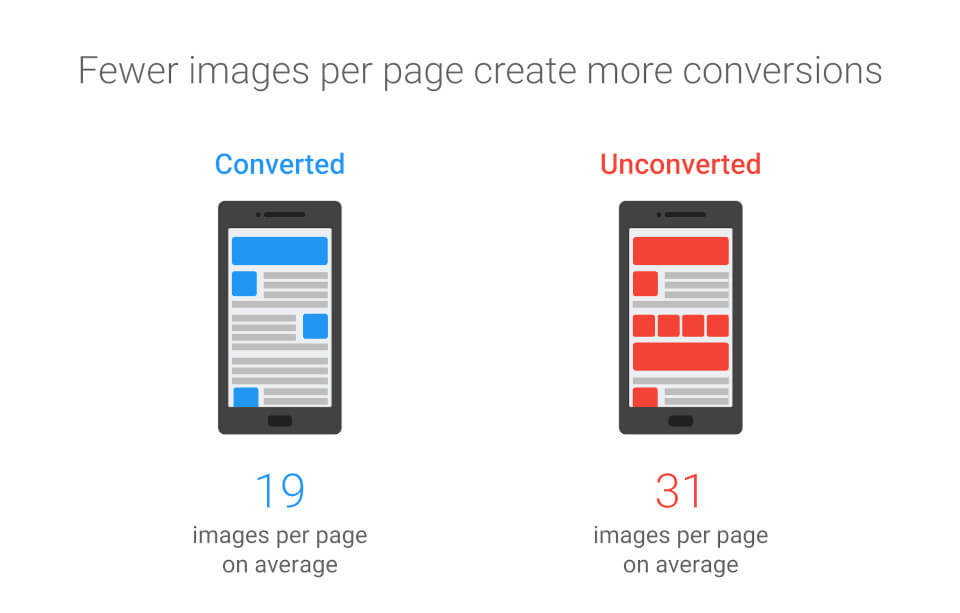
There are also studies that confirm that fewer images on a website will increase conversions. And we all know that fewer images give faster websites, which makes visitors and search engines happier.
So let’s start optimizing our website images!
Choosing the right image format
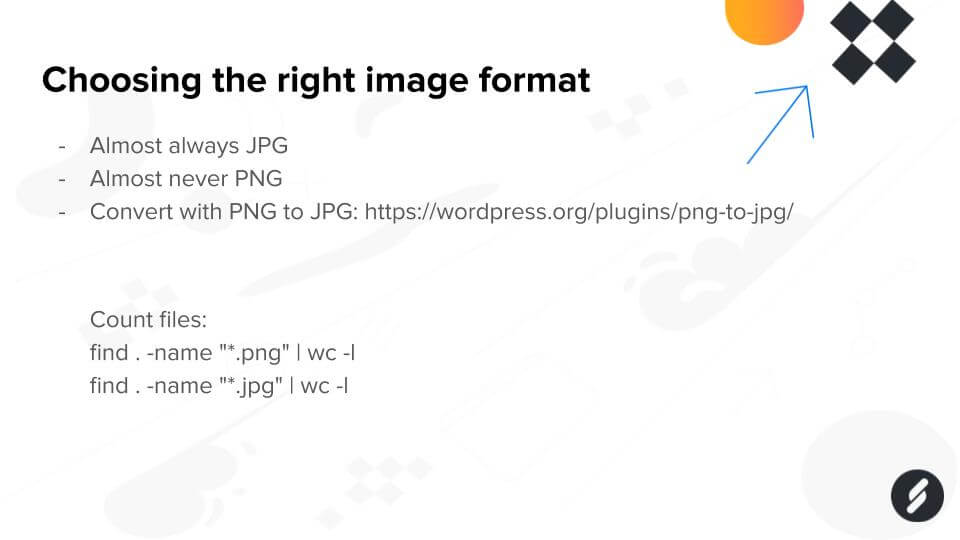
When it comes to website images, there are two primary image formats used today: JPG and PNG. PNG images should be used for vector graphics, illustrations, logotypes, and images that require transparency.
JPG images should be used for pretty much everything else. I would say that the average website should have a 1:10 ratio of PNG and JPG images.
But how do you know what kind of images you have on your website?
The easiest way to check this is through SSH. Just log in to your server, navigate to your website home directory, and write the following:
find . -name ".png" | wc -l
find . -name ".jpg" | wc -l
What’s the PNG vs. JPG ratio for your website?
As an example of the importance of the right image format, I’d like to share a story about a client that came to us about a year ago. They had a WooCommerce website, developed by a high-end agency, with major performance issues.
Their website weighed more than 50 GB, with primarily PNG images being used. After a performance review and quite a lot of image conversions, we reduced it back to “only” weighing 7.2 GB. And it performed a whole lot better!
Converting images between different image formats is, technically speaking, a pretty simple task. The main thing to consider with WordPress, though, is that the image format needs to be changed both on the server and in the database, with links/references to images in all posts.
The easiest way to solve this is to use a WordPress plugin named PNG to JPG. Install and activate the plugin, be sure to de-select the “Leave original PNG images on server” option and select the “Autodetect transparency” option, then just go through and convert all required images.
Once you’re done, just deactivate/delete the plugin.
Image sizes in WordPress

Another thing to consider with images in WordPress is that when you upload an image, multiple copies are created of that image. This is due to the responsive design support in WordPress, where different images are displayed depending on the visitor’s screen size or resolution.
A single image can easily become more than 10 images in WordPress.
Our Image Resize add-on in Accelerated Domains solves this problem for you in the most optimized way possible, but let’s look at what happens when you’re not using Accelerated Domains.
By default, WordPress includes three additional image sizes apart from the original one: large, medium, and thumbnail. Many themes and plugins add their own image sizes as well. WooCommerce even adds three additional image sizes.
When adding/removing image sizes to a WordPress website, it’s a good idea to regenerate the images from the original image. This can be done through plugins, but I would advise using WP-CLI.
And, of course, when adding images to a page, post, or similar, be sure to select the most appropriate image size. You will most likely not need to insert the original image but rather a large or medium-sized image.
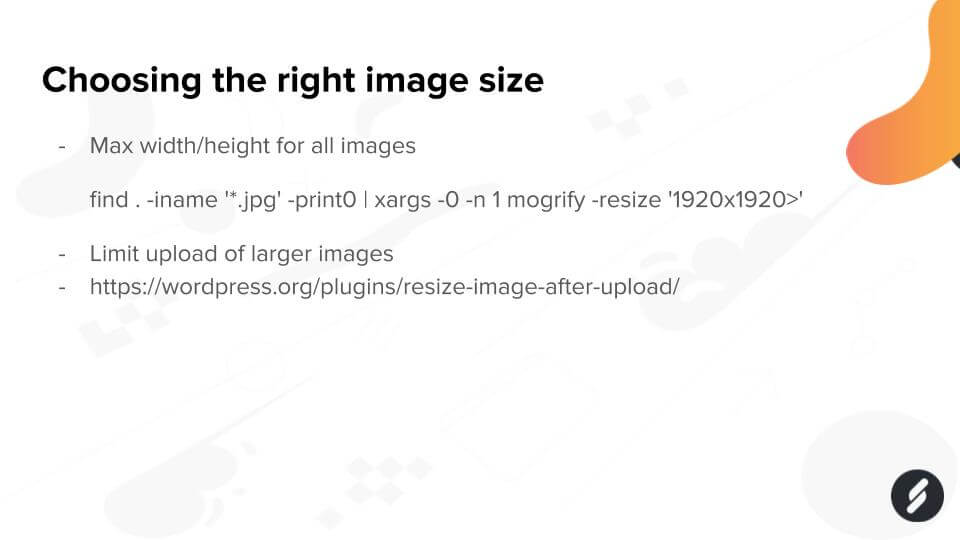
Choosing the right image max-size
Modern cameras can take pictures with extremely high resolutions. These are great to look at on your phone or high-resolution display, but they’re not that useful on your website.
That’s why you need to set the maximum width/height of your website images.
Few websites, if any, require images that are larger than “full high-definition/HD” or 1920 x 1080 pixels. Full HD images can be aligned both horizontally and vertically, so it’s a good idea to set the max width/height to 1920 x 1920 pixels.
So how do you do this? Well, it’s easy, as always, with SSH. Login to your server, navigate to your website home directory, and write the following.
find . -iname '*.jpg' -print0 | xargs -0 -n 1 mogrify -resize '1920x1920>'But you can’t keep resizing your website images manually all the time. To limit the upload of larger images, we recommend using the WordPress plugin Resize image after upload. This is particularly true with websites where visitors/users can upload images themselves.
Just install/activate this plugin, and in the settings for the plugin, set the desired max width and max height. Note that we don’t recommend using the compression features of this plugin.
And, of course, your WordPress theme should be responsive, with the srcset HTML attribute. With a responsive theme, different image sizes are displayed for your website visitors, depending on the size of their screens.
Optimize all your images
Now we’re getting to the fun part! The actual optimization of your website images.
First off, yes, you should always optimize all your images. WordPress has a built-in 85% default compression level for JPG images, but it won’t optimize your images enough. You must do this yourself.
There are so many different ways to optimize images that we could write an article only about that, so I will just focus on the settings that I recommend.
If you are of a different opinion here, feel free to leave a comment below. With JPG images, I would recommend using a progressive compression.
With progressive compression the images are displayed faster and they load from low-quality to high-quality.
I also recommend removing metadata from your images during the optimization process.
There are two major routes when it comes to compressing JPG images, lossless and lossy compression. Lossy compression tends to make the images smaller, but it’s more aggressive and may have a noticeable impact on the image quality.
What compression to use differs between websites, if you’re in doubt, go with lossless.
How to compress website images
First of all, you should not use WordPress plugins to compress your images. It’s a bad practice, and I’ll go into more details on this later in the article.
If you can, you should always compress your images before uploading them to your website. Most image editing software today, like Gimp and Photoshop, includes functions to save images with compression levels that are “optimized for web”. They’re usually not good enough, but it’s a good start.
TinyPNG offers an excellent and free online image optimization service.
To compress your website images, we recommend using server-side compression with software like jpegoptim and optipng. These should be scheduled to run using cron.
Script for image compression
We like to practice what we preach, and when compressing website images, we use the previously mentioned server software jpegoptim and optipng.
We actually have a setup of commands that we run, which not only does a really good compression, but when we run them repeatedly, they only compress previously uncompressed images.
An important thing to note here is that image compression can be a very resource-heavy task. This is not something that you want to run all the time because it may cause your server to be overloaded and/or crash. The image compression script is setup to run with the lowest priority possible.
Here’s a simple bash script for effective JPG and PNG image compression.
#!/bin/bash

# Simple image compression script by Servebolt
# Version 1.0, November 22 2019

# Set the full path to your website home directory below

HOMEDIR="/full/path/to/website/homedir/"

# Compress all non-compressed .jpg and .png images

cd $HOMEDIR
nice -n 19 find . -iname '*.jpg' -print0 | xargs -0 jpegoptim --max=82 --all-progressive --strip-all --preserve --totals --force
nice -n 19 find . -iname '*.jpeg' -print0 | xargs -0 jpegoptim --max=82 --all-progressive --strip-all --preserve --totals --force
nice -n 19 find . -iname '*.png' -print0 | xargs -0 optipng -o7 -preserve

echo "Image compression done!"
Copy/paste this code to a script that you store in your website storage. Note that the HOMEDIR variable needs to be set to the home directory for your website. Make the script executable through SSH/SFTP using chmod +x.
Finally, schedule the script for execution once/a week. You will most likely not need to run it more frequently.
Why not use plugins?
So, why would you want to go through all of this with setting up a script and scheduling it through cron when you simply just can use a WordPress plugin for your image compressions?
The primary reason for not using a plugin is that it will slow down your website and/or web server. It is really a waste of resources to use image compression plugins. They do almost the same thing as the server-side software previously mentioned but through the web server and WordPress. It’s very inefficient.
Image optimization plugins always add to the TTFB of your website. And some plugins offer different features depending on your hosting provider.
Yes, we’re looking at you, EWWW.
If you really have to use a plugin, then you may want to use a plugin with support for external cloud compression. This will reduce the load on your website/server.
Two plugins that offer this are Shortpixel and TinyPNG.
Note, though, that even with external compression, the performance of your website will degrade since the images have to be moved from/to the server. It’s really best to solve the image compression using server-side software.
Lazy loading images
Regardless of how you optimize and compress your website images, you should probably always lazy load your images. Lazy loading means that only the images that are visible to the visitor on their screen are initially loaded. The rest of the images are loaded as/when the visitor views them or scrolls the screen.
There are two ways to lazy load images today.
With the “old” lazy loading technique, a javascript is used to lazy load the images. Unfortunately, this adds somewhat to the number of scripts on your website, but it will work with almost all modern web browsers.
There’s a good plugin for this, simply named Lazy load. Install/activate it, and it just works.
With the “new” lazy load technique, the new attribute loading=lazy is added to all website images. This attribute is currently only supported by Google Chrome, but more web browsers are likely to support it in the future.
Google has a similar plugin named Native lazyload.
WP-CLI
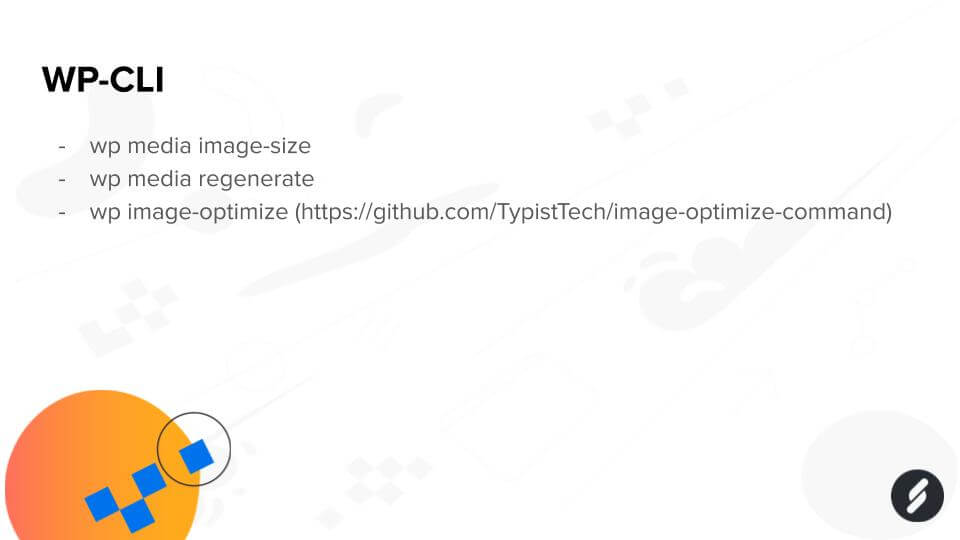
WP-CLI, the WordPress Command Line Interface, offers multiple interesting image functions.
Included by default is “wp media image-size” which lists all registered image sizes for your website, and “wp media regenerate” which can regenerate WordPress image sizes (much better than using a plugin).
One of the nice things about WP-CLI is that you can install additional functions. One of these functions is “wp image-optimize” which enables image optimization through WP-CLI.
I think this WP-CLI package is really interesting and probably the future for image optimization with WordPress. But today, in my experience, it’s not stable and effective enough for a production website.
Cloudflare image features

We really do recommend using Cloudflare. Cloudflare is the largest CDN and security service in the World, and Servebolt is an official Cloudflare Enterprise partner.
Cloudflare includes a number of interesting image features with its plans.
- Cloudflare Free includes their free CDN service. With their global network of CDN servers/nodes, it’s a good chance that the Cloudflare CDN is closer to your website visitors than your server.
- Cloudflare Pro includes a function named Polish. It can automatically optimize your website images using lossless or lossy compression. It can also serve the more modern and faster image format WEBP to visitors with web browsers that support this.
Cloudflare Image Resizing on the Fly
Cloudflare has one of the coolest image functions we have seen – Image resizing on the fly on Cloudflare’s edge. This means that your site, running Cloudflare, can serve one image to Cloudflare, and they will resize, compress and cache it in their network.
For regular images, not using the srcset property doesn’t do much other than being a cool feature and limits the number of various sizes you need to store on the server. But, in combination with srcset this feature is like magic.
When using Image Resizing together with srcset you can do one of all of the following:
- Serve the right image size every time for the users’ viewport. No more oversized images.
- Delivering a higher compression on small/thumbnail images where details are less important and lower compression on large images.
Play around with the Cloudflare Image Resize feature
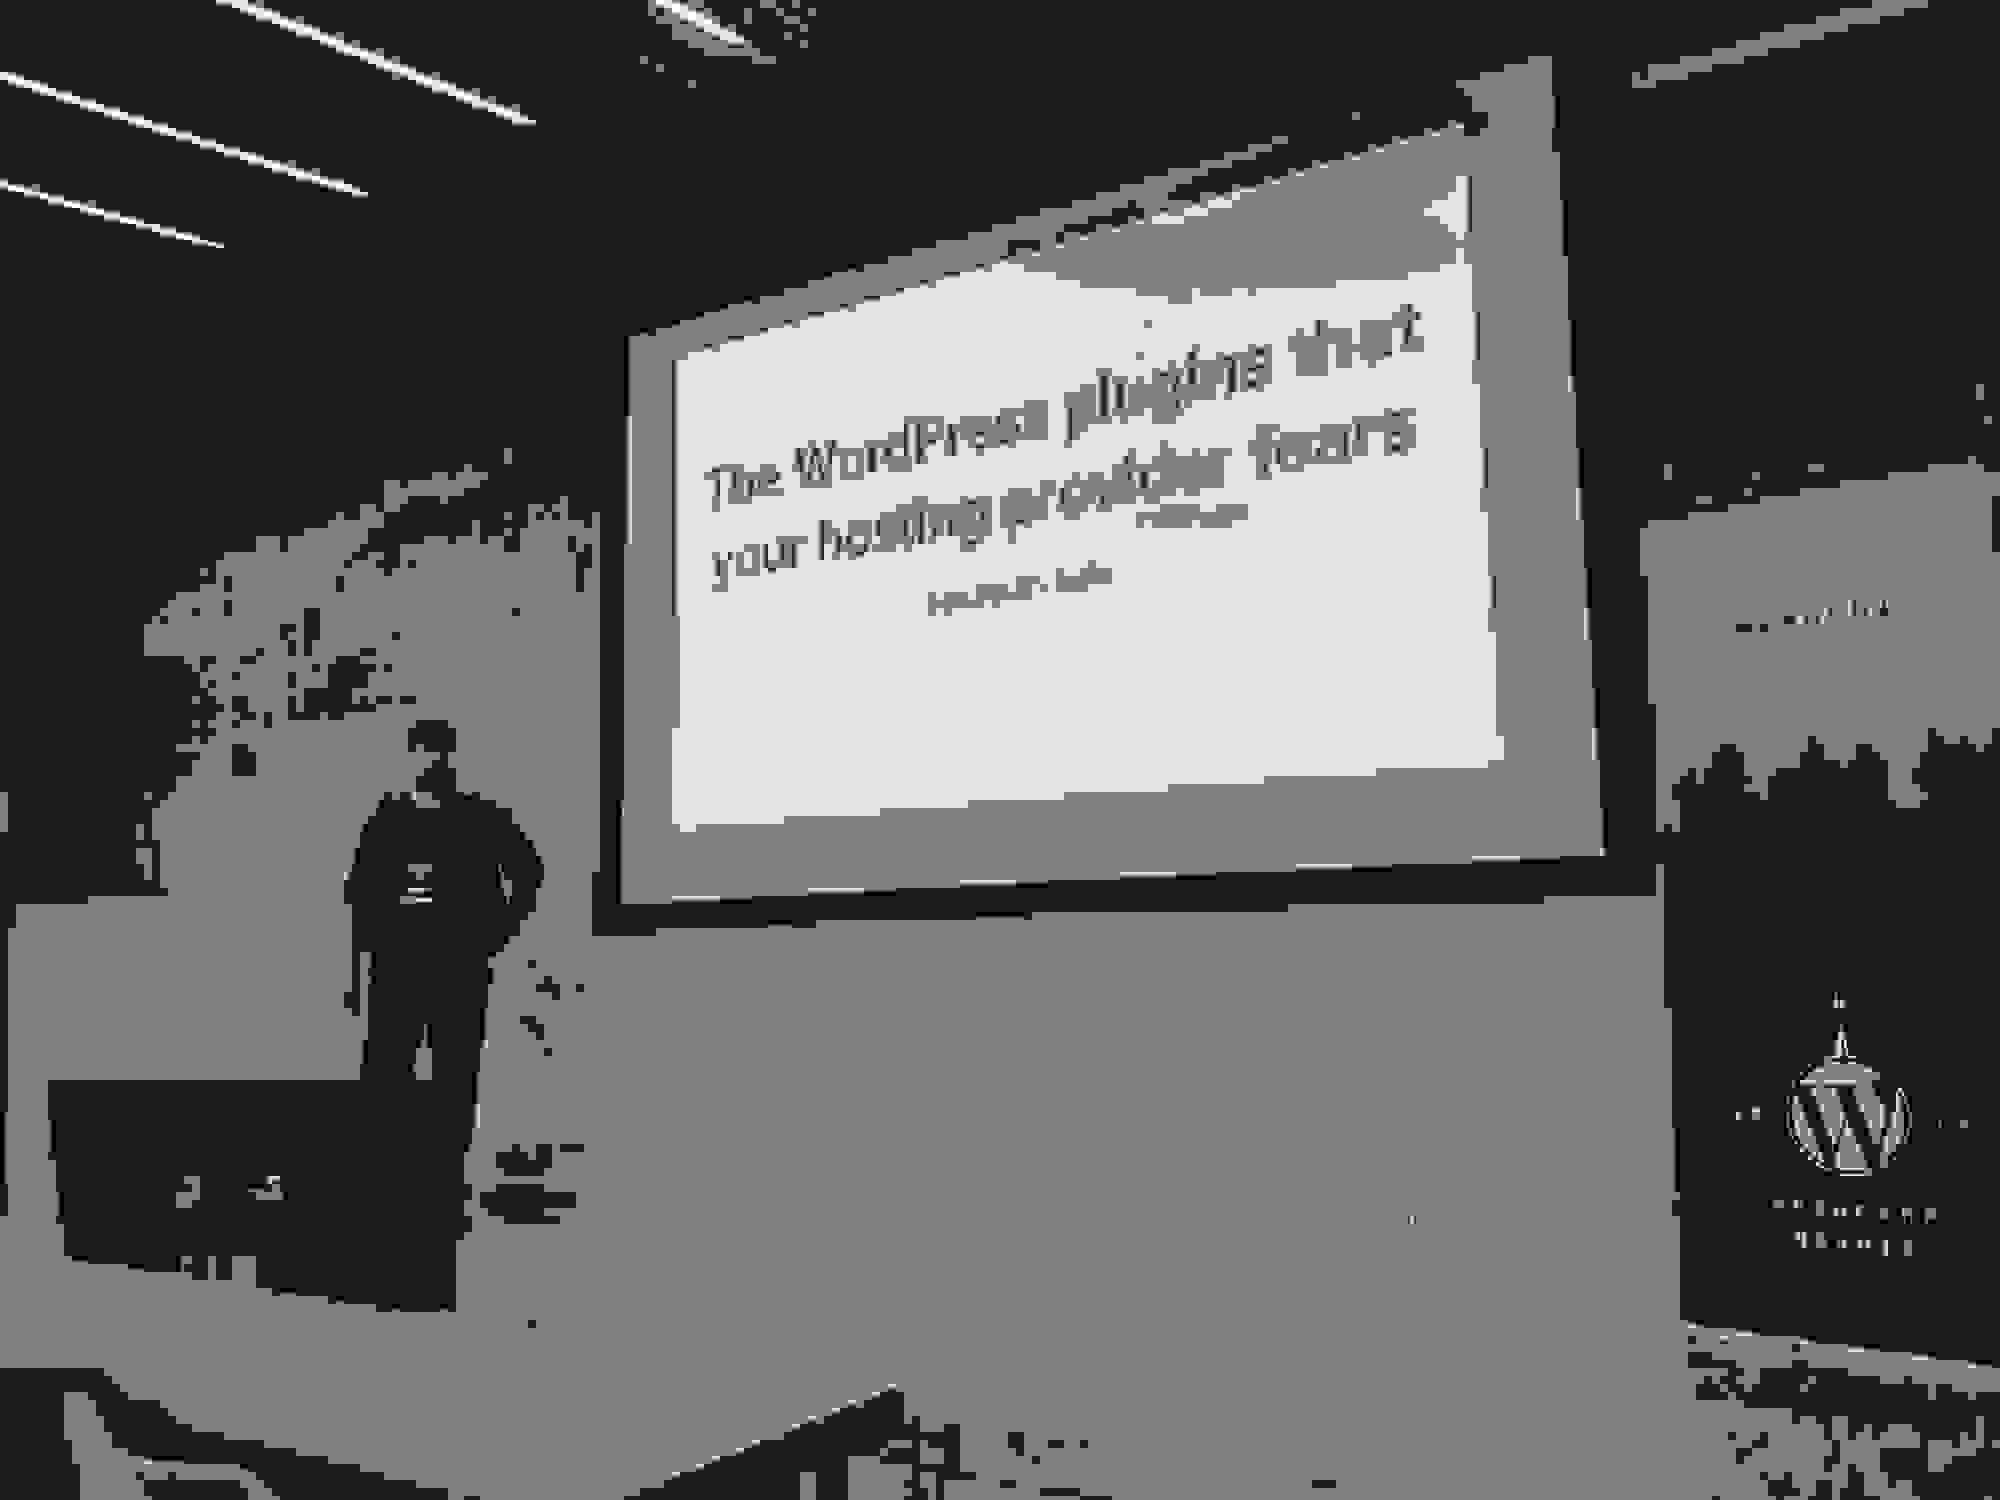
You can play around with this feature with this image of me from WordCamp Nordic
In the URL, some of the parameters to use Cloudflare image resizing are set. Here we have set the maximum width to 2000px, and the quality to 1. Adjust the parameters in the URL to see the effect instantly.
Of course, there is much more to Cloudflare than this. Feel free to read more about the Cloudflare hosting that we offer here at Servebolt.
And that’s about it
This was pretty much my whole talk from the WordPress meetup in Stockholm, Sweden. The talk was live-streamed and recorded here as well:
If you have any comments or questions related to this, feel free to leave a comment below.
As always, with modern web technology, the techniques and work methods are always evolving. I’m sure much of this can be improved, so feel free to tell me “how to do it instead,” and I’ll make sure to try it out as well.