This guide will walk you through the steps to configure a secure SFTP connection to manage your Bolt’s environments using FileZilla. If you’re looking to connect via SSH, please refer to this guide. There are plenty of options when it comes to SFTP clients; here’s a list of other popular ones:
- WinSCP: A user-friendly SFTP client for Windows.
- Cyberduck: A versatile SFTP client available for both macOS and Windows.
- Transmit: A powerful file transfer tool for macOS with support for SFTP.
Access Settings and Credentials
Before starting, you must ensure SSH/SFTP access is enabled in the Admin Panel. You can find the settings in the Access tab in the Environment menu, where you can choose between 3 alternatives:
- Passwords and Public Keys: Allows access via passwords and SSH public keys.
- Public Keys Only: This option restricts login to authorized SSH public keys, enhancing security by disabling password-based login.
- No Access: Disables SSH/SFTP access completely.
For this guide, we’ll choose ‘Passwords and public keys’.
Login Information
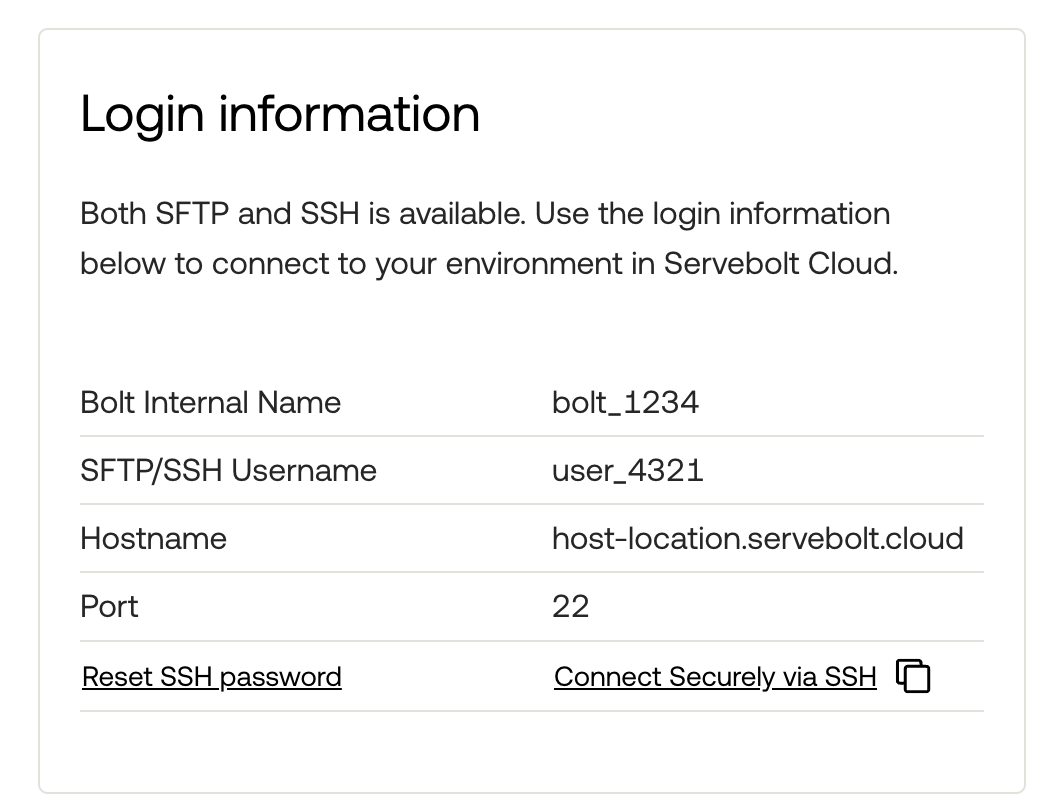
To connect to your environment via SFTP, you’ll need the specific login information, which can be found in the environment overview in the Admin Panel. This same information is also provided when an Environment is created. If you need to reset your SSH/SFTP password, you can do so by clicking “Reset SSH password”.
Connecting to Your Environment in FileZilla
Follow the steps below to configure the SFTP client, enter your login details and establish a secure connection to your remote Servebolt environment. In addition to your saved SSH/SFTP password, you will need the following login information to connect to your environment: SFTP/SSH Username, Hostname and Port.
Steps for Configuring and Connecting
- Open FileZilla
- Your local directory structure is visible in the left column as ‘Local site’
- Open the Site Manager
- File → Site Manager
- Use keyboard shortcuts: CMD+S for macOS or CTRL+S for Windows
- Click the Site Manager icon in the top-left corner
- Click ‘New site’ and give it a suitable name
- General settings
- Protocol: SFTP – SSH File Transfer Protocol
- Logon type: Normal
- Enter the credentials from your login information. Using the example above, it will look like this:
- Host: host-location.servebolt.cloud
- Port: 22
- User: user_4321
- Password: <your SSH/SFTP password>
- Click ‘Connect’
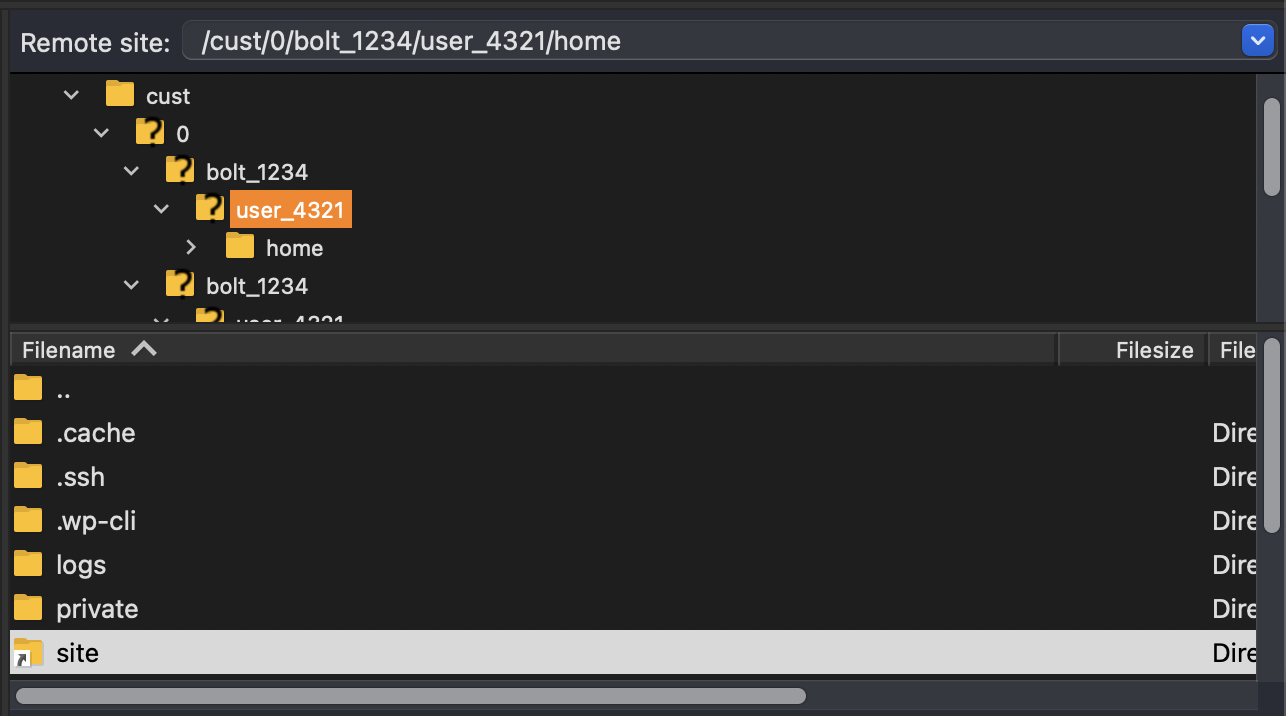
If the credentials were entered correctly and the connection was successfully made, you should see your remote environment’s directory structure as ‘Remote site’ in the right column.
If you encounter any connection errors, please refer to our article on troubleshooting common SFTP connection errors.
Now that you have achieved a secure SFTP connection to manage your Bolt’s environments, you can transfer files to and from your local machine. Simply drag and drop files between the ‘Local site’ and ‘Remote site’ to manage your environment’s data.
As always, should you have any additional questions, please don’t hesitate to contact us through our support chat at servebolt.com!