Servebolt Optimizer lets you connect your Environment(s) directly to Cloudflare via their API. You can connect your Environment(s) to your Cloudflare account in two ways: by creating a Cloudflare API Token or using the Cloudflare API Key. The two options are quite similar. The main difference is that you can control an API token’s capabilities, whereas API keys give full access to everything.
Connecting via API Token

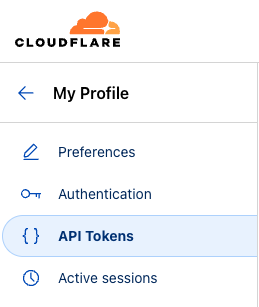
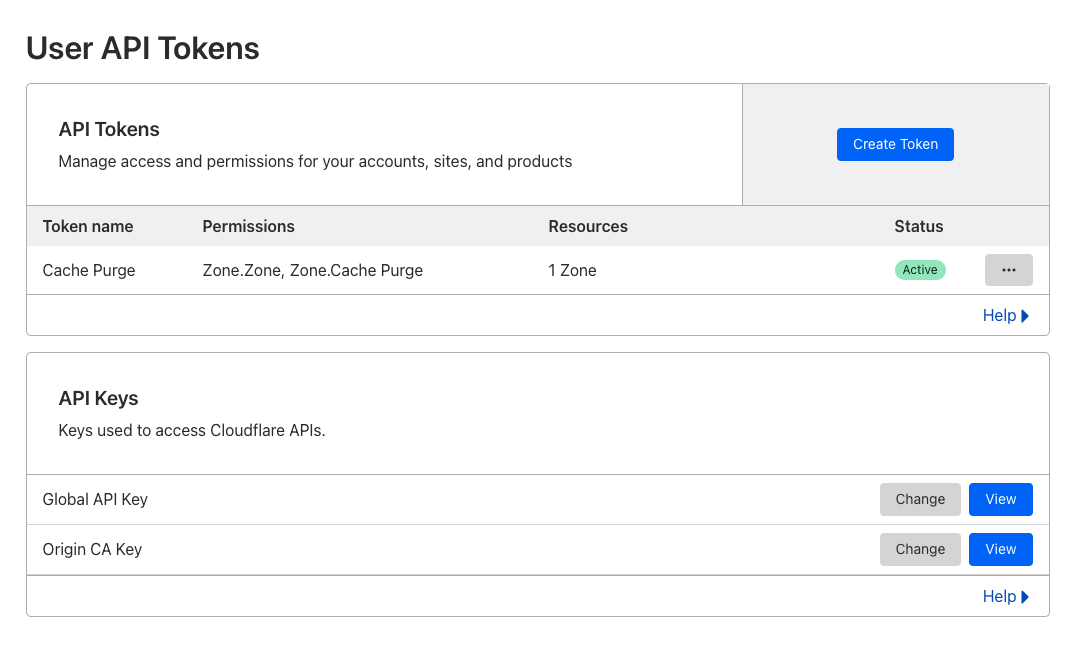
A Cloudflare API token is the most preferred way to connect Servebolt Optimizer to your Cloudflare account, allowing a more granular access control. You can create, view and manage API Tokens in your Cloudflare Dashboard by navigating to My Profile → API Tokens.
Creating a Custom API Token
We want to set up a token with very limited permissions, which is why we’re creating a custom one:
- Click ‘Create token’.
- Below the list of API token templates, you’ll see an option to create a custom token.
- Give your API token a descriptive name.
- We recommend the following permissions (require two permission rules):
- Zone → Zone → Edit
- Zone → Cache Purge → Purge
- Set the Account Resources to the specific zone/domain that will use the API token (optional but recommended).
- Click ‘Continue to summary’ to ensure everything is set up correctly.
- Create Token!
Connecting the API Token to Servebolt Optimizer
After creating the custom API Token, you should see the following message:
<Token Name> API token was successfully created
Copy this token to access the Cloudflare API. For security this will not be shown again. learn more
You will also see a command to run in a terminal shell. This allows you to test the custom token and ensure it works correctly.

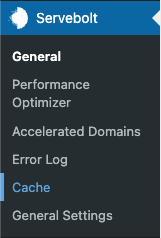
Navigate to the Servebolt Optimizer plugin menu → Cache → Cache Purging; Select Cloudflare as the Cache provider and the wanted ‘Automatic purge on update settings’. Select API Token as the authentication type in the Cloudflare API section and enter the newly created custom token.
The final step requires you to enter your domain’s Cloudflare Zone ID, which you can find in the right-side menu of the domain overview page in your Cloudflare Dashboard. Once you have saved these settings, you can control Cloudflare cache purging from within the Servebolt Optimizer plugin.
Connecting via API Key
This option uses the global Cloudflare API key to connect your site to your Cloudflare account. The API key’s drawback is that it connects your entire account, including all zones/domains set up on the account. You can find the API Key here:
- Log in to the Cloudflare dashboard and go to My Profile → API Tokens.
- Here, you’ll see your API Keys. Click ‘View’ on the Global API Key.

Connecting the API Key to Servebolt Optimizer
After you’ve copied the API key from your Cloudflare profile account, you’ll need to use that key—a long string of numbers and text—to connect your site. Navigate to the Servebolt Optimizer plugin menu → Cache → Cache Purging; Select Cloudflare as the Cache provider and set the wanted Automatic purge on update settings. In the Cloudflare API section, select API Key as the authentication type and enter the needed information:
- Cloudflare account email
- API key
- Cloudflare Zone ID
Once you enter the correct credentials, you can select the zone ID/domain you wish to connect to from the list. Once you have done so and saved the settings, you can control Cloudflare cache purging from within the Servebolt Optimizer plugin.
As always, should you have any additional questions, please don’t hesitate to contact us through our support chat at servebolt.com!
