Welcome to our guide on going live with Servebolt! This guide will walk you through the transition from your old hosting provider to your new, high-performance Bolt, powered by our custom-built Servebolt Linux 8 and the state-of-the-art Servebolt Cloud platform. Follow these steps to ensure a seamless migration and unlock unparalleled speed and efficiency.
Before getting started, please ensure the following:
- You have an account set up.
- You have a Bolt set up.
- You have the necessary credentials for your old hosting provider.
- You have a domain name that is ready to be moved to Servebolt.
Prepare Your DNS
If you’re using Cloudflare or Sucuri to proxy your website, DNS changes will be instant, requiring little preparation. For an enhanced Servebolt experience, we recommend integrating Cloudflare into your subscription before going live. This proactive step streamlines the setup process and ensures a smoother transition.
For environments where an instant switch is critical, such as e-commerce platforms, we recommend reviewing our detailed guide on DNS preparation.
Depending on your configuration, DNS changes can take up to 24 hours to fully propagate.
Upgrade to a Paid Plan
Your Bolt needs to be set up with a paid plan before going live on Servebolt. Start by navigating to the “Plans & Billing” page in the Admin Panel. Once you’ve completed the checkout, your Bolt will be reconfigured within seconds, and you’ll be ready for the next steps. Please reach out if you are unsure which plan is right for you.
Prepare Your Website for Migration
We recommend putting your website in maintenance mode, especially if you’re running an e-commerce site. This ensures you can capture a complete, accurate snapshot/backup of your site, preserving critical data during the migration. This snapshot should include the most up-to-date versions of your files and database.
Transfer Files and Database
Transfer the files from your old hosting provider to your new Bolt, and import the database snapshot. Our Team is happy to assist you with the migration process. We understand this can be a complex task and appreciate the importance of precision and quality in every step. Just fill out our migration form, and we’ll make sure your site is safely migrated.
Add Your Domain to the Admin Panel
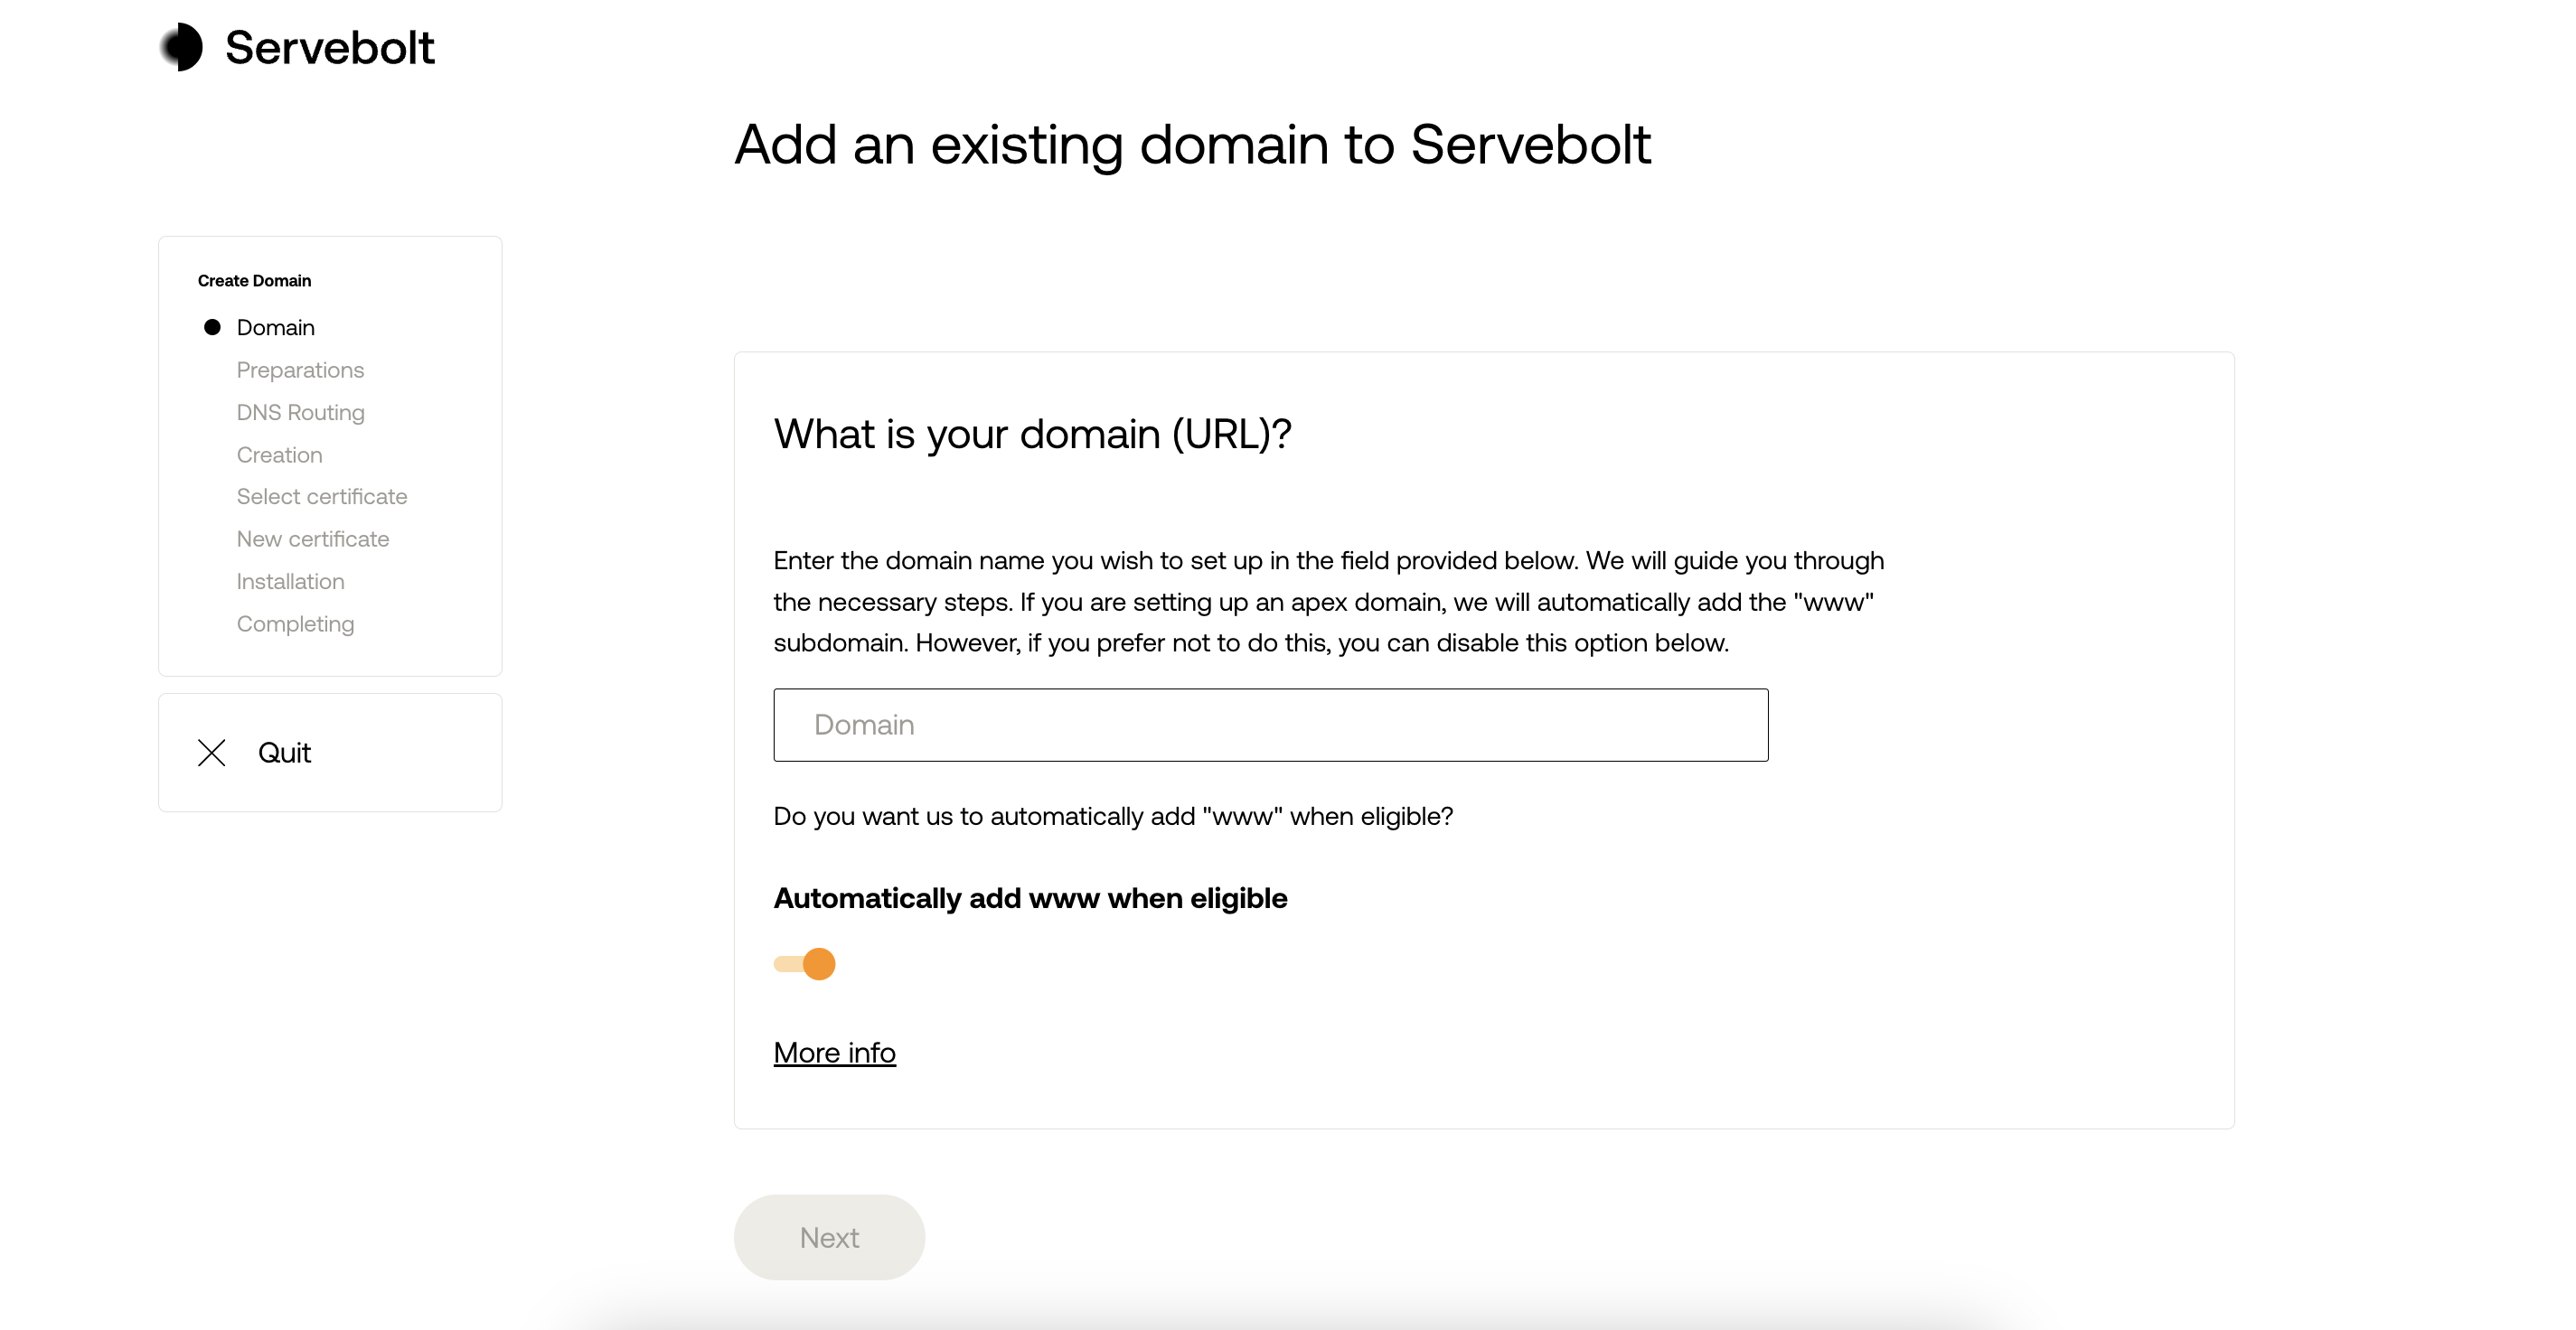
Within the Bolt menu, navigate to the Environment you’re going live on. Navigate to “Domains” in the left-side menu and click “Add domain.” Proceed to enter your domain name in the domain wizard and follow the instructions.

The domain wizard will guide you through routing your domain to Servebolt and setting up an SSL Certificate. We highly recommend adding Accelerated Domains or Servebolt CDN for an extra boost in performance and security. Both of these services include free SSL Certificates.
Once complete, traffic will be routed to your Bolt as soon as DNS propagates, typically within about 3 hours, though it can take up to 24 hours.
Update Your URLs
If you recently imported your database from your live site without changing the URLs, you will not need to update them before going live.
If your site has been running on a staging Environment or Free Test Bolt using an internal URL, you must update the URLs when going live. For WordPress sites, the WP CLI tool search-replace is your best friend for this task. If you’re using a different CMS, you can manually update the URLs in your database using the sed command.
Wrapping Up
By having followed the steps in this guide, you aren’t just migrating to Servebolt; you’re upgrading to a more efficient, faster web hosting experience. Remember, our team is here to support you every step of the way. For more tips and best practices, explore our Help Center and unlock your website’s full potential.
As always, should you have any additional questions, please don’t hesitate to contact us through our support chat at servebolt.com!
