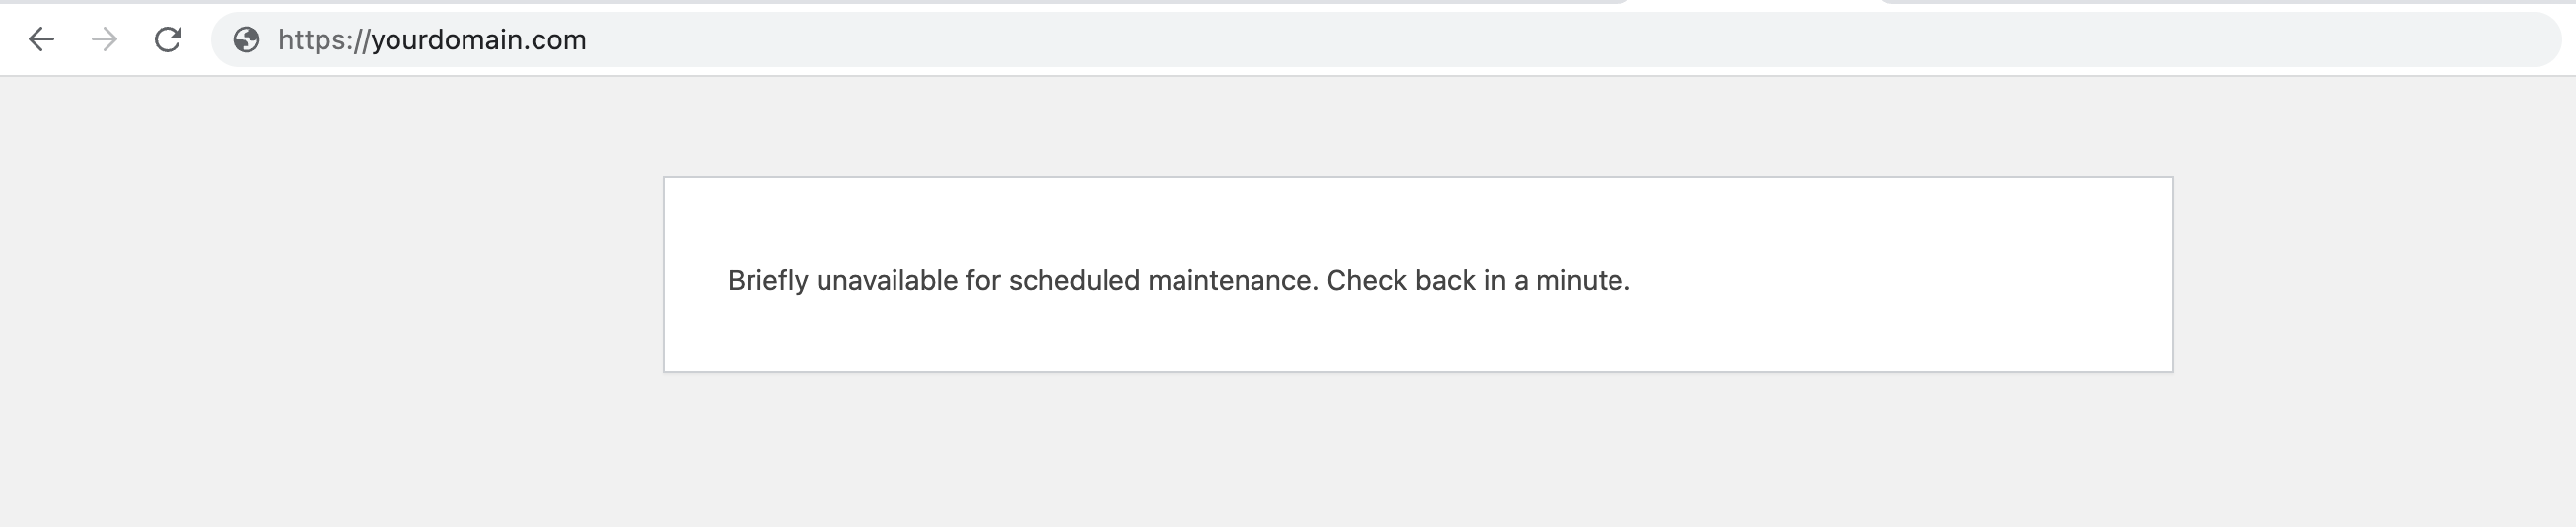
The WordPress maintenance mode is a way of ensuring that no changes can be made to the site and its database while you’re performing certain tasks. This makes it perfect for doing updates on plugins, or for example, when migrating a website. Turning maintenance mode on and off can easily be done using both SFTP and SSH. This is how the maintenance mode looks like when it’s enabled:
What does maintenance mode do, and why is it important?
The WordPress native maintenance mode uses the wp_die() function to prevent any changes from happening. Your site will deliver a simple HTML page with a status code of 503, ensuring that no theme or plugin is being loaded and that no user or administrator can make any changes while the site is in maintenance mode. For example, no new orders in the database or updates to articles or posts. By enabling the maintenance mode, you’ll ensure that no unwanted changes are made to your site and its database.
We want to enable maintenance mode the WordPress native way instead of using a plugin, that way we have control of what is going on instead of relying on external code being used. It also makes sure that all WordPress processes are being disabled properly when maintenance mode is enabled. Enabling maintenance mode the way shown in this article (the WordPress native way) will ensure that no plugin is enabled, compared to using a plugin to enable maintenance mode. Doing this correctly will result in a maintenance mode site loading faster, using less CPU, and less power, and being more environmentally friendly.

– Moving a site to a different server
Maintenance mode is the perfect solution when you’re moving a site to a different server. It allows you to be sure your site is copied over in exactly the same state.
– Updating WordPress plugins
Updating or moving a site without putting it in maintenance mode can have all kinds of effects. The most common problem is that the database gets flooded by all kinds of queries originating from your site, responding to changes being made. Especially when you have a high-traffic site this is very important, as there are many visitors that might affect your database.
How to enable maintenance mode:
There are multiple ways to enable the maintenance mode. In this guide, we’ll show you two easy ways to do this: using either SSH or SFTP. The fastest and easiest way to enable maintenance mode is by using SSH.
Using SSH:
Maintenance mode can be enabled with the use of WP-CLI after logging into your site using SSH.
- Login to your site using SSH
Login to the site you want to enable maintenance mode for. This is how you login to your site using SSH.
- Navigate to your webroot
Navigate to the webroot of your site (usually
~/public/):cd ~/public/ - Enabling maintenance mode
Enable maintenance mode using this command:
wp maintenance-mode activate - Deactivating maintenance mode
Deactivating maintenance mode using this command:
wp maintenance-mode deactivate


Using SFTP:
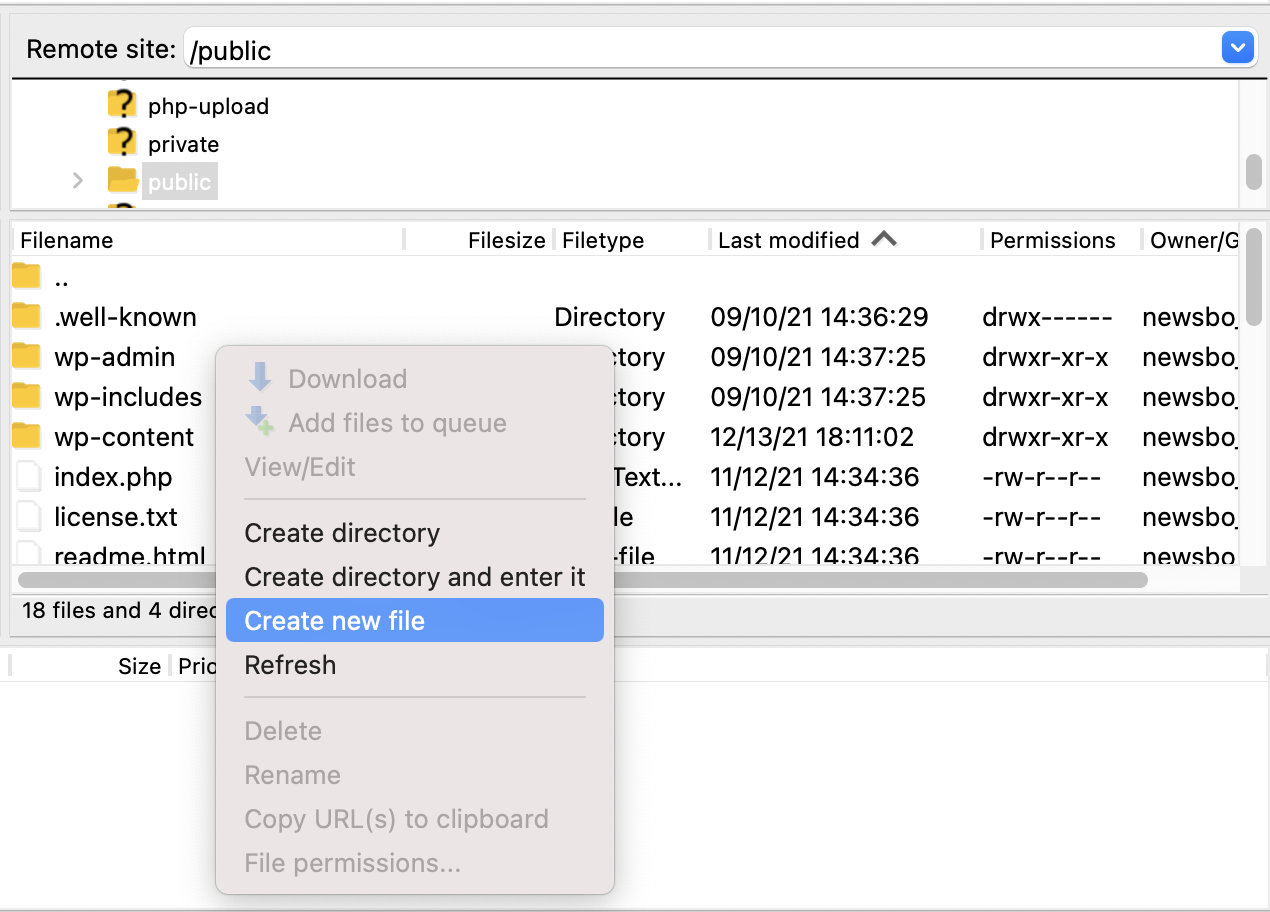
You can also enable maintenance mode using SFTP. FileZilla is used in this example.
- Login to your site using SFTP
- Navigate to the webroot of your site (usually
~/public/) - Enable maintenance mode by creating a file called:
.maintenance. Right-click to create a file, and right-click to edit. - Inside the
.maintenancefile we need to include some PHP code, the code we are adding will be used to enable maintenance mode for your site. Using your favorite text editor, add the following:<?php $upgrading = time(); ?> - Save the file to enable maintenance mode
- Delete the
.maintenancefile to disable maintenance mode


As you can see, enabling maintenance mode is quite simple, so there is no reason not to do it, especially since it might save you a potential downtime.