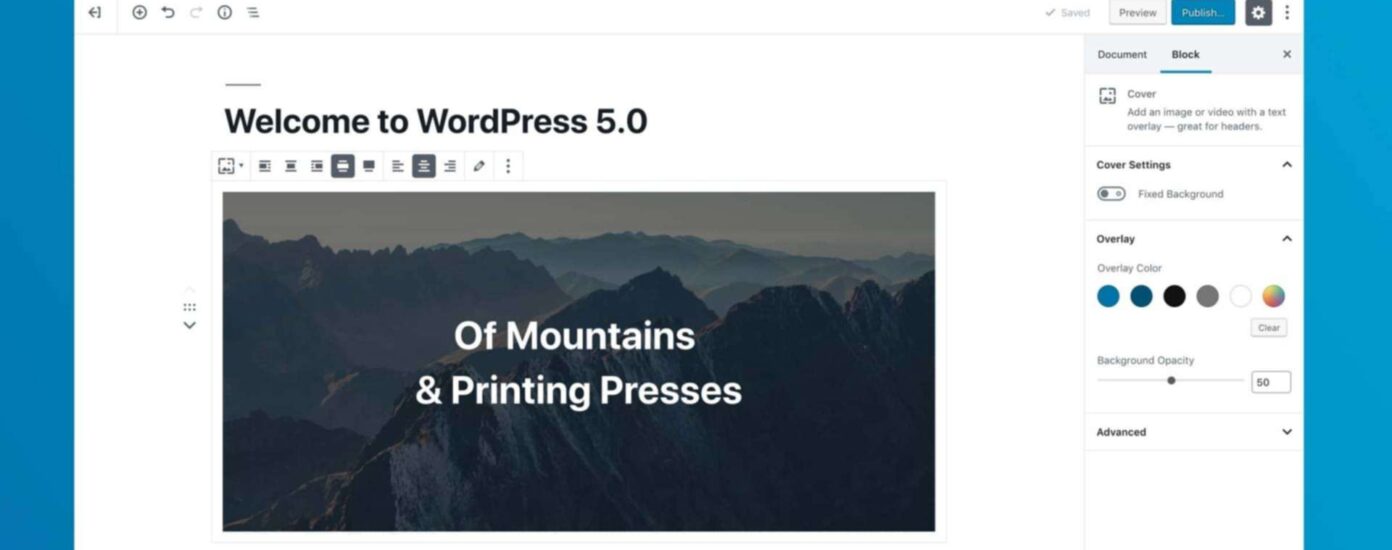
Today WordPress 5.0 is due to be released. This is the first new major version of WordPress since 2014, and it brings a totally new block-based content editing experience. Because of this new editor (codenamed Gutenberg), some WordPress sites will most likely stop working or experience some other problems when updating to 5.0.
The new WordPress editor is a great improvement, but many WordPress plugins and themes still need to be updated and adapted to this. Some plugins are already well-tested and updated. A good example of this is Yoast SEO which actually introduces some new features with the new WordPress editor.
How to Properly Update to WordPress 5.0
The update to WordPress 5.0 is a manual update. You won’t just get updated to WordPress 5.0 automatically. You need to click the “Update WordPress” links in the admin panel of WordPress.
Before you do a real update to WordPress 5.0 – we recommend that you do a test update on a development site. This is a very easy process for us since we have some nifty software installed for cloning/copying websites on our servers. Here’s a guide to how you can test WordPress 5.0 before doing a real update.
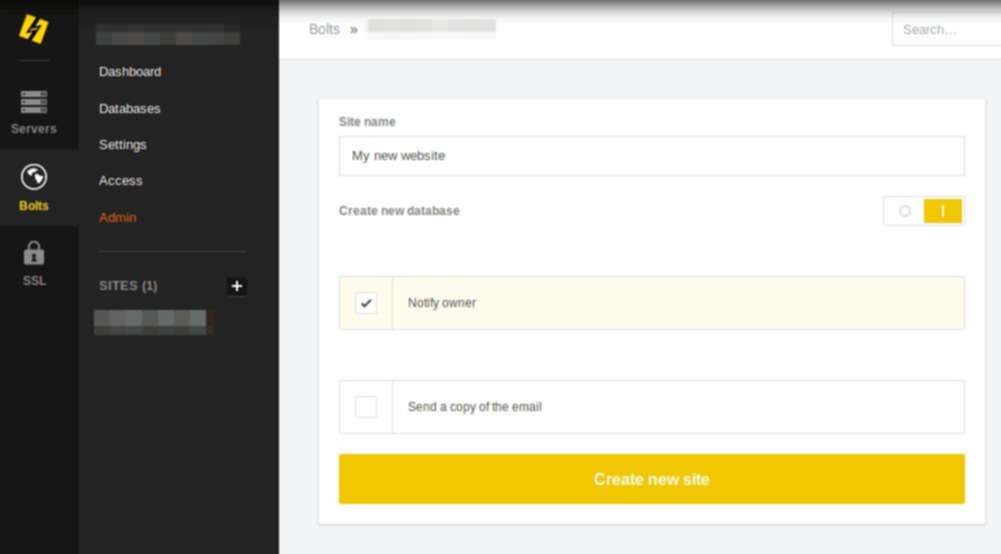
1. Start by adding an additional website with us. Our packages all include (at least) 3 websites. To add a new site in our admin panel, click the plus-sign next to “SITES.” Then select a Site name and click the “Create new site” button. You’ll see a confirmation and receive an email with SSH/SFTP and database information for the new website.
2. Login by SSH to the new website. Change the directory to /public and remove our default index page like this:
cd public

rm index.php
Now you need to make sure you have the user info for the website that you want to clone FROM. You need the SSH/SFTP username, password, and server address to clone FROM. You also need the database name, username, and password to clone TO (this is sent to you by email when you set up the new website).
3. Run our sitecopy software like this:
sitecopy -t wp user-to-clone-from@server-to-clone-from database-to-clone-to -e wp-content/uploadsFirst, we define the type of website to copy (“-t wp”, meaning type=WordPress). Then we set the user/server to clone FROM. Then we set the database to clone TO. Finally, we exclude copying the folder wp-content/uploads.
Excluding the wp-content/uploads folder is not a must but a recommendation. You can do this if you don’t want to store multiple copies of your uploaded files (primarily images). The new website will still work with the images since we’ll rewrite these through .htaccess (in the final step of this guide).
If you want to copy all folders/files, feel free to remove the “-e wp-content/uploads”. Just make sure you have enough Storage space for this in your package.
When you run the sitecopy software, you’ll need to enter the password for the user to clone FROM a few times. You’ll also need to enter the user info for the new database. Other than that, the sitecopy software will manage the whole copying process and database setup for you.
4. Now, you need to correct the address to the new website in the database. This is easily done with WP-CLI using wp search-replace command, like this:
wp search-replace https://website-that-we-cloned-from https://website-that-we-cloned-to --all-tablesThe new website address with us can be found in our admin panel if you select the website and click the “Domains” tab.
Note: If you have a WordPress network installation (WordPress Multisite), you also need to update the address in the database tables wp_blogs and wp_site, and in the WordPress configuration file wp-config.php (if it’s the main address).
5. Finally, we’ll setup .htaccess to rewrite the wp-content/uploads folder (for the images), like this:
nano -w .htaccessAdd the following lines:
# Use uploads folder from production site

RedirectMatch 301 /wp-content/uploads/(.*) https://website-that-we-cloned-from/wp-content/uploads/$1
To close and save the .htaccess file, click ctrl+x, select y (to save), and press the Enter key.
Now you can visit the new website that you’ve set up, which will be an exact copy of your real/production website. Login to the admin panel on the new website (with your regular WordPress user/pass) and do an update to WordPress 5.0. Now you’ll see exactly what’s working (and not), and you can easily debug the new website using the errorlog and the WordPress WP_DEBUG mode.
Note: If you’re using WooCommerce, you need to update WooCommerce to the 3.5-series BEFORE you do an update to WordPress 5.0. This is a recommendation by WooCommerce themselves.
If you run into any problems with this or want our advice on your update, feel free to contact us in the chat support here at Servebolt!