Welcome!
Experience unparalleled speed, security, and scalability right from the start. This guide is designed to walk you through everything you need to get started with Servebolt. Whether you’re here to migrate an existing website or create something new, we’ll guide you step-by-step through key actions like:
- Setting up and accessing your account.
- Creating your first Bolt to manage your environments.
- Exploring essential tools and settings.
Our goal is to ensure that your onboarding experience is as smooth as possible. By the end of this guide, you should have a fully operational Bolt and Environment and an understanding of your next steps. If you have questions or need guidance, visit the Help Center or contact our support team. Let’s get started!
Setting up an Account
Before you can fully experience the power of Servebolt, you’ll need to create an account. This process is quick and straightforward, ensuring you have access to all the tools and resources you need to get started. In this section, we’ll walk you through how to create a Servebolt account, what to expect after registration and tips for a smooth onboarding experience.
- Sign up: Click here to sign up.
- Verify your email: You will receive a verification email containing a link to verify your email address.
- Verify your phone number: You will receive a verification code via text message.
- Your phone number must be verified to create a Bolt.
- Log in: Once verified, log in to your Servebolt account.
Securing Your Account
We highly recommend enabling Multi-factor Authentication (MFA) for your account. An additional verification step ensures that only authorized users can access your account, even if your password is compromised. This helps safeguard your data and prevent unauthorized access. You can enable the feature from the Security & Passwords page in the Admin Panel.
Introducing the Admin Panel
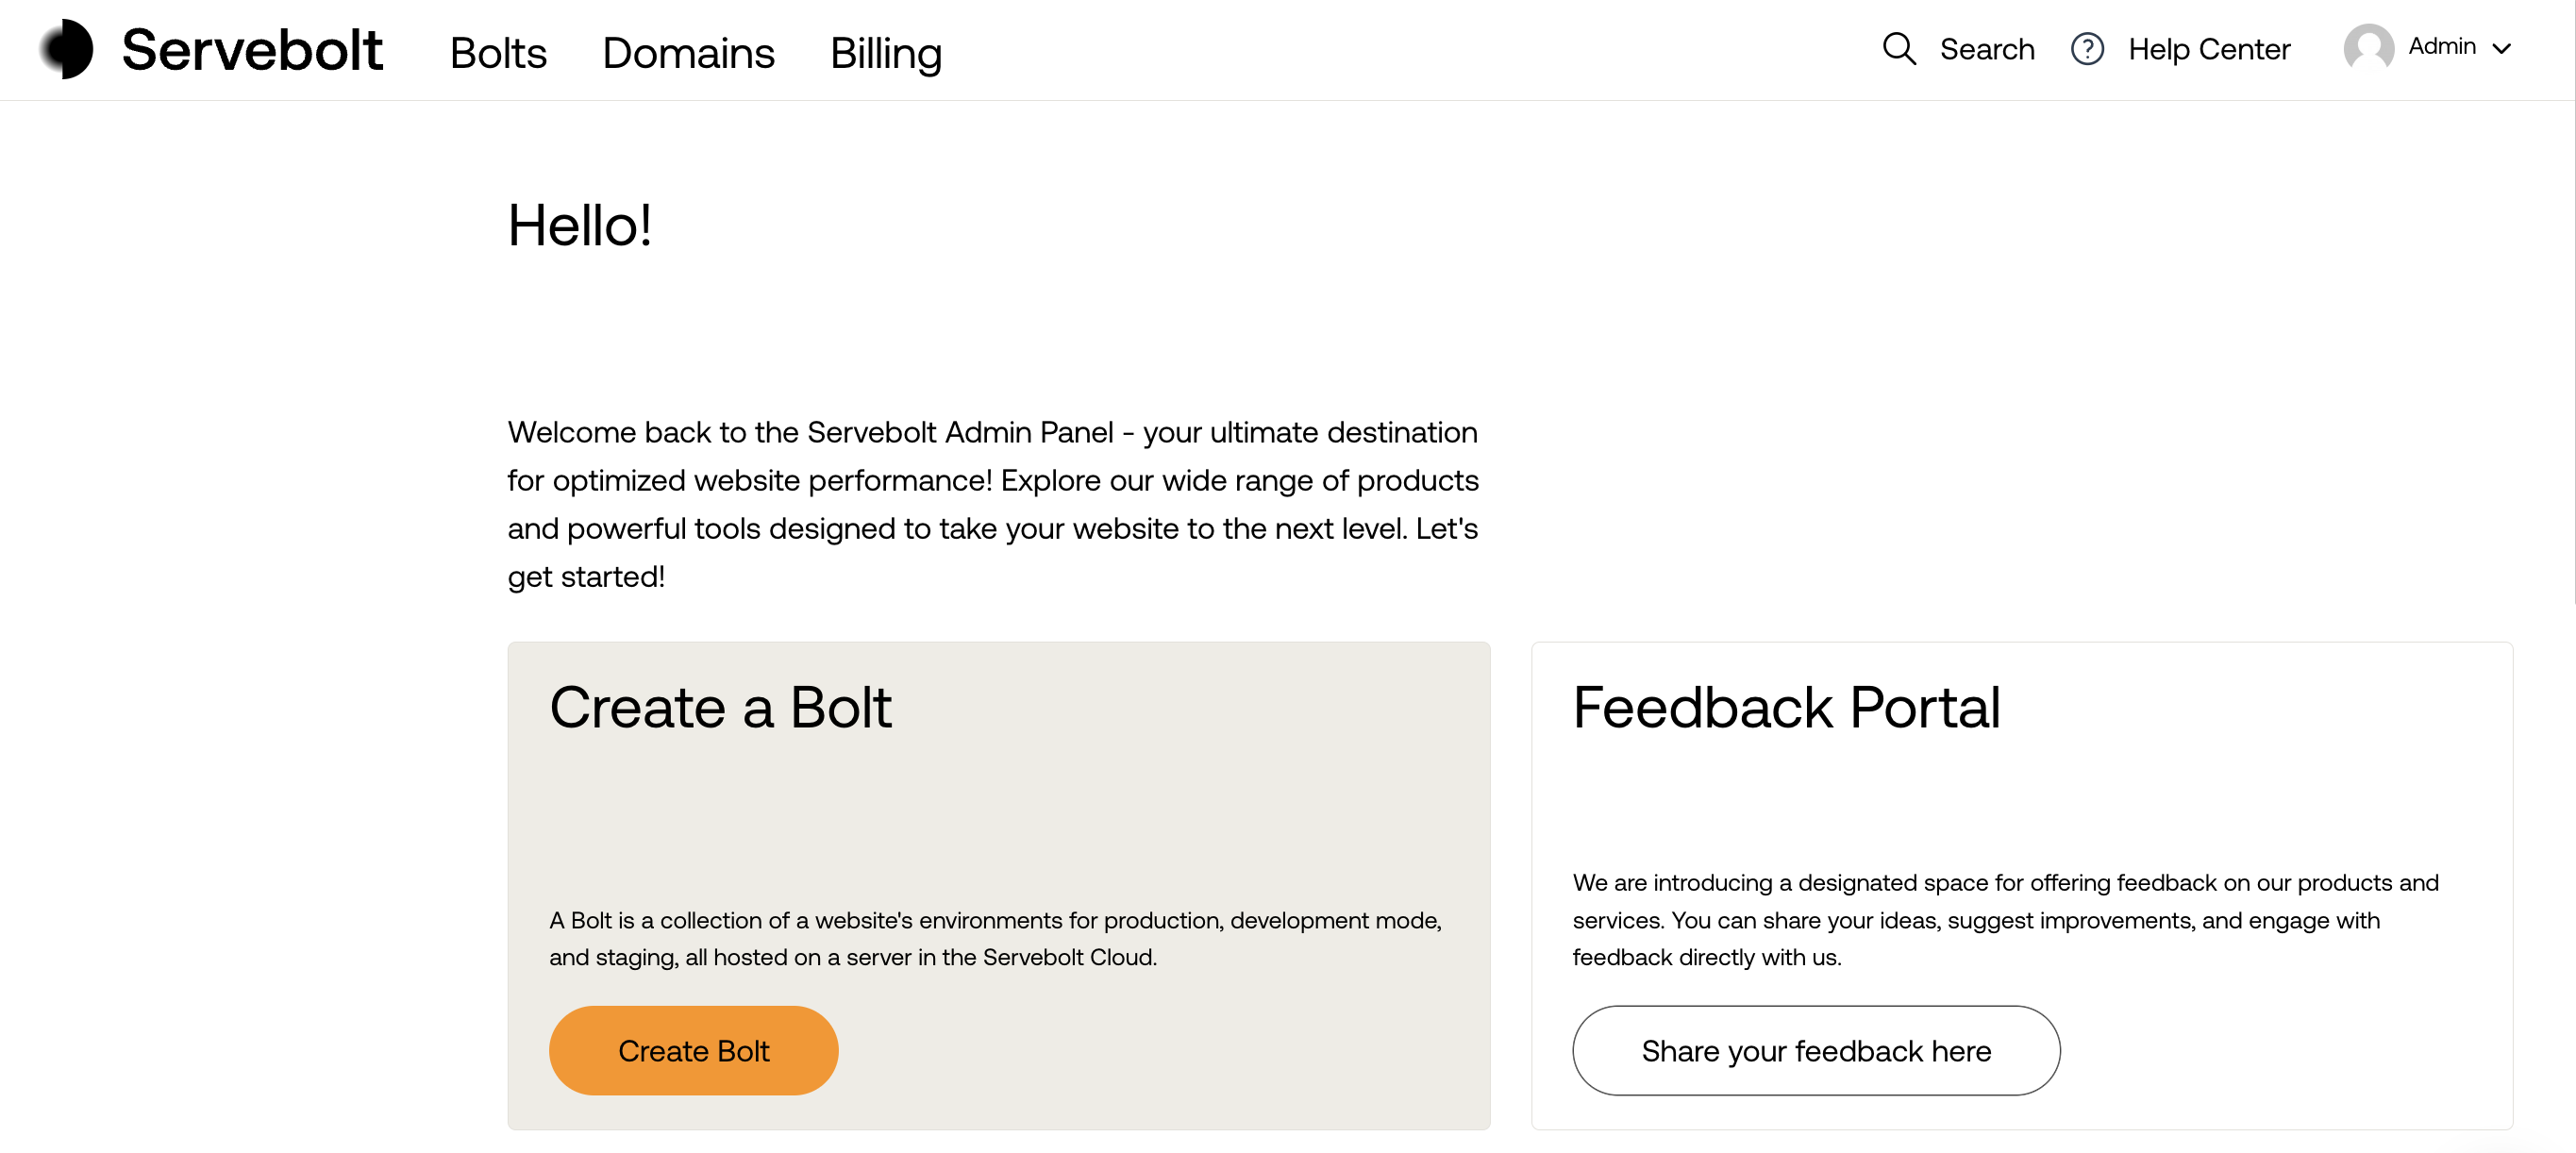
Our Admin Panel is designed to give you full control over your hosting environments. This is where you manage your Bolts, configure their respective environments, manage databases and monitor performance and statistics.

This is your starting point for managing your account, Bolts, environments and databases. As you get started, you’ll become more familiar with the Admin Panel’s features whilst managing your hosting. For now, let’s move on to creating your first Bolt.
Creating Your First Bolt
Once you have successfully signed up, logged in and verified your email and phone number, you can create your first Bolt. Creating your first Bolt is made easy by our Bolt creation wizard, which you’ll find on the “Bolts” page in the Admin Panel. Click “Add Bolt” to start the wizard.
What Bolts Are

A Bolt™️ is like a container for your websites. It defines the technical environment, settings, and Storage. In addition to your environments, it contains blazing-fast databases, built-in support for Git, SSH and SFTP and command-line tools for WordPress, Magento, and Drupal.
Free Test Bolt
We offer a free test period, allowing you to test Servebolt’s capabilities and experience our platform’s speed and performance first-hand before committing to a plan. This allows you to evaluate our capabilities, whether you’re migrating an existing website or testing new projects.
Ready to experience 2-8x faster speeds? Try us risk-free today!
Speed matters. Our hosting helps you convert more visitors with lightning-fast website performance.
Start for freeHere’s how it works:
- 14-Day Test Period: The Bolt is available for 14 days, giving you plenty of time to evaluate our performance benefits and features.
- No Charges: You must add a payment method, but there won’t be any charges until you upgrade to a paid plan.
- Full Feature: You’ll have access to all the tools and features available on a paid plan, giving you the full experience. The only exception is that you cannot add a custom domain to Free Test Bolts.
- Verification Required: You’ll need to verify your email address and your phone number.
- Seamless Upgrade: Transitioning to a paid plan is quick and easy.
With Servebolt’s free testing, you can explore everything our platform has to offer with no risk or obligation. Get in touch if you have questions or need assistance.
Migrating Your Existing Site to Servebolt
We offer a free migration service to ensure a smooth transition. We understand this can be a complex task and appreciate the importance of precision and quality in every step.
- Free migration service: To have our Support Team handle the migration, simply fill out our secure migration form.
- Migrating yourself: All our Bolts support SSH and SFTP access, simplifying the migration process of your site(s).
Going Live
Once your site has been migrated and set up, it’s time to go live. Before doing so, you must prepare your Bolt for the migration. Please refer to our going live with Servebolt guide for guidance on how to best prepare your website for a migration to Servebolt.
Next Steps
Congratulations on taking the first steps in your Servebolt journey! Now you have a solid foundation: your account should be set up, your first Bolt created, and you have taken the initial steps to explore your new hosting environment.
Further reading to keep the momentum going:
- Make full use of Servebolt’s powerful infrastructure by Optimizing for Faster Performance and Increased Scalability.
- Install our Servebolt Optimizer for WordPress to easily implement Servebolt’s best practices for WordPress.
- Further improve your website’s security and speed with Accelerated Domains or Servebolt CDN.
Servebolt is built to deliver exceptional speed, reliability, and scalability. We look forward to seeing what you create and are here to help you maximise your hosting experience.
As always, should you have any additional questions, please don’t hesitate to contact us through our support chat at servebolt.com!
