Adding Cloudflare to your site, in front of your site to be exact, is something we highly recommend here at Servebolt. It makes your site faster and allows for neat optimisations. Especially if you’re opting for the Cloudflare Pro plan which adds a perfect security layer to in front of your site. This guide will help you set up your WordPress site with Cloudflare in easy to follow steps.
Servebolt Support can also setup your site with Cloudflare if you are an existing client.
The steps
Time to process alle these steps: 1 day
Once you’ve decided to add Cloudflare to your site there are a couple of steps you need to follow.
- Create an account
The first step is to create a Cloudflare account. If you’re hosting with us, we can take care of this. Just contact us via our Support Chat and let us know your email, your domain and the Cloudflare plan you’ve chosen.
If you want to do this yourself, register your account here: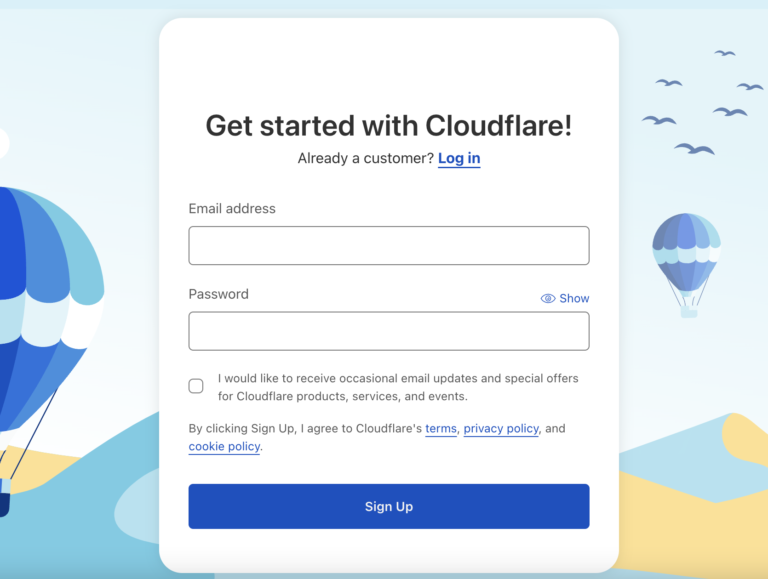
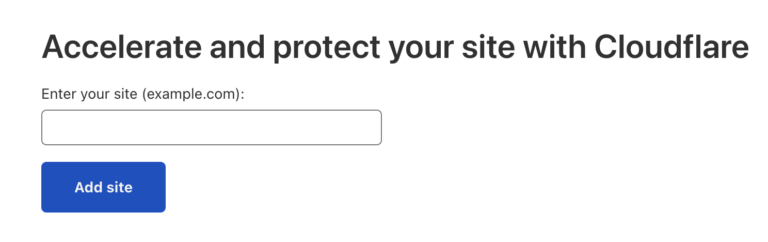
- Add your domain
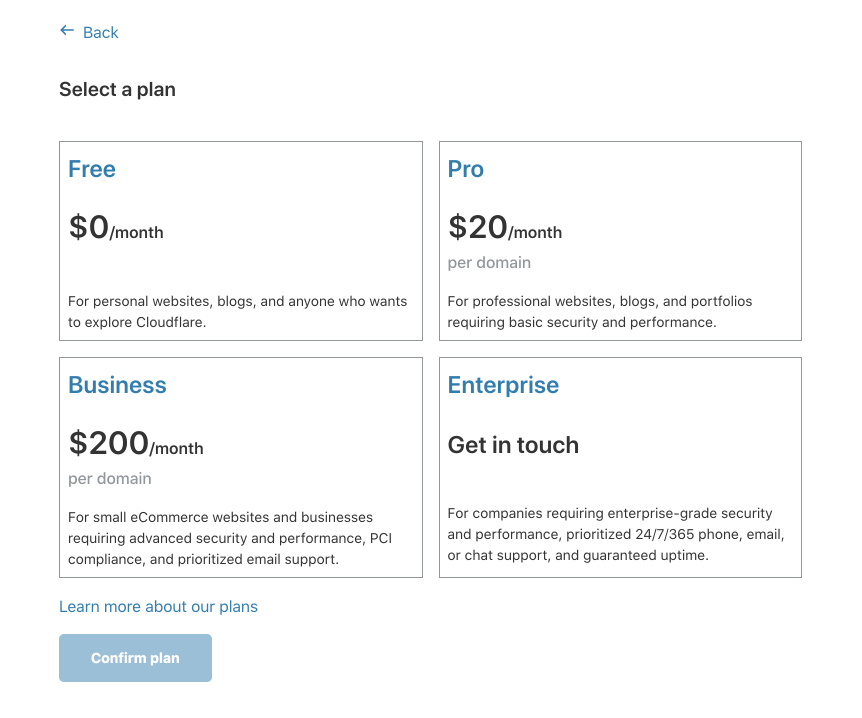
- Select your plan
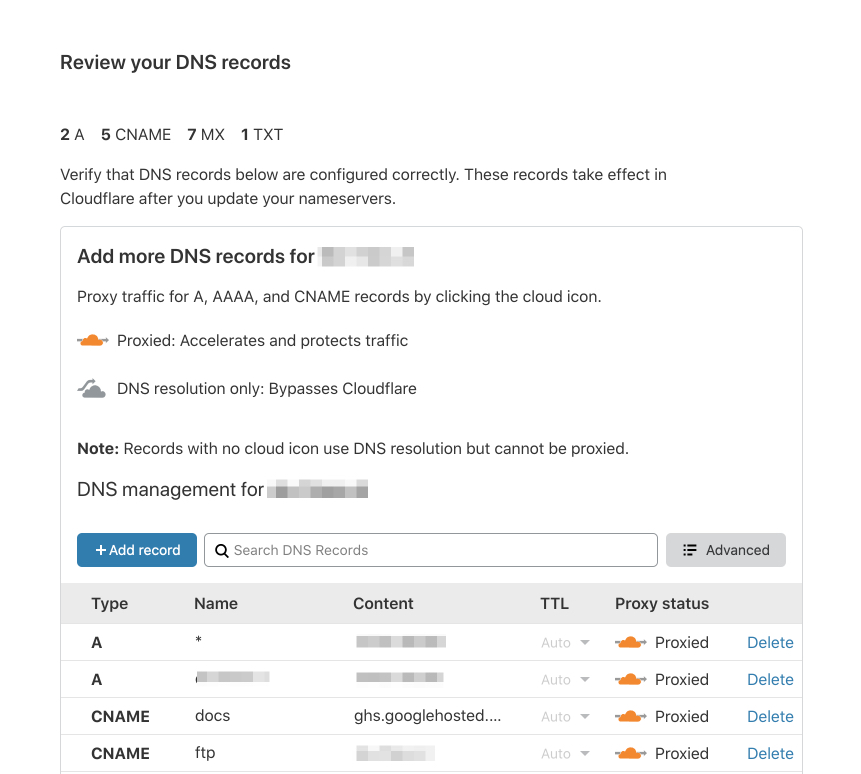
- Verify your DNS records
- Activate your account
While you were double checking your DNS records, Cloudflare sent you an email with a link to confirm your account. Click on that link before you proceed.
- Change Name Servers for your domain
The way Cloudflare can do its magic is by taking over all traffic to your site from the DNS level. In essence, placing its services in front of your site. It does this via changing the name servers. You’ll need to change your domain’s name server at your domain registrar.
We’ve written a separate article about what that process looks like in smaller steps and what some of the things are you need to take into account. DNSSEC being one of those.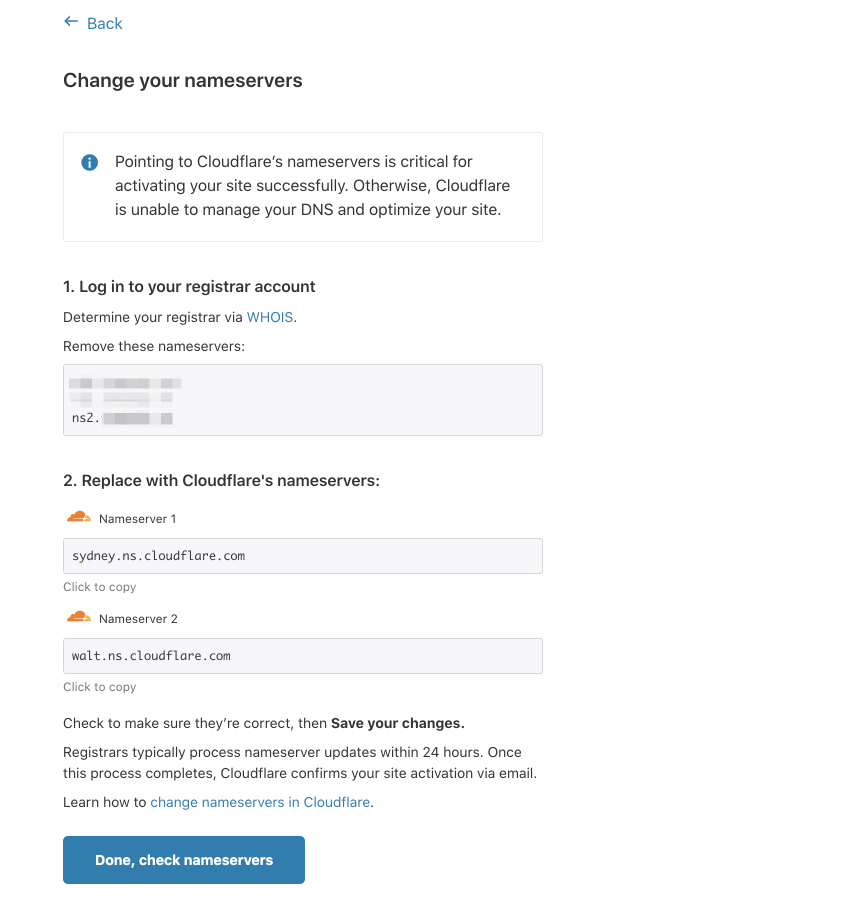
- Start Cloudflare Optimization Wizard
Cloudflare will now guide you through its optimization wizard in order. The end result is having your Cloudflare zone (which is Cloudflare’s terminology for domains) ready and optimized for when Cloudflare’s name servers are activated for your domain.
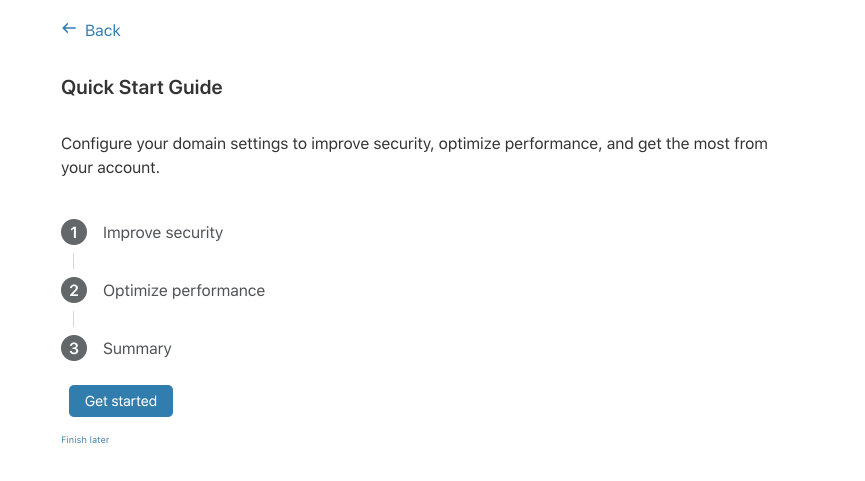
Go ahead and click on Get started. - Improve Security – SSL TLS Encryption Mode
The first step of optimisation is to set the SSL settings. In most cases you’ll want to select the “Full” setting. This does mean you’ll need some sort of certificate active on the server hosting your site. A free self-signed certificate would suffice if you are hosted with Servebolt, but a full blown certificate works as well.
If you have a trusted issued certificate, you can actually select Full (strict) setting which the most secure version.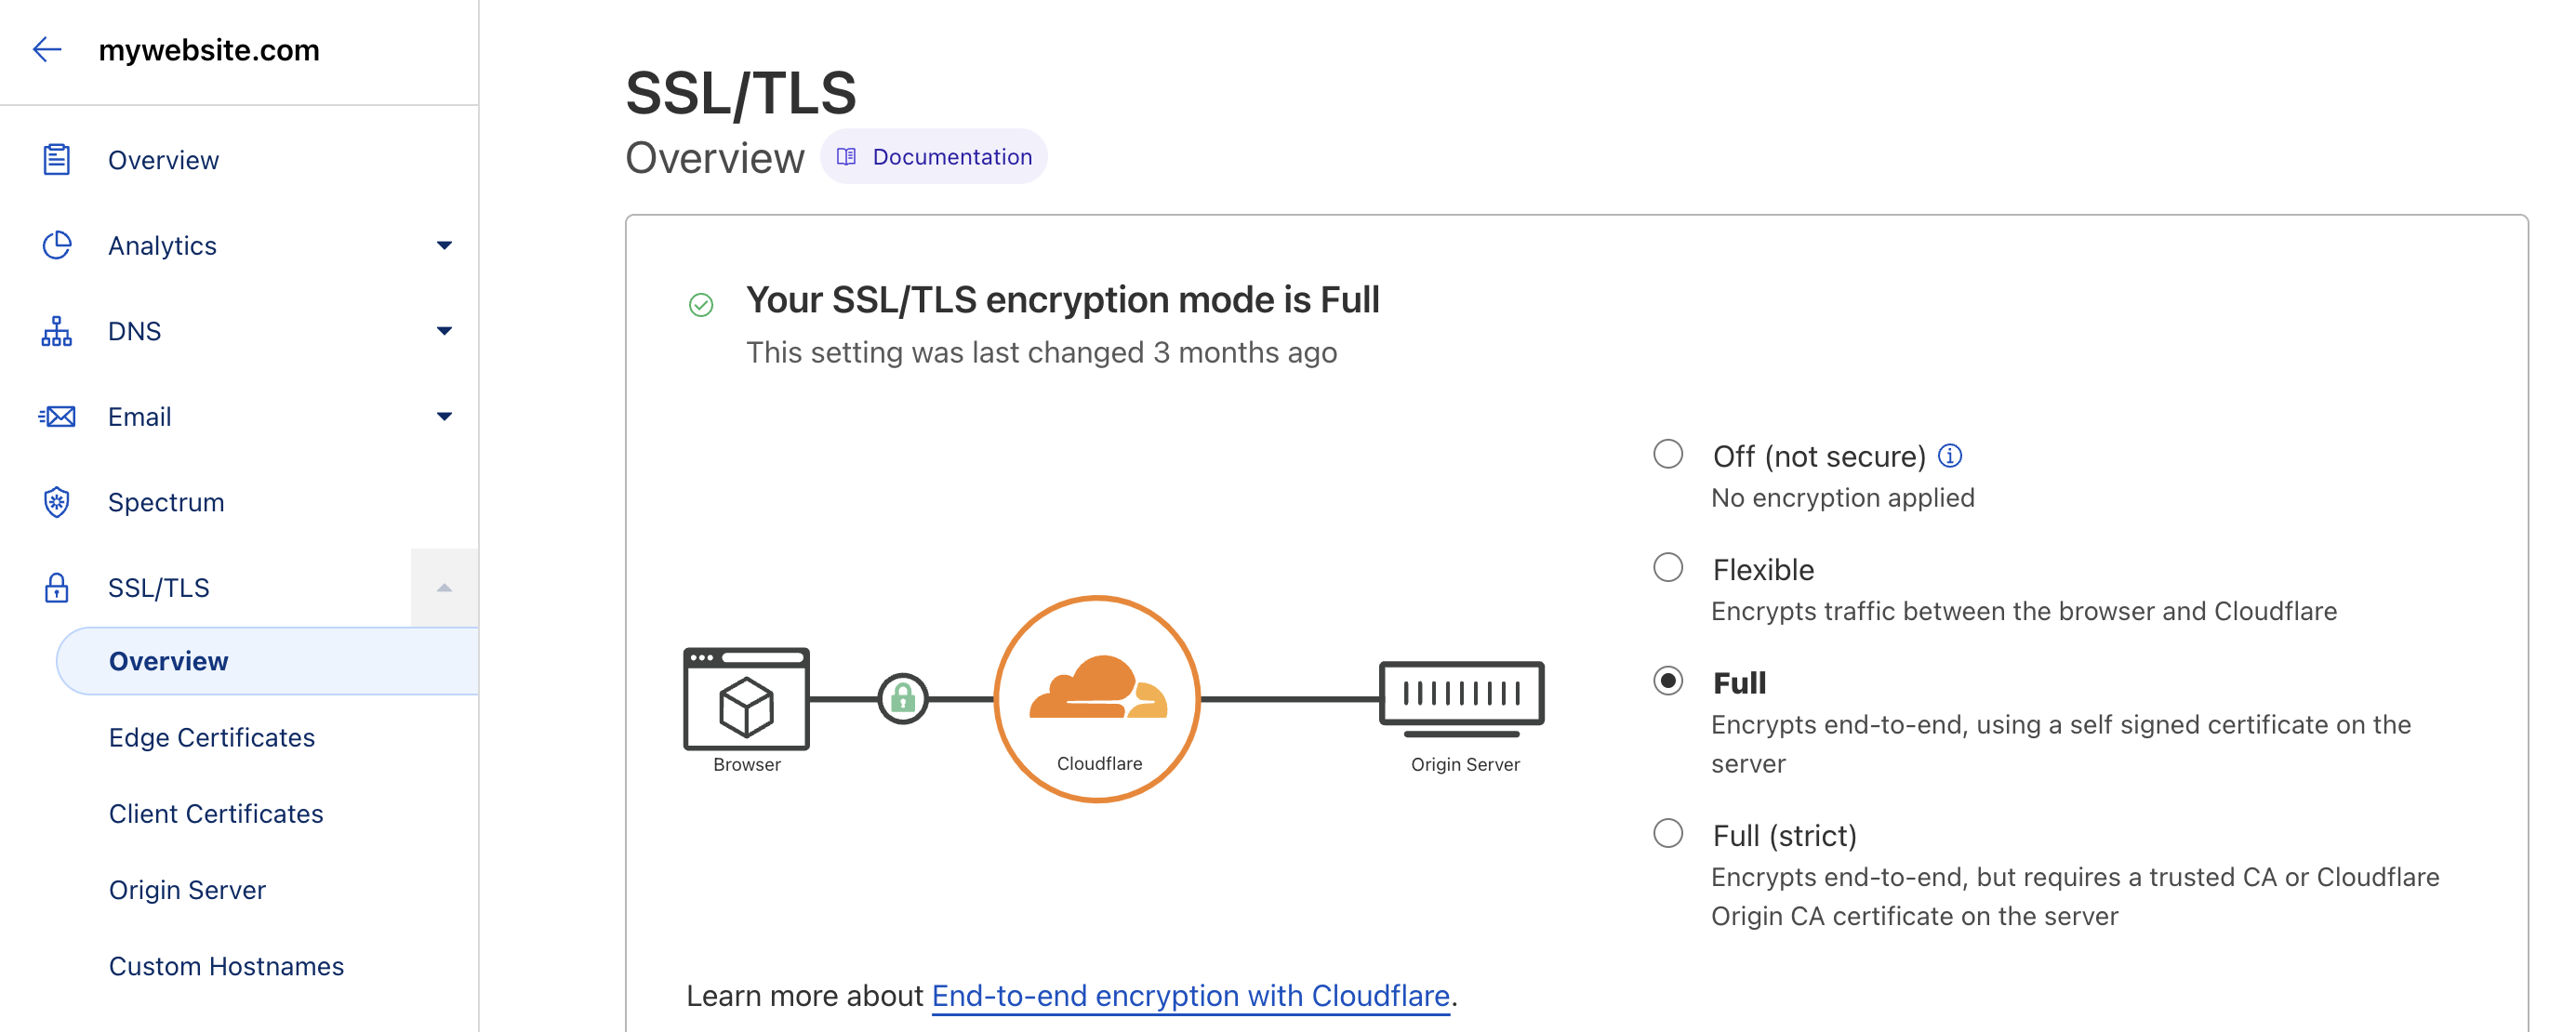
- Improve Security – Always use HTTPS
Next up is making sure your site is always served over HTTPS. All requests for URLs that use
httpwith a 301 redirect to the equivalenthttpsURL.
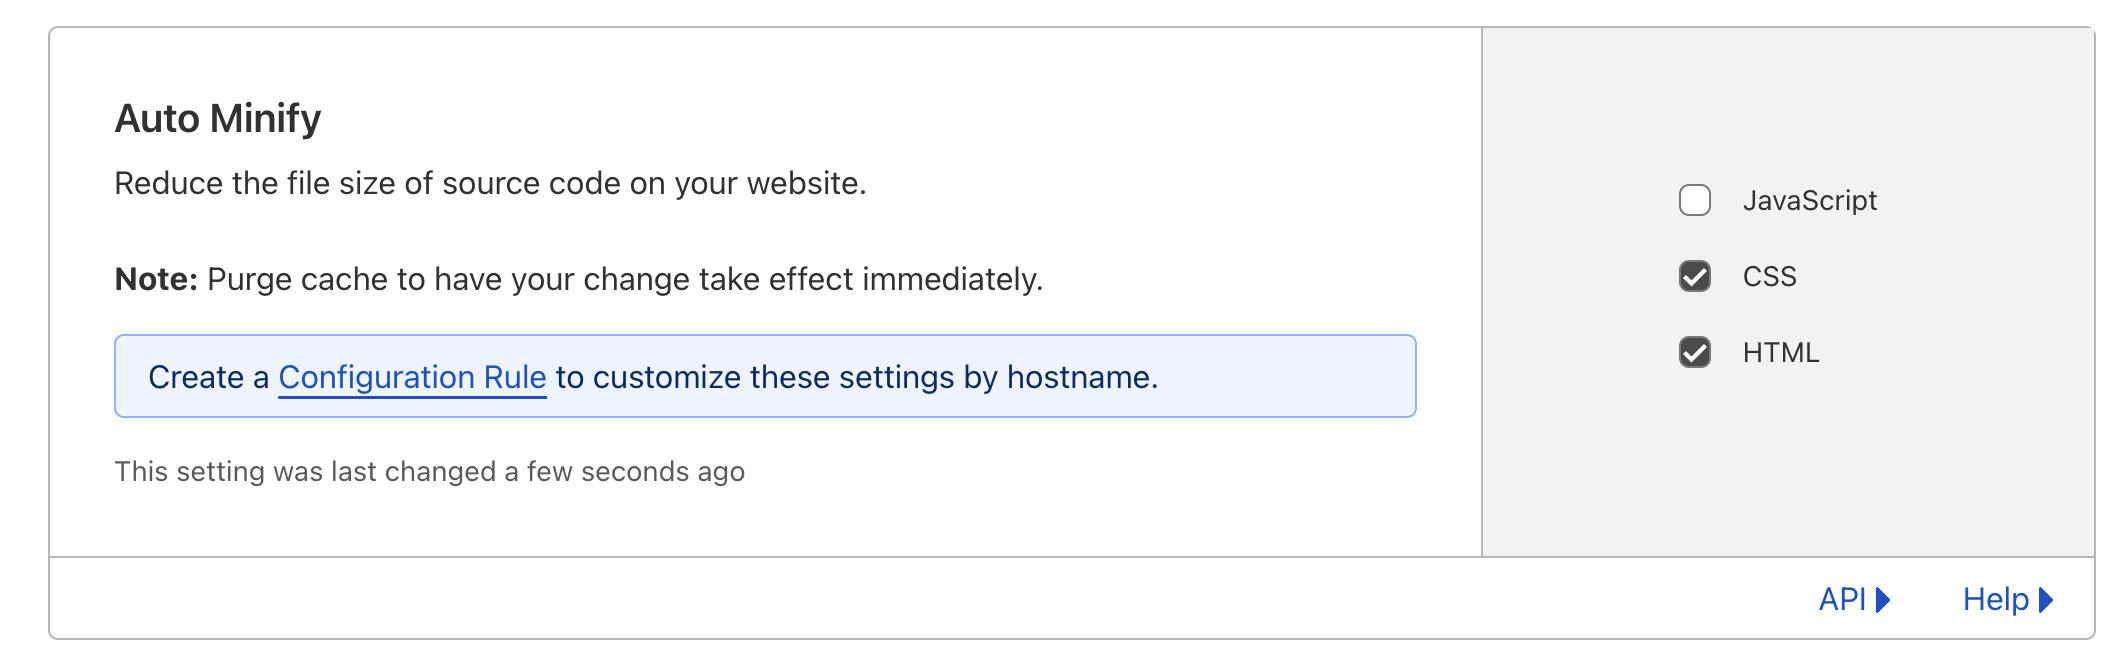
- Optimize performance – Auto Minify
Minifying your website’s assets and HTML itself is the next optimisation. The safest selection here would be to activate the HTML and CSS option. Minifying JavaScript might produce undesired behaviour, so you’re better off testing this after your domain is activated in Cloudflare.
- Optimize performance – Brotli
Brotli is a compression library that allows your browser to serve a compressed version of your site Cloudflare which in turn helps speed up page load times for your visitors.
If you’re hosting with Servebolt, you don’t need to select this option as we’re running a compression library native on our servers that is actually faster than the Brotli version Cloudflare is running.
- Wait for Cloudflare’s name server activation
Once you’ve finished all these steps, there’s only one thing left to do and that’s waiting for Cloudflare to pick up your changed name servers. Once it has done so, you’ll be notified via email to confirm your domain is now served by Cloudflare. Including the benefits of the settings you’ve configured as instructed above.
- Connect your WordPress site to Cloudflare
In case you’re site is powered by WordPress, there is one additional step to do and that’s connecting your site to your Cloudflare account. You can do this with our Servebolt Optimizer plugin. All steps are outlined in our How To Connect Servebolt Optimizer to Cloudflare article.
This concludes all the steps required to connect your (WordPress) site to Cloudflare. Cloudflare’s Free plan already offers great optimizations and serves as a CDN for your assets, but as mentioned before, we strongly recommend opting in for the Servebolt Cloudflare Pro plan as the added security layer with Cloudflare’s firewall is the best security measure you can add to your site.
In case you’re running a WordPress site, Cloudflare’s firewall blows any WordPress Security plugin out of the water when it comes to efficiency and performance. And there you have it, all the steps required to set up WordPress with Cloudflare.