On Servebolt we have Git integrated in our Control Panel. This means that you can set up automatic deployment when a branch changes due to a pull request, merge, commit and so on. This is done with webhooks that trigger our Control Panel to pull in the latest changes. Using multiple sites on a Bolt you can then get a full dev->stage->prod pipeline.
Setting up a dev/stage/prod deployment flow
Time needed: 3 minutes
Connecting your Git repository with our Control Panel for your site is easy with the following steps:
- Create a site on your Bolt for each stage in your pipeline
One site can only be connected to one branch. This means that if you want to have a dev/stage/prod setup you would need one site for dev, one for staging, and one for production.
- Create branches for each stage in your pipeline
Within your Git repository, create a branch for each stage in your pipeline. For most, this would be developing, staging, and master. It’s highly recommended to protect the staging and master branch to make sure no developer accidentally merges into, or commits to these two branches.
- Set up the Git integration on each site
In the control panel, set up the integration by adding the SSH URL and typing in the name of the branch you want to connect to your site. This means for the dev site on your Bolt, you should connect your develop branch, and so on.
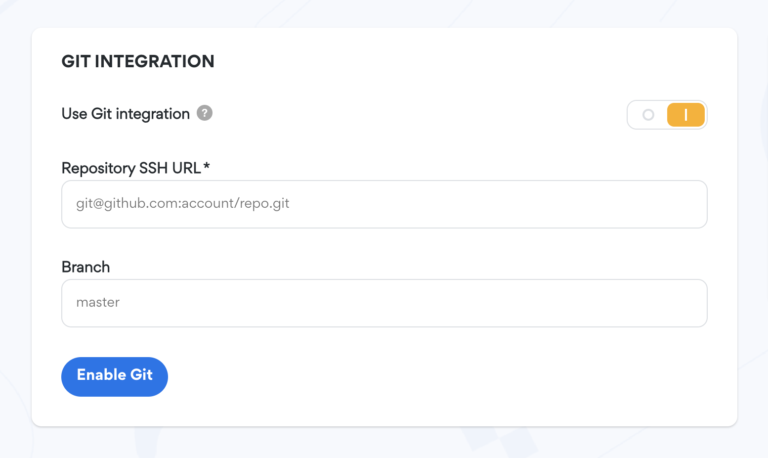
When the SSH URL and branch are entered correctly, click “Enable Git”. - Create a deploy key
After enabling Git, you will see a pop-up window that displays a deployment key. This key needs to be added to your Git repository as a deploy key so that our Control Panel is authorized to read the Git repository.
Click anywhere on the key to copy it.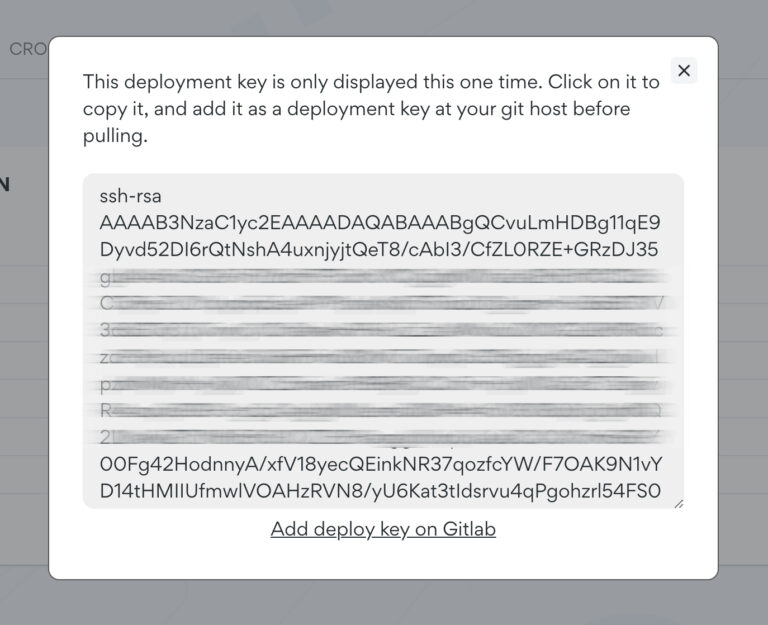
- Add the deploy key to your repository
First, navigate to the page in your Git repository where you can add deploy keys. To make this easier, we have added a link below the deploy key directly to the page in your Git repository where you add the key. This only works if you are using Github, Bitbucket, or Gitlab. For Github the deploy key is added via Settings -> Deploy key.
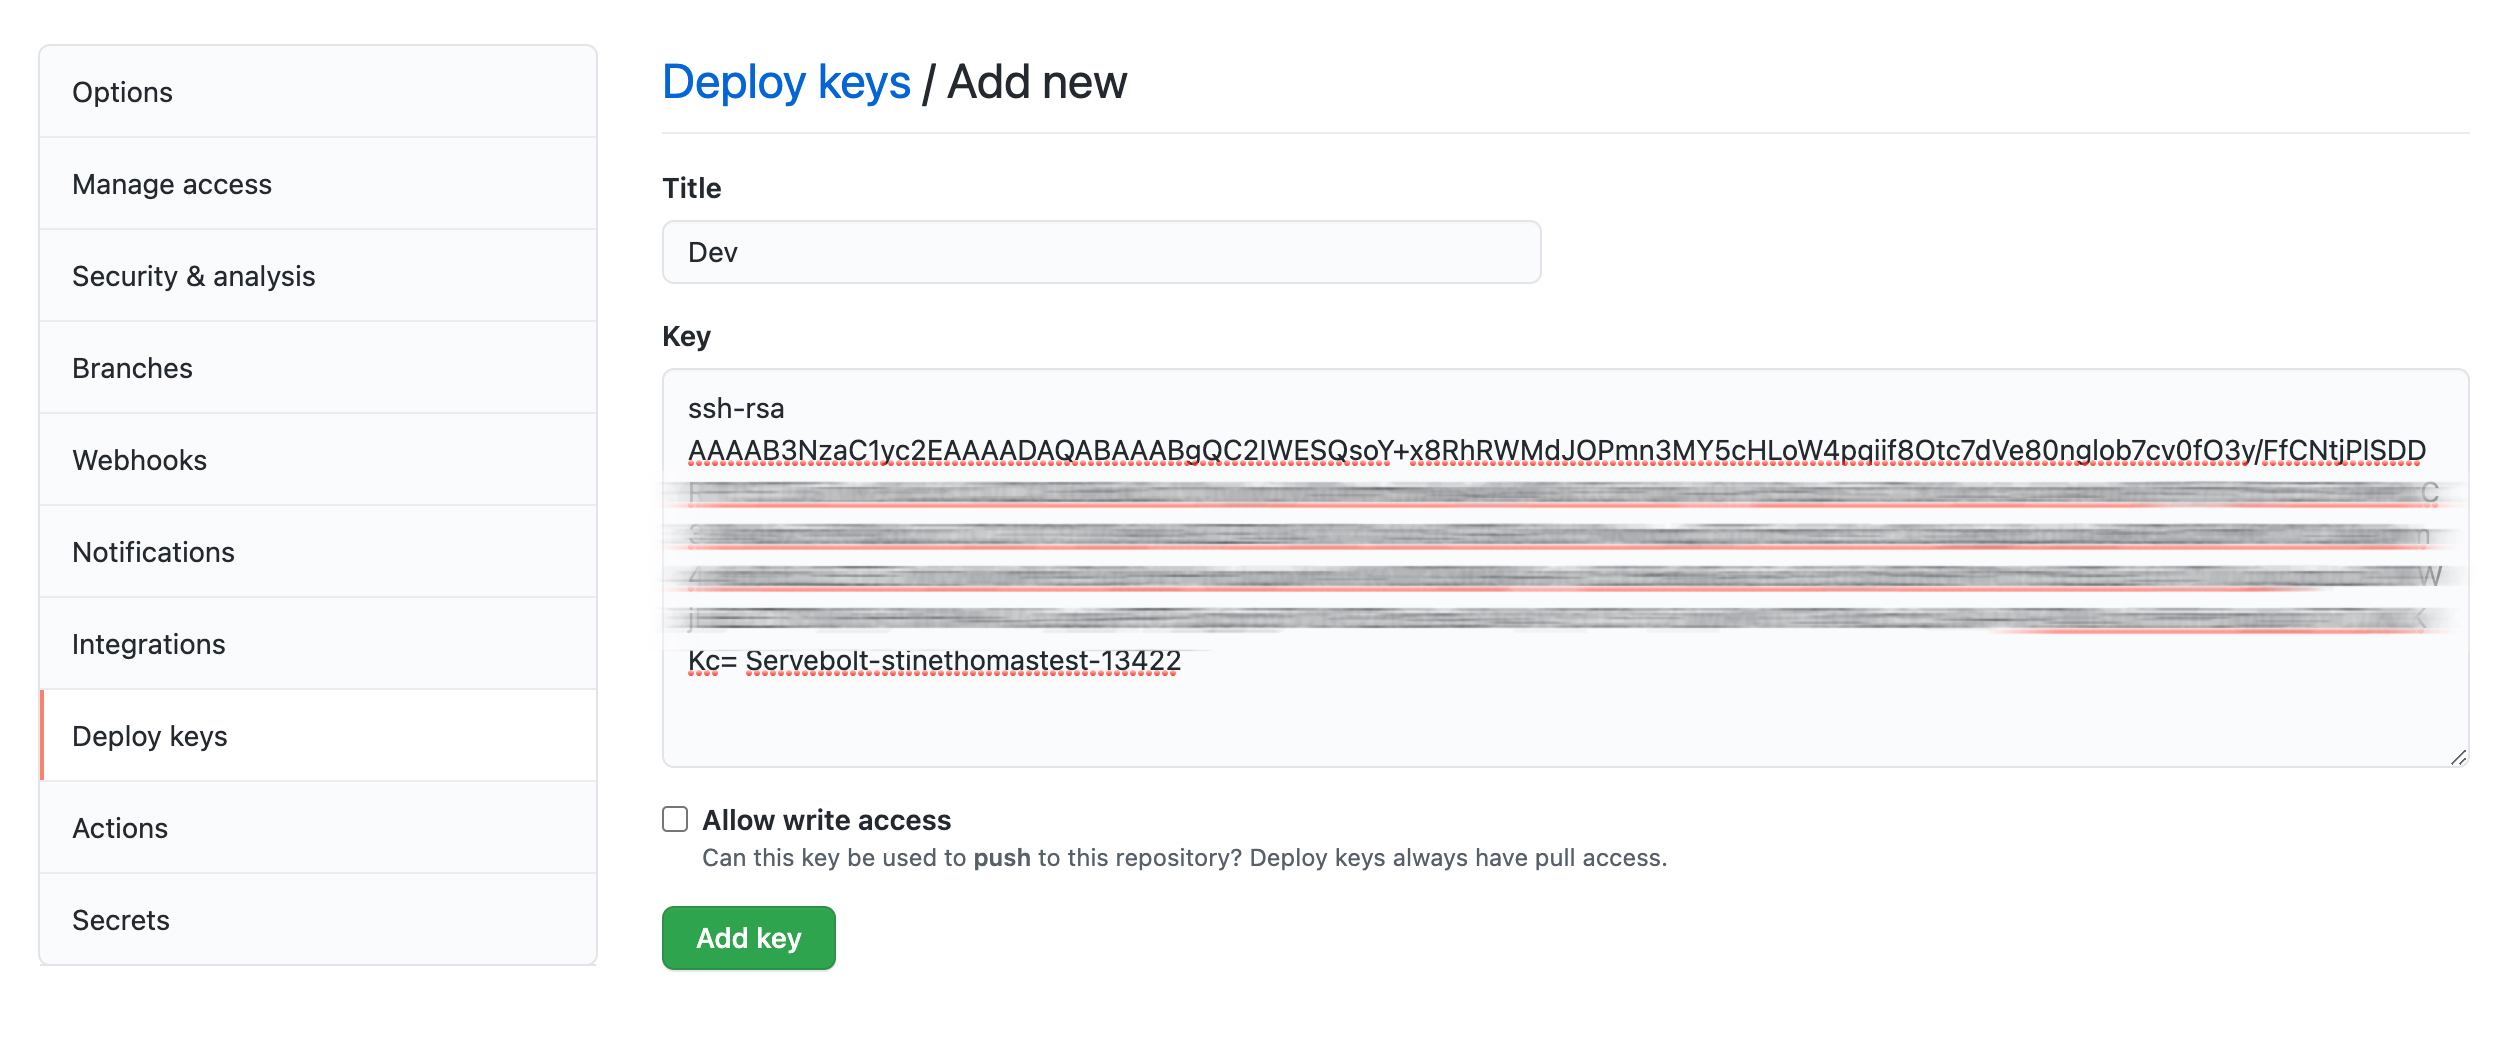
Paste the key you copied from the Control Panel, and paste it into the “Key” field. Then give the key a name in the name field which identifies what environment/site this is for. These keys don’t need write access.
Click “Add key” to save. - Enable automatic deployment triggered by webhooks
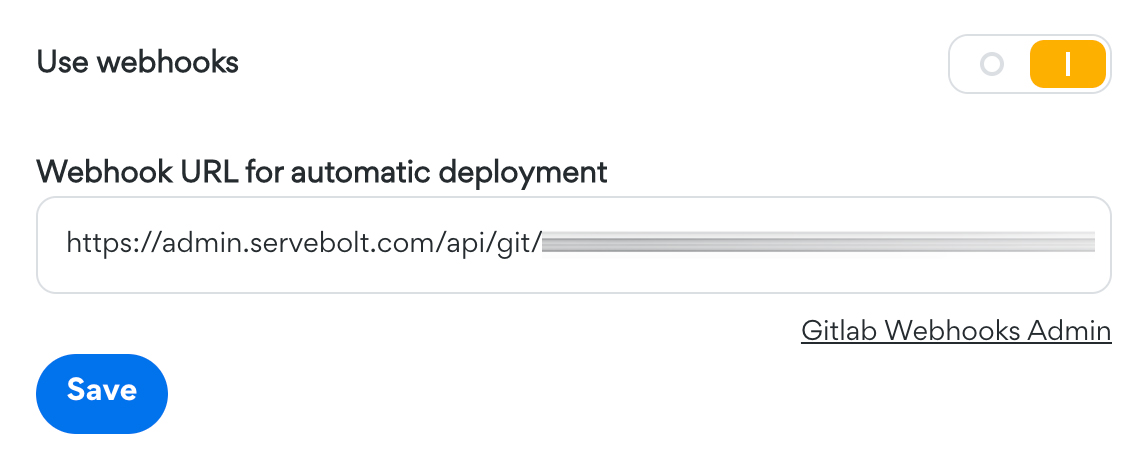
After the Git repository integration is set up in the Control Panel, a “Settings” button will be visible. Within these settings, you can enable webhooks. Enabling webhooks will give you a webhook URL. Copy this URL.
- Configure Git to trigger the webhook
Below the Webhook URL, you will see a link to the repository’s Webhook Admin Page. If that is not visible, or it doesn’t work, you will need to navigate to it manually in your repository. For Github you will find the Webhook Admin Page at Settings -> Webhooks.
Click “Add Webhook” on the Webhook Admin Page.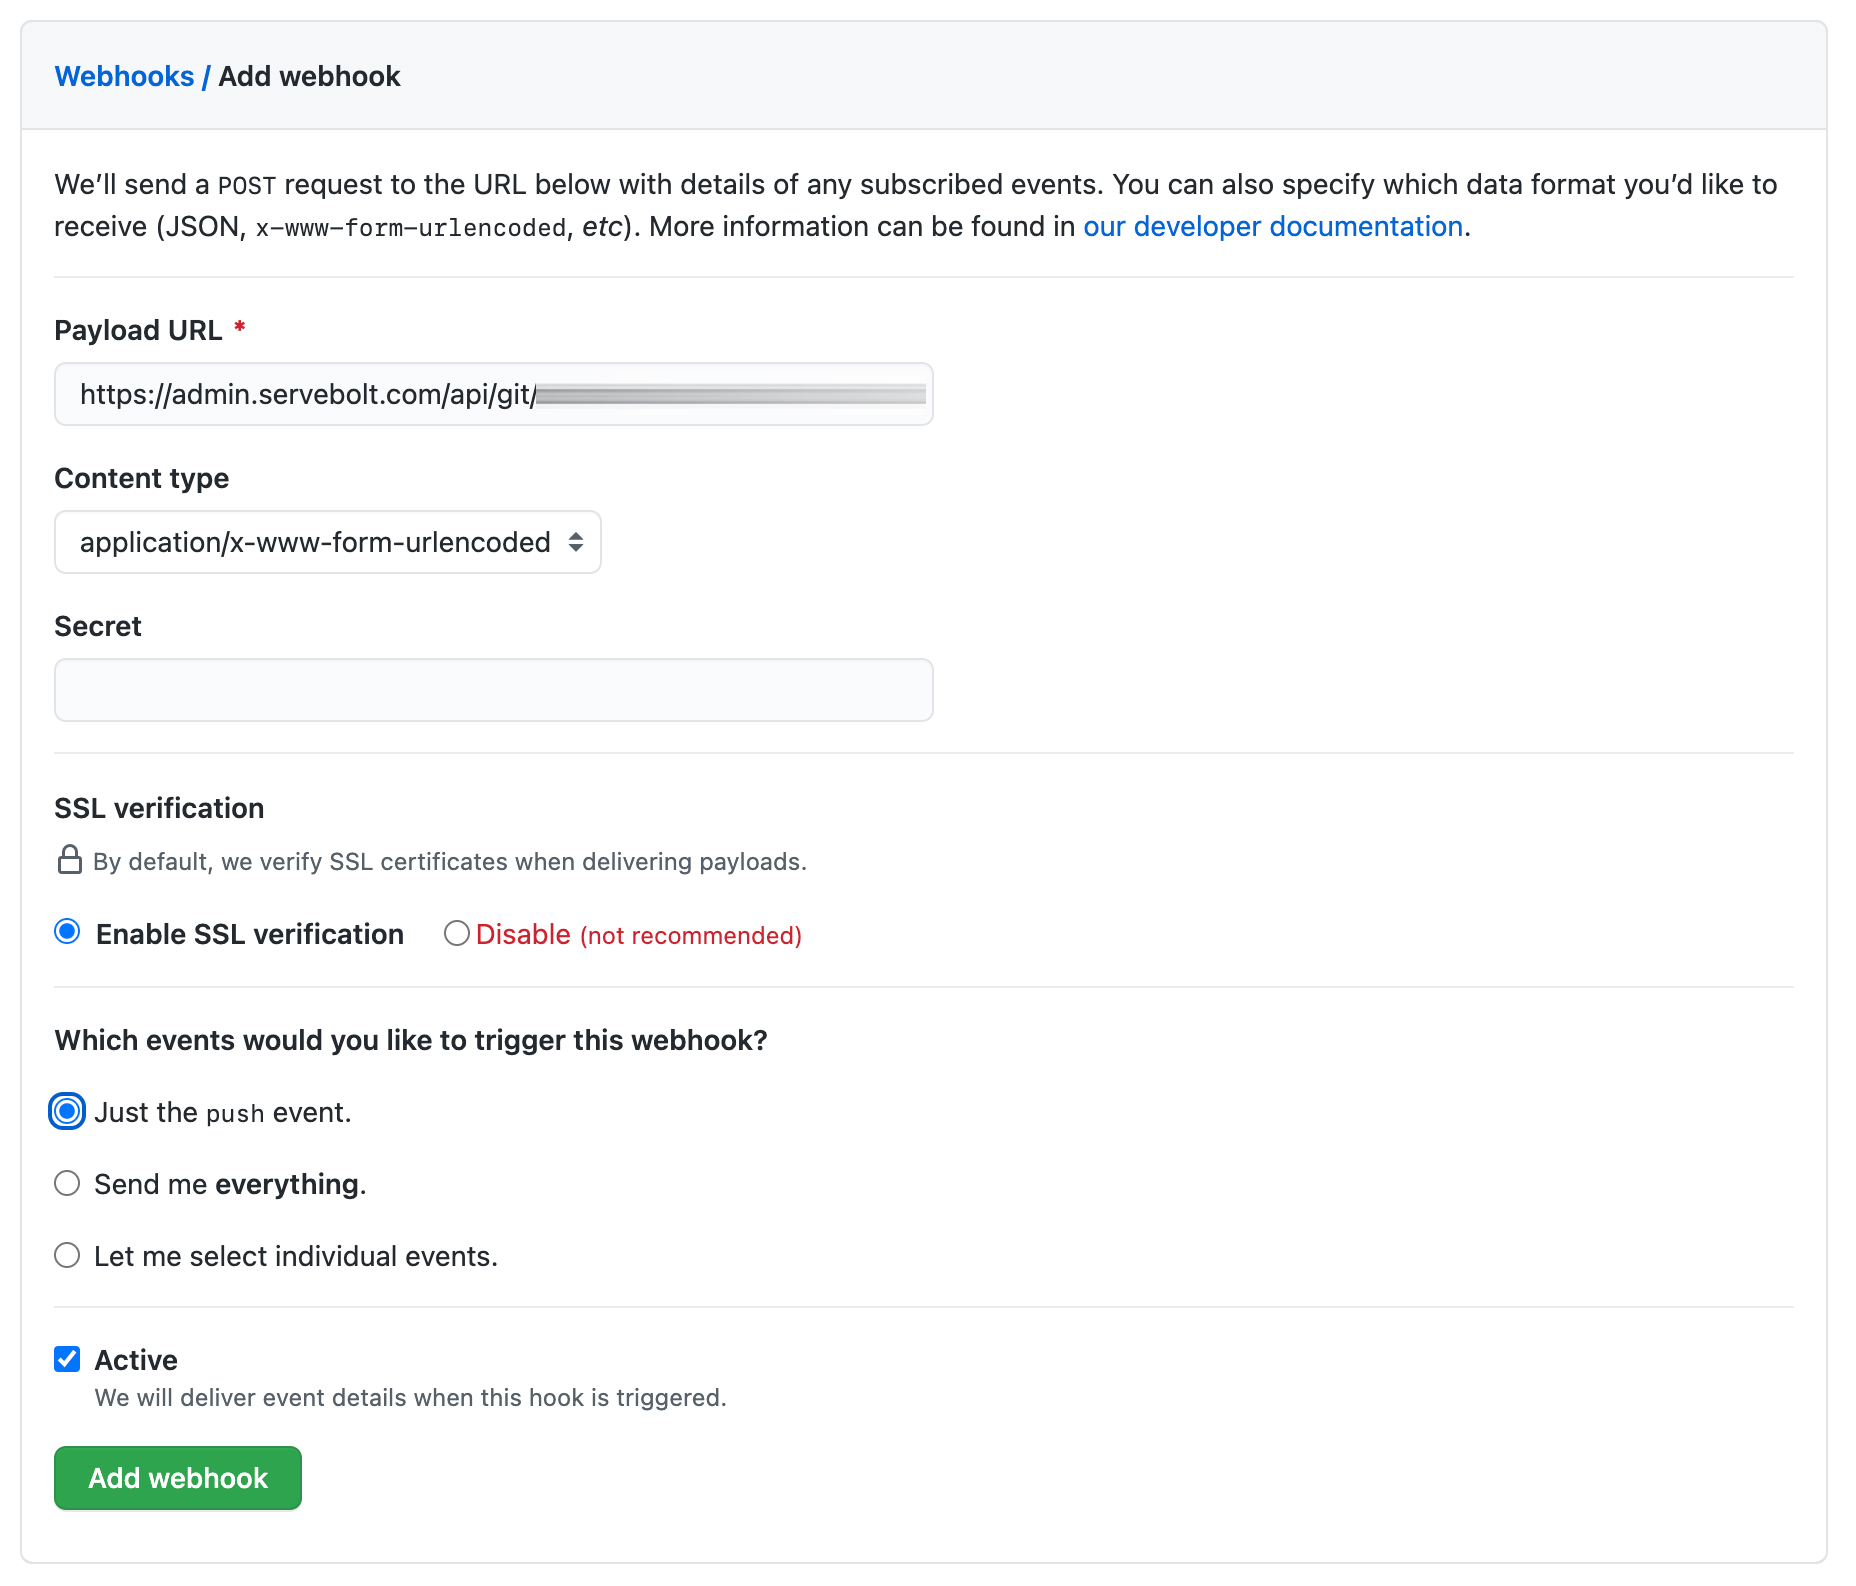
In the Add Webhook form, paste the Webhook URL copied from the Servebolt Control Panel into the URL/Payload URL field. Content type can be left at the default setting, and the secret should be blank. SSL verification is highly recommended to have enabled.
It should be set to only send push events unless you have other specific events you want to trigger a deployment. - Set up each environment you have
Now return to step 4 and do both steps 4 and 5 for each of your stages/environments.
That’s it. With these steps configured, your site will be updated automatically whenever code is committed to the Git repository connected to your site.